Installation sequence
How do you fix sandwich panels to an existing masonry wall?
In brief
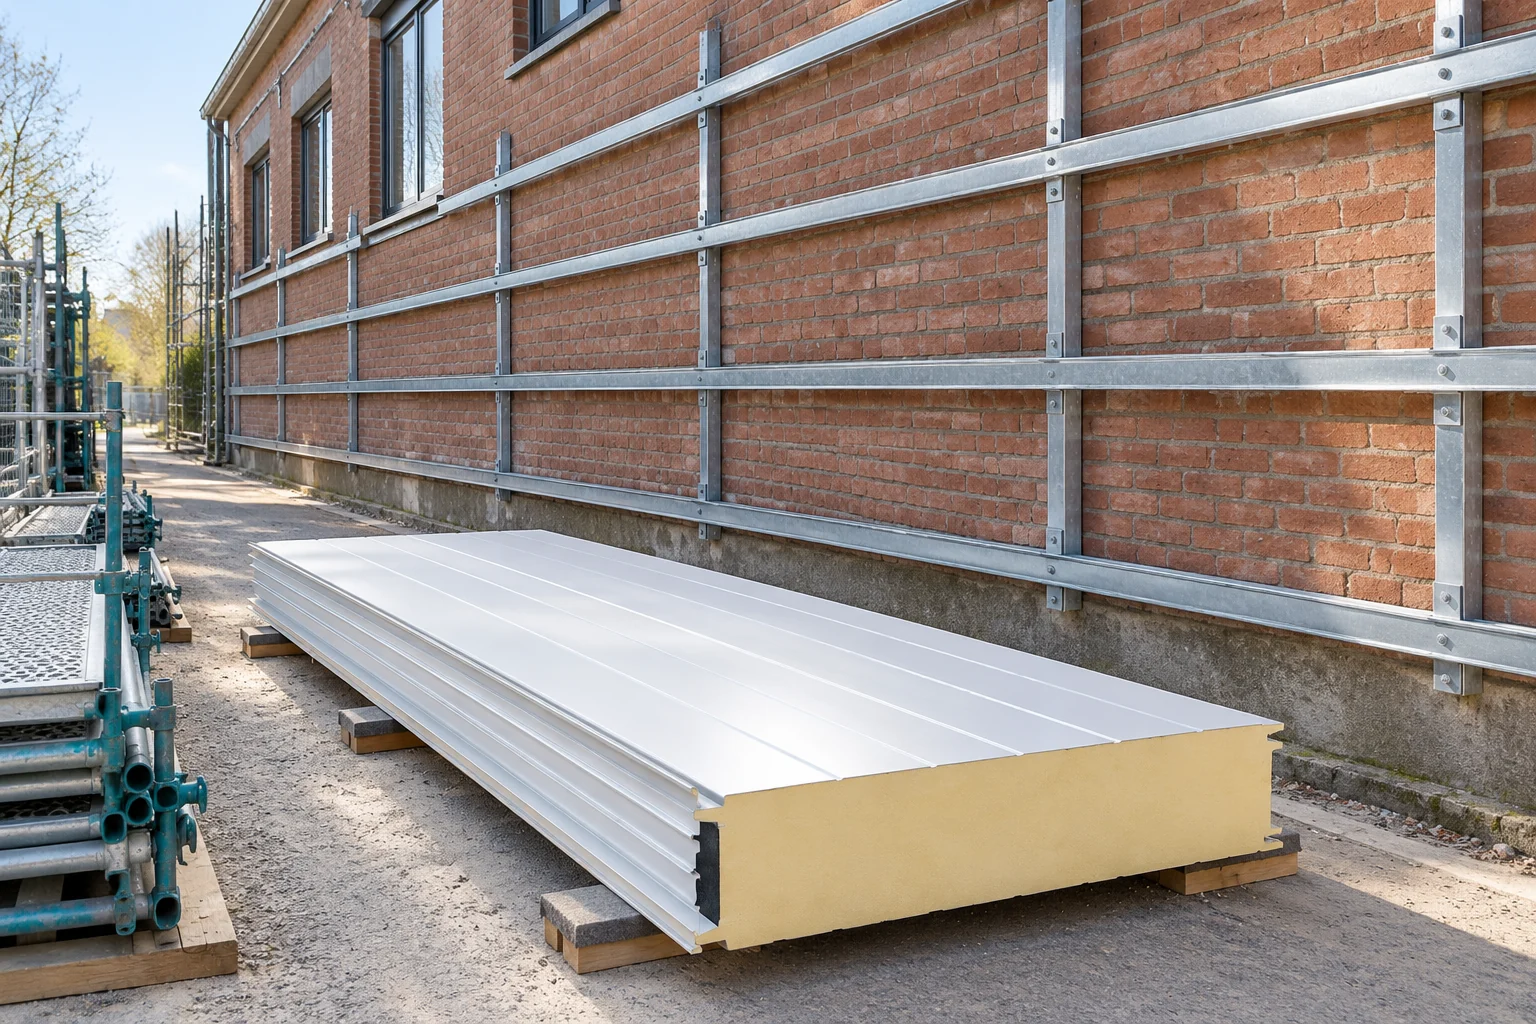
A masonry wall is not always a ready substrate for new panel cladding. First the masonry must be assessed and the way loads are transferred determined. Only then are profiles, anchors and fasteners selected. During refurbishment, unevenness, the condition of lintels and space for sealing the entire building envelope also matter. Begin by establishing what the wall is built from. Solid brick, block and concrete require different fixing solutions. Plaster alone says little about the load-bearing capacity of the substrate. Exposing a few locations may reveal hollow joints, friable areas or earlier repairs. The parameters of a new material must not be assumed for an old wall without assessing its condition.
Where should you start when assessing existing masonry?
Check plumb and surface alignment. Take measurements at the planned support locations, at corners and at openings. Large deviations will make it difficult to position the panels. Attempting to pull them in with screws onto an uneven substrate can distort the facings. Irregularities are resolved through the designed subframe, not through random packers.
Mark cracks and areas of moisture. If a crack is still moving, covering it with a panel will not stop the problem. It must also be checked whether the masonry can take the loads from the new façade. An old partition wall does not become a load-bearing wall just because it is easy to drill a hole in it.
When is a subframe required?
One solution is a steel profile fixed to the masonry. The panel then bears on the prepared surface of the profile. Anchors connect the profile to the substrate, and the appropriate screws connect the panel to the steel. These are two different connections. Each must carry the forces assigned to it.
The profile geometry should allow the screw to be seated correctly. The bearing width, steel thickness and access for installation all matter. A flange that is too narrow may not provide the required space for the fastener. Conversely, shifting the support changes the panel span. The profile spacing therefore follows from the calculations and load tables for the selected panel.
For an extension, also check the junction between the old and new parts. The two structures may deform differently. Do not assume that rigidly tying them together with the cladding will resolve the difference in movement. At such a location, a separate connection detail with appropriate movement capacity and maintained sealing may be needed.
How should the selection of anchors and screws be separated?
The anchor is selected according to the type and condition of the masonry and the load. Edge distances, joints and adjacent fixings all matter. For hollow blocks, it must be checked whether the specific solution covers that material. Two anchors looking similar does not mean the same load capacity.
The panel screw, in turn, is selected according to the support, the panel thickness and the fixing method. Its length must account for the actual layer arrangement. The drilling capacity should match the steel thickness. A screw that is too short or has the wrong thread will not be fixed by tightening it harder.
Establish who approves both types of fixing before purchase. On site, a single list works well: substrate type, profile position, anchor type, screw type and the assigned wall zone. This prevents the team from accidentally transferring a solution from solid masonry to a section of blockwork.

How do you maintain airtightness during installation?
Support and sealing serve different functions. The tape under the panel may be part of the intended detail, but it does not replace all seals in the joint. The panel joint, the flashing and the connection to the joinery must be resolved separately. Sealing should be continuous also at the plinth and under the eaves.
Before the first panel appears, prepare the starting level. Check the space for the bottom flashing and water drainage. Closing the bottom edge without thinking through drainage can trap moisture at the wall. Access for making the seal is also important. Once the profiles are covered, some areas will no longer be visible.
Seat the screws in accordance with the instructions of the selected system. The sealing washer should work correctly. It must not remain loose or be over-compressed. Swarf must be removed as work proceeds. Left on the steel coating, it can become a source of rust marks.
What should be checked before closing the next stage?
First accept the masonry and the substructure fixings. Then check the alignment of the profiles. Only then can the laying of the panels be assessed. This sequence makes it easier to find the cause of an error. A crooked panel edge may result from a badly set support rather than from the panel itself.
Take photographs of the connections that will be covered. Record the fixings used and the locations of deviations from the design. For future replacement of a single panel, this information will save time. It is also worth leaving access to points requiring periodic inspection.
Final acceptance covers the fixing, sealing and condition of the coatings. Check the corners, plinths and the perimeter of openings. Make sure that the cladding has not been loaded by accidentally suspended equipment. Heavier installations require their own method of support, agreed with the structural design.
Short answers from site
Can the panel be screwed in with an ordinary plug through the render?
Such a connection should not be treated as a universal solution. The fixing requires verification of the substrate, the loads and proper support of the panel. Render is not a structural layer.
Can all unevenness be corrected when tightening?
No. The position of the supports must be corrected before installing the panels. The screw is used to make the connection, not to straighten the entire wall at the expense of deforming the cladding.
7 branches. Materials closer to your project.
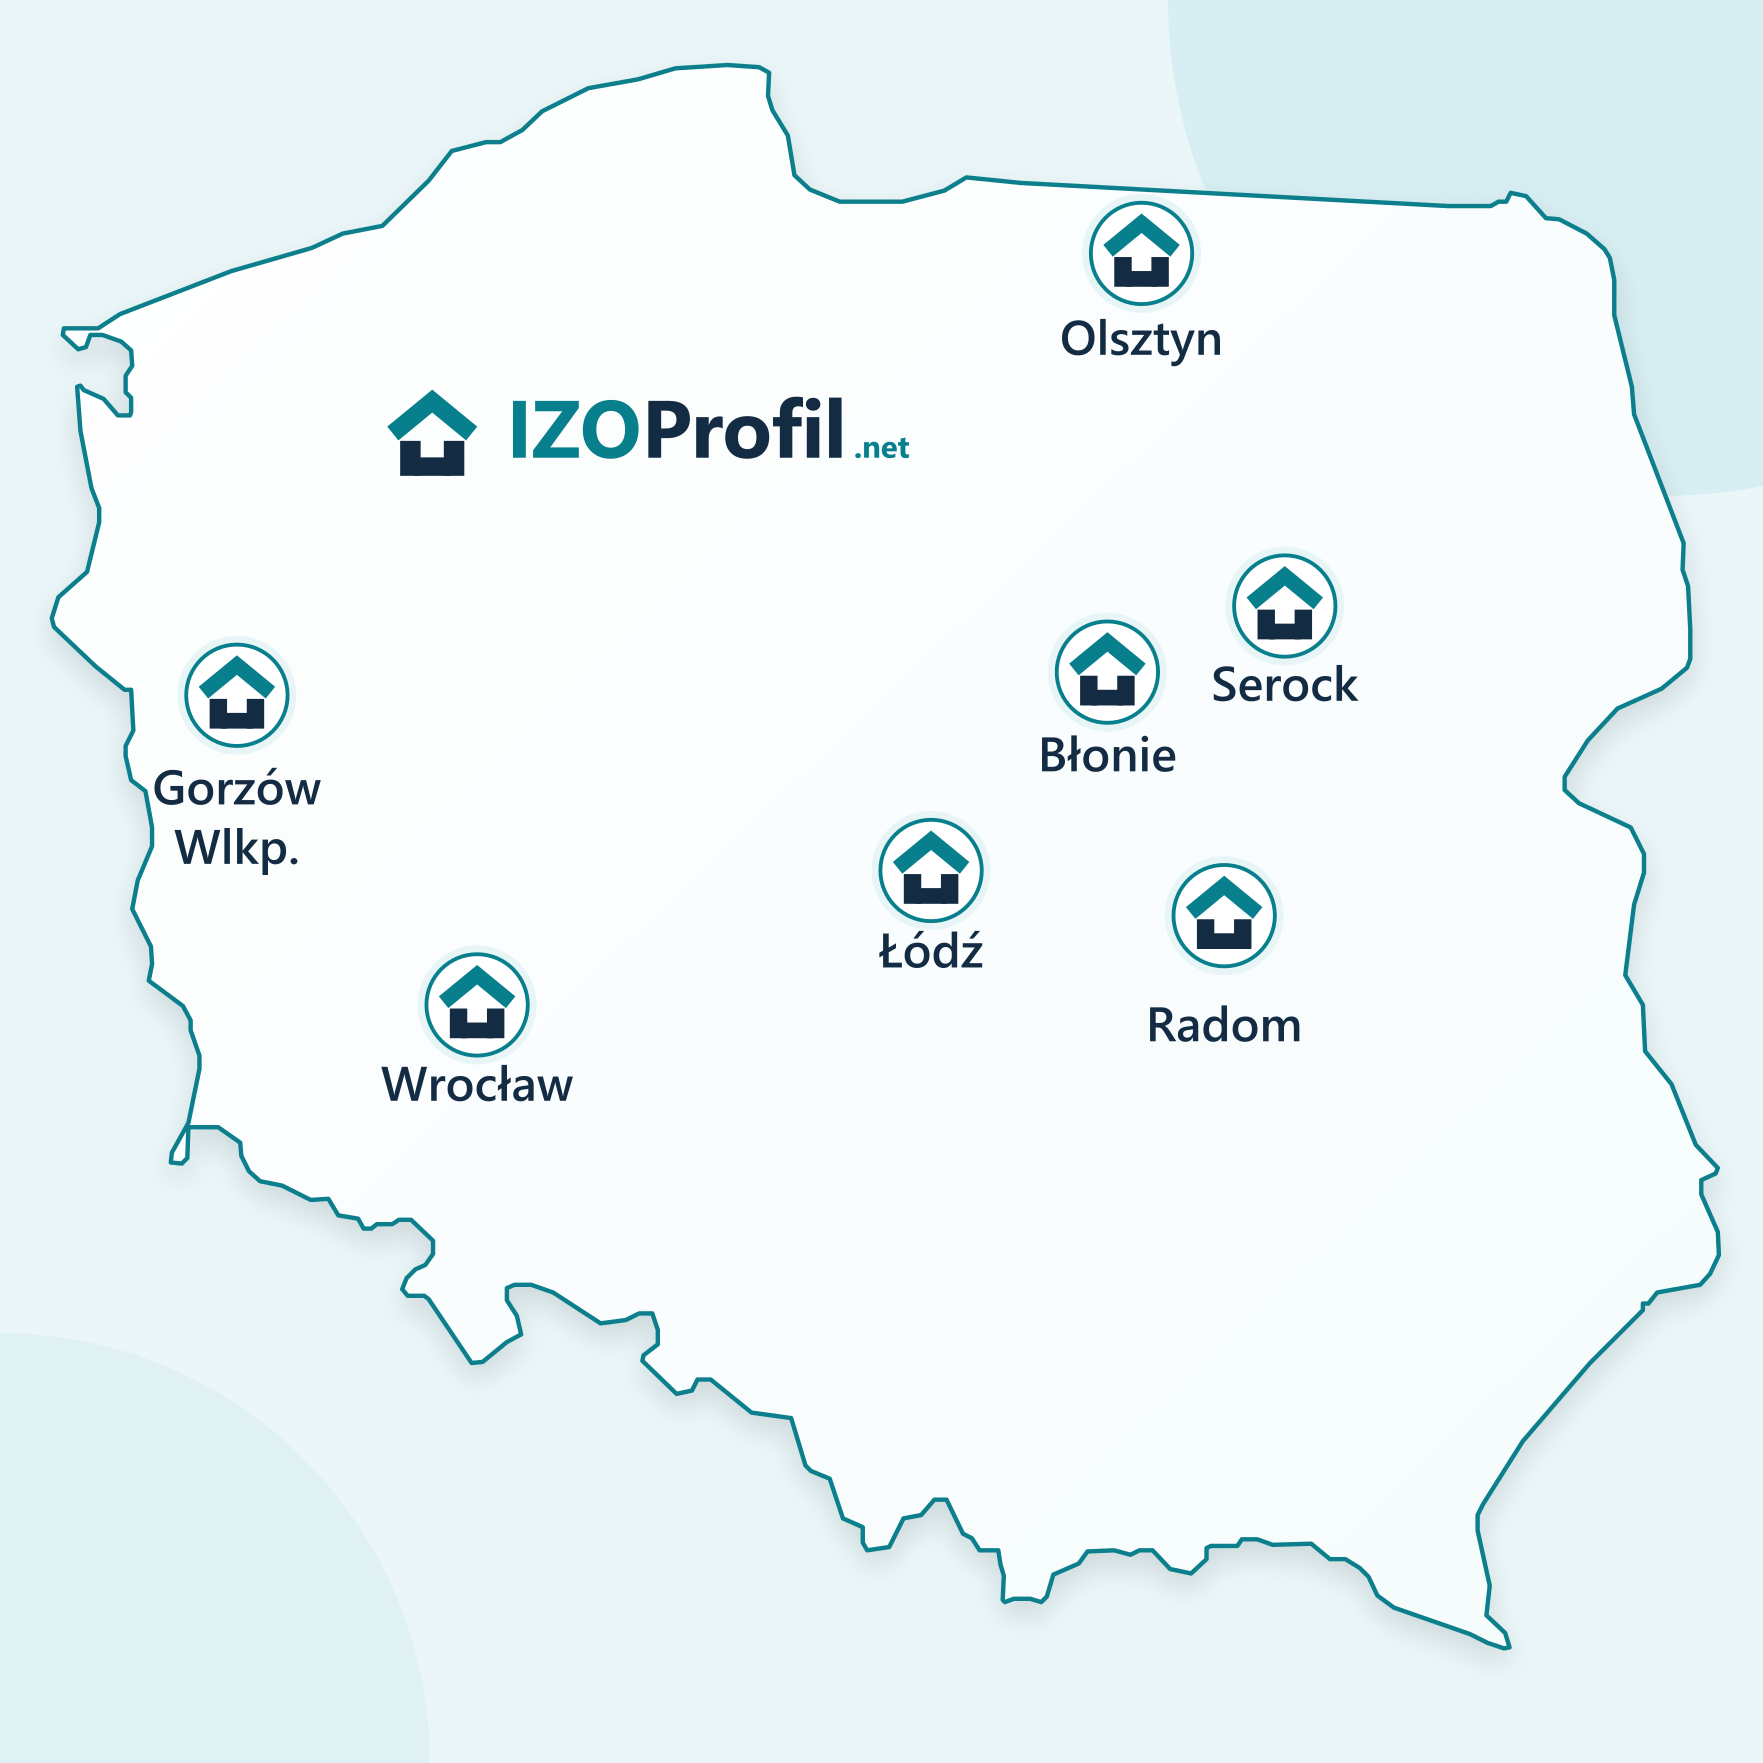
- SEROCK — Dzierżenin 34 E
- BŁONIE — ul. Sochaczewska 138A
- RADOM — ul. Grobickiego 8
- ŁÓDŹ — Natolin 8
- OLSZTYN — Barczewo, ul. Prosta 9
- WROCŁAW — ul. Jerzmanowska 10C
- GORZÓW WLKP. — ul. Zielona 33/34