Delivery and installation of insulated wall panel cladding
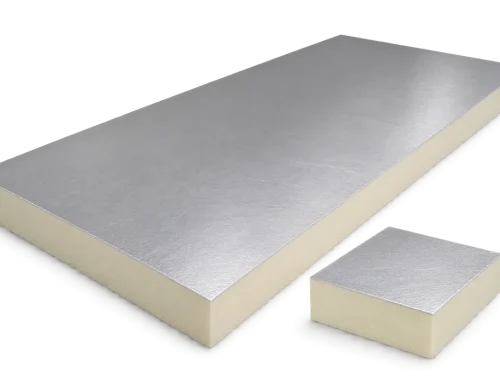
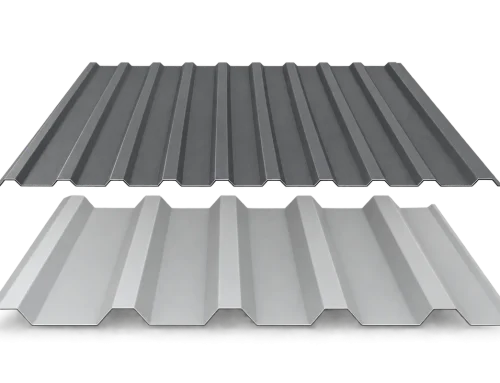
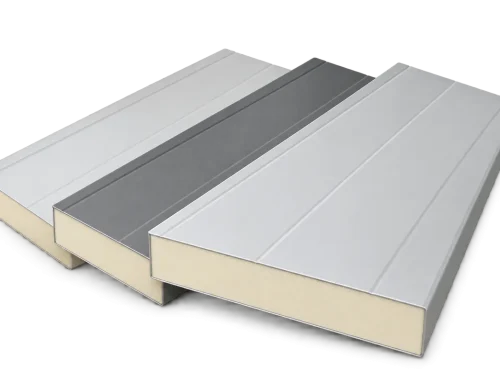
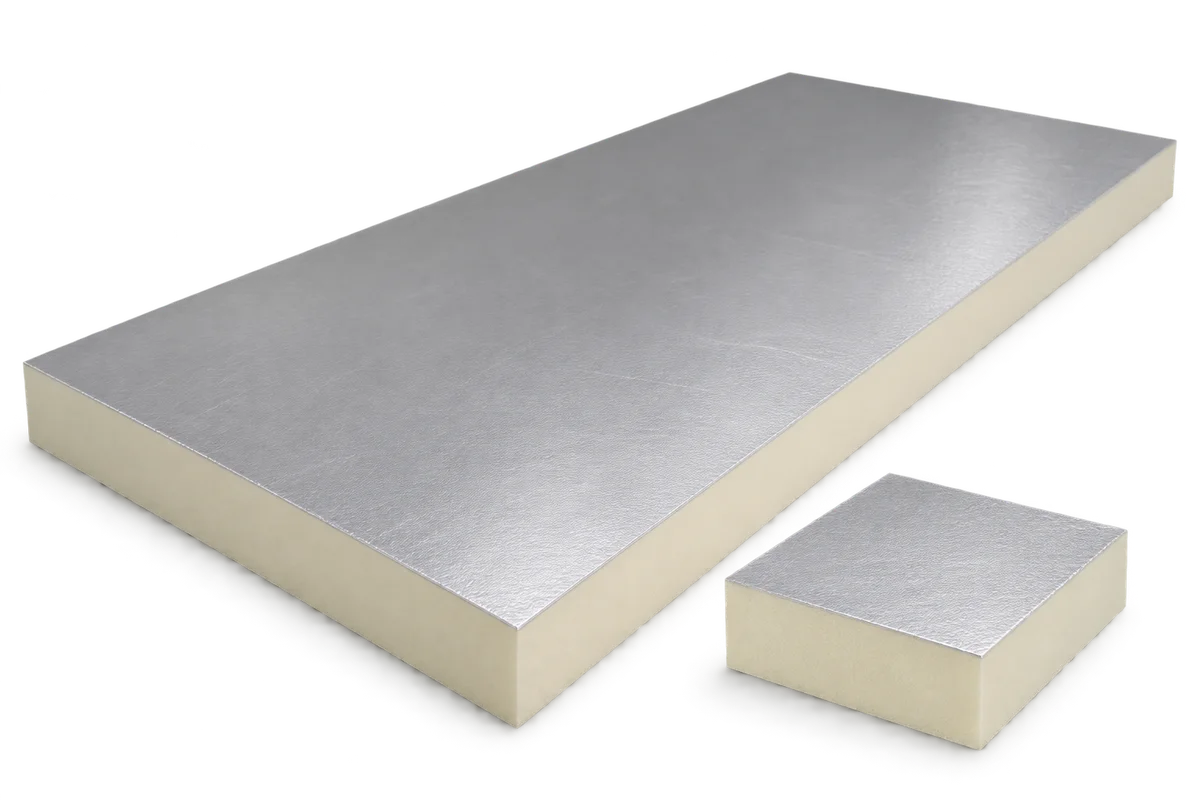
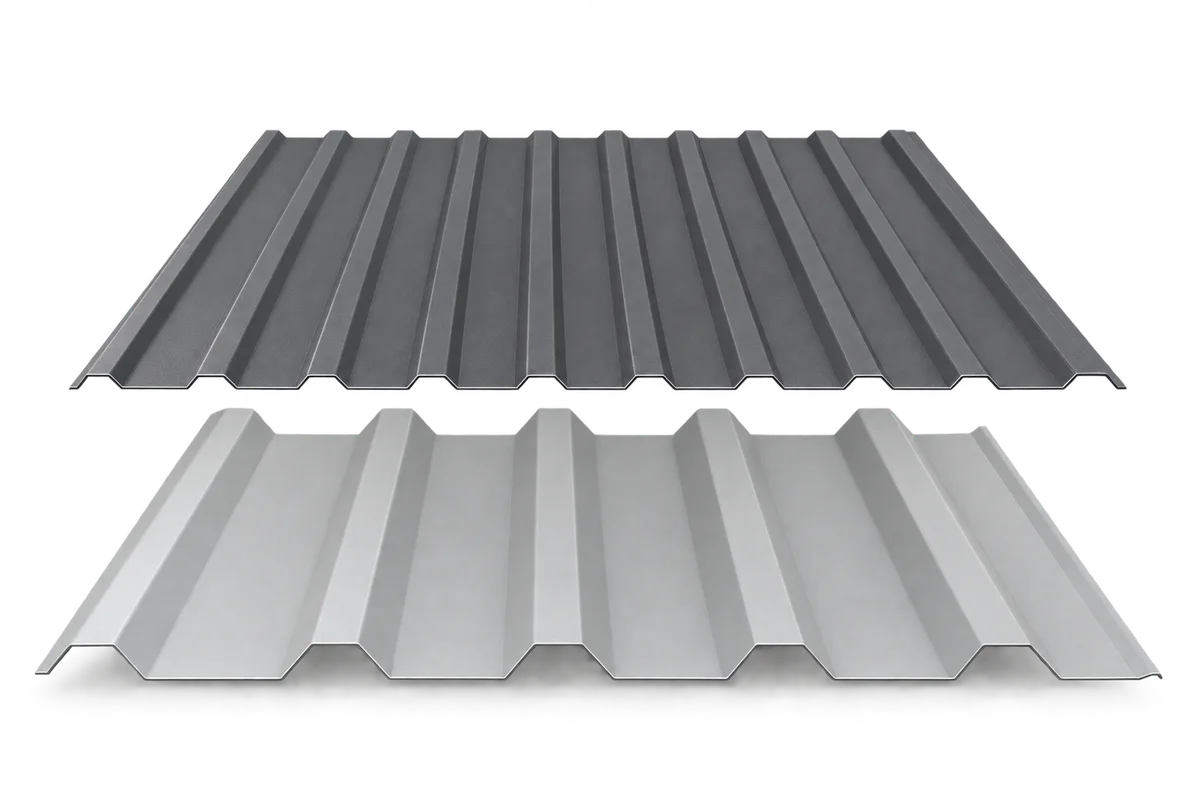
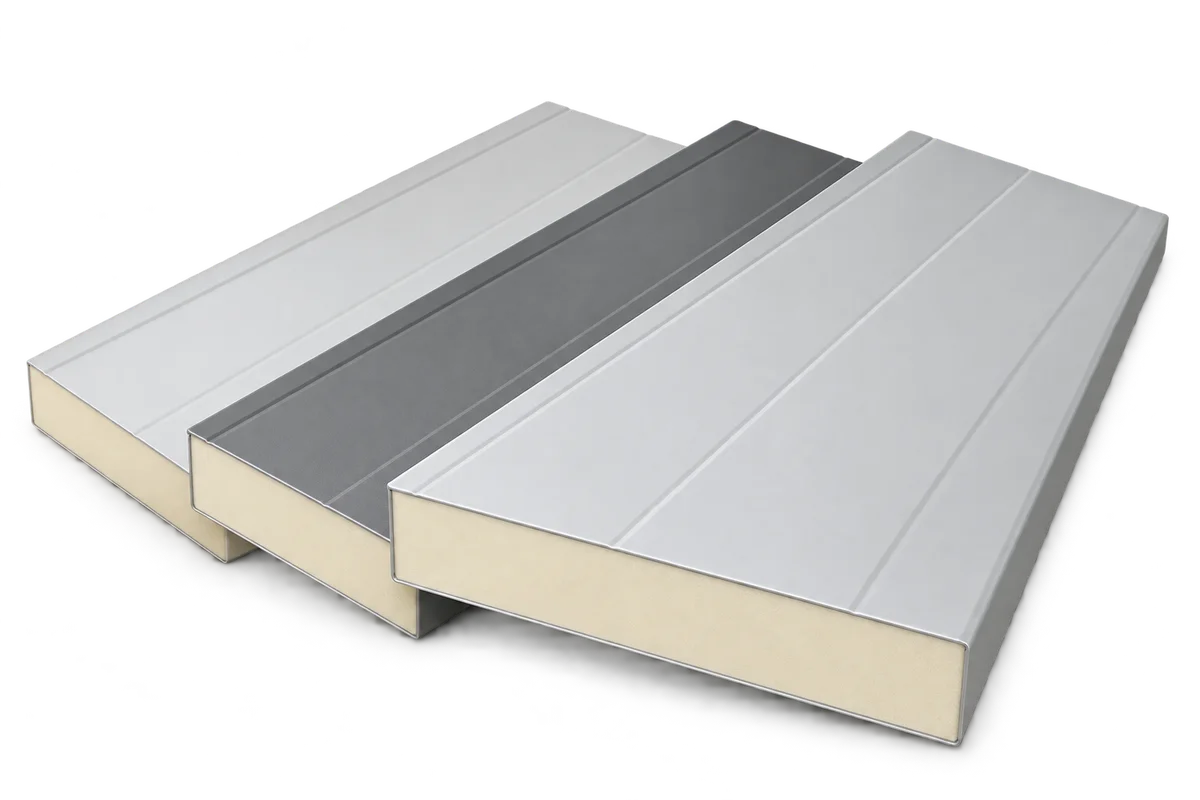
Before buying insulated wall panels, turn the wall or roof drawing into a list of the elements that will actually arrive on site. Give the length of each panel, the installation direction, the cover width and the installation location. The contractor also needs information on access, unloading and the options for safely lifting the elements. The EPS, PIR or mineral wool core and the type of facing affect the product’s characteristics, but only the data for a specific model allows the handling of the packs to be planned. It is worth dividing the schedule into installation zones. The first delivery can then include the elements needed to start work.
How do you go from square metres to the number of panels?
For an even wall section, mark the successive cover widths on the drawing and check the width of the last field. Then add the gates, doors and windows. Subtracting the area of the openings from the elevation area does not determine the number of panels to order. A cut-off piece may have the wrong length, profiling direction or edge for use in the next field. On the roof, consider the eaves, ridge and any longitudinal panel joints separately. The size of the projections and overlaps should follow from the design and the system documentation.

What data should be passed to the crew before delivery?
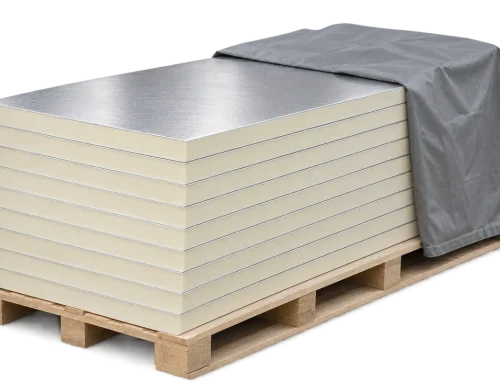
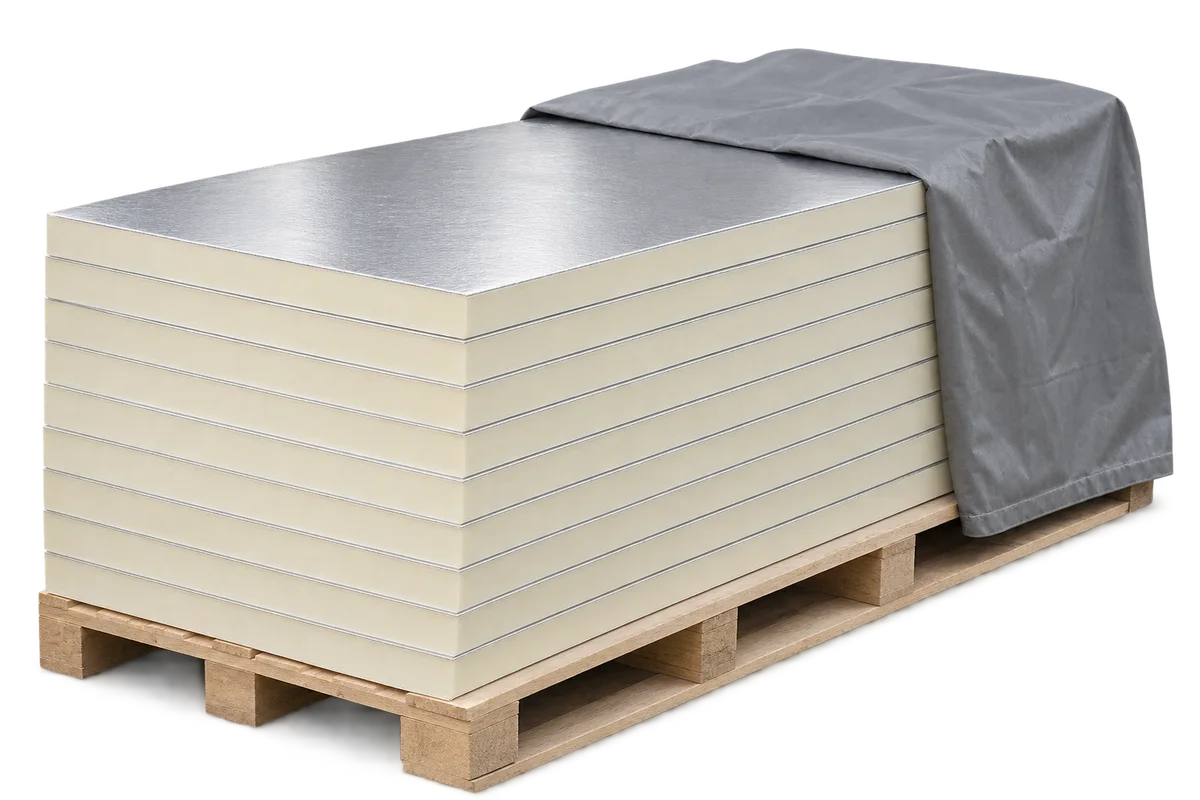
Assign a list of elements and a reference to the installation drawing to each zone. Give the weights and the available manufacturer’s instructions on storage and lifting. Mark the outer face if the facings have different coatings or profiling. Determine where a pack can be placed so that taking the first panel does not require repeatedly moving the rest. The choice of lifting equipment and of work safety measures must be agreed with the contractor for the actual element lengths and site conditions.
What should be checked on receipt and after installation?
Compare the labels with the order list. Before the panels are installed, record any damage to the surface, edges or locks and link the photos to the pack number. A deformed edge can make it difficult to close the joint correctly. At the acceptance of the finished cladding, check with the contractor that the flashings and seals match the details and that installation residues have been removed. Keep a record of the panels, colours and coatings used. This will make it easier to select a replacement element later.