

Building insulation
How to use the PIR calculator for a wall and check the result before ordering?
In brief
A good calculator helps you quickly compare insulation variants. However, it does not recognise the material in the wall and does not check how details are executed. Most depends on the input data. It is worth treating the result as a selection stage: calculate the layers, assess the limitations, and only then determine the thickness and number of boards for the order. Record all wall layers in order. For each, give the thickness and thermal properties. In an existing house, compare the documentation with a visual inspection. If the material is unknown, do not choose the first similar item from the list. Establish a justified range or commission a survey of the building element.
How to prepare data instead of guessing?
Read the lambda of the selected PIR. Do not automatically enter 0.022 W/(m·K) for every board. The variant for plaster may have a different parameter, also depending on thickness. Make sure whether you are using the lambda, the declared resistance R or the U-value. These are different quantities and cannot be substituted for one another.
The most common simple mistake concerns units. A 100 mm board is 0.10 m thick. Entering the number 100 into a formula that requires metres gives a result completely detached from reality.
How to check the result with your own calculation?
For a single layer use R = d/λ. If the board is 100 mm and the lambda is 0.022, its calculated resistance is approximately 4.55 m²·K/W. The sum of the resistances of all layers and surfaces is inverted to obtain the basic U. The final calculation may require further corrections.
Assume for example that the remaining part of the assembly together with the surface resistances gives R = 0.95. After adding the aforementioned board the sum will be 5.50. U will therefore be approximately 0.182 W/(m²·K). If the calculator shows a result several times different, go back to the units and the layers entered.
You can also calculate from the target. For U = 0.20 a resistance of 5.00 is needed in simplified terms. With the remaining R = 0.95 the insulation must provide 4.05. For a lambda of 0.022 this gives approximately 89 mm. The result must be related to the available thicknesses and the full assessment of the wall.
Why is it worth calculating more than one variant?
Compare at least two available insulation dimensions. Check how much they change the result and the thickness of the finished construction. A small margin may be needed due to actual details or corrections. A product should not be chosen only because the result without corrections comes out exactly at the assumed limit.
If the board parameter changes between thickness ranges, recalculate each variant separately. For example 100 mm with a lambda of 0.026 and 120 mm with a lambda of 0.025 do not differ only in thickness. Using one value for both may distort the comparison.
Record the assumptions alongside the result. It is good practice to keep both the baseline variant and the variant after changes. This allows you to return to the calculations if the opening-up reveals a different plaster or the contractor proposes a different product.

What does a simple calculator not resolve?
A one-dimensional layer schedule does not accurately describe every corner, lintel and ceiling junction. Nor does it assess actual airtightness. Water from a leaking gutter will not appear in the result simply because lambda was entered correctly. These issues require separate assessment.
For internal insulation, thermal and moisture behaviour must be checked. Aluminium cladding, old paint or damp masonry can significantly change the setup. An automatic U-value answer is not approval to close any wall with PIR board.
The program also does not replace the selection of the plaster system, fixings or finish. It does not confirm the load-bearing capacity of the substrate or the fire properties of the completed construction. Low lambda is only one of the parameters needed for a decision.
How do I translate the calculation into a specific order?
Once the solution is approved, enter the board type, facing, thickness and format. Only then carry out the cutting plan. The net wall area is not always the purchase area. Offcuts, openings, coverage of grooved boards and the number of pieces per pack matter.
An example wall of 4.60 × 2.70 m has 12.42 m² before deducting openings. This number helps with the bill of quantities but does not yet give the number of boards. They must be laid out on the wall and it must be checked which offcuts can be used. Calculate reveals and other details separately.
Pass the result to the team along with the cross-section and description of junctions. If any material changes, update the schedule before purchase. The calculator then supports decision-making throughout the renovation, not just the preparation of the first quote.
Finally, check that the contractor has the current version of the schedule. An old printout with a different thickness may resurface when ordering fixings. One approved schedule reduces such mistakes.
Short answers from the site
Does a lower U-value on the screen mean I have chosen a complete system?
No. The thermal calculation must be combined with the selection of cladding, fixings, finishing layers and details. The program does not do this automatically for the project.
Does a result of 89 mm allow ordering 80 mm without checking?
No. A smaller thickness gives a different thermal resistance. The available variant must be recalculated and it must be determined whether it still achieves the assumed target after taking the necessary corrections into account.
7 branches. Materials closer to your project.
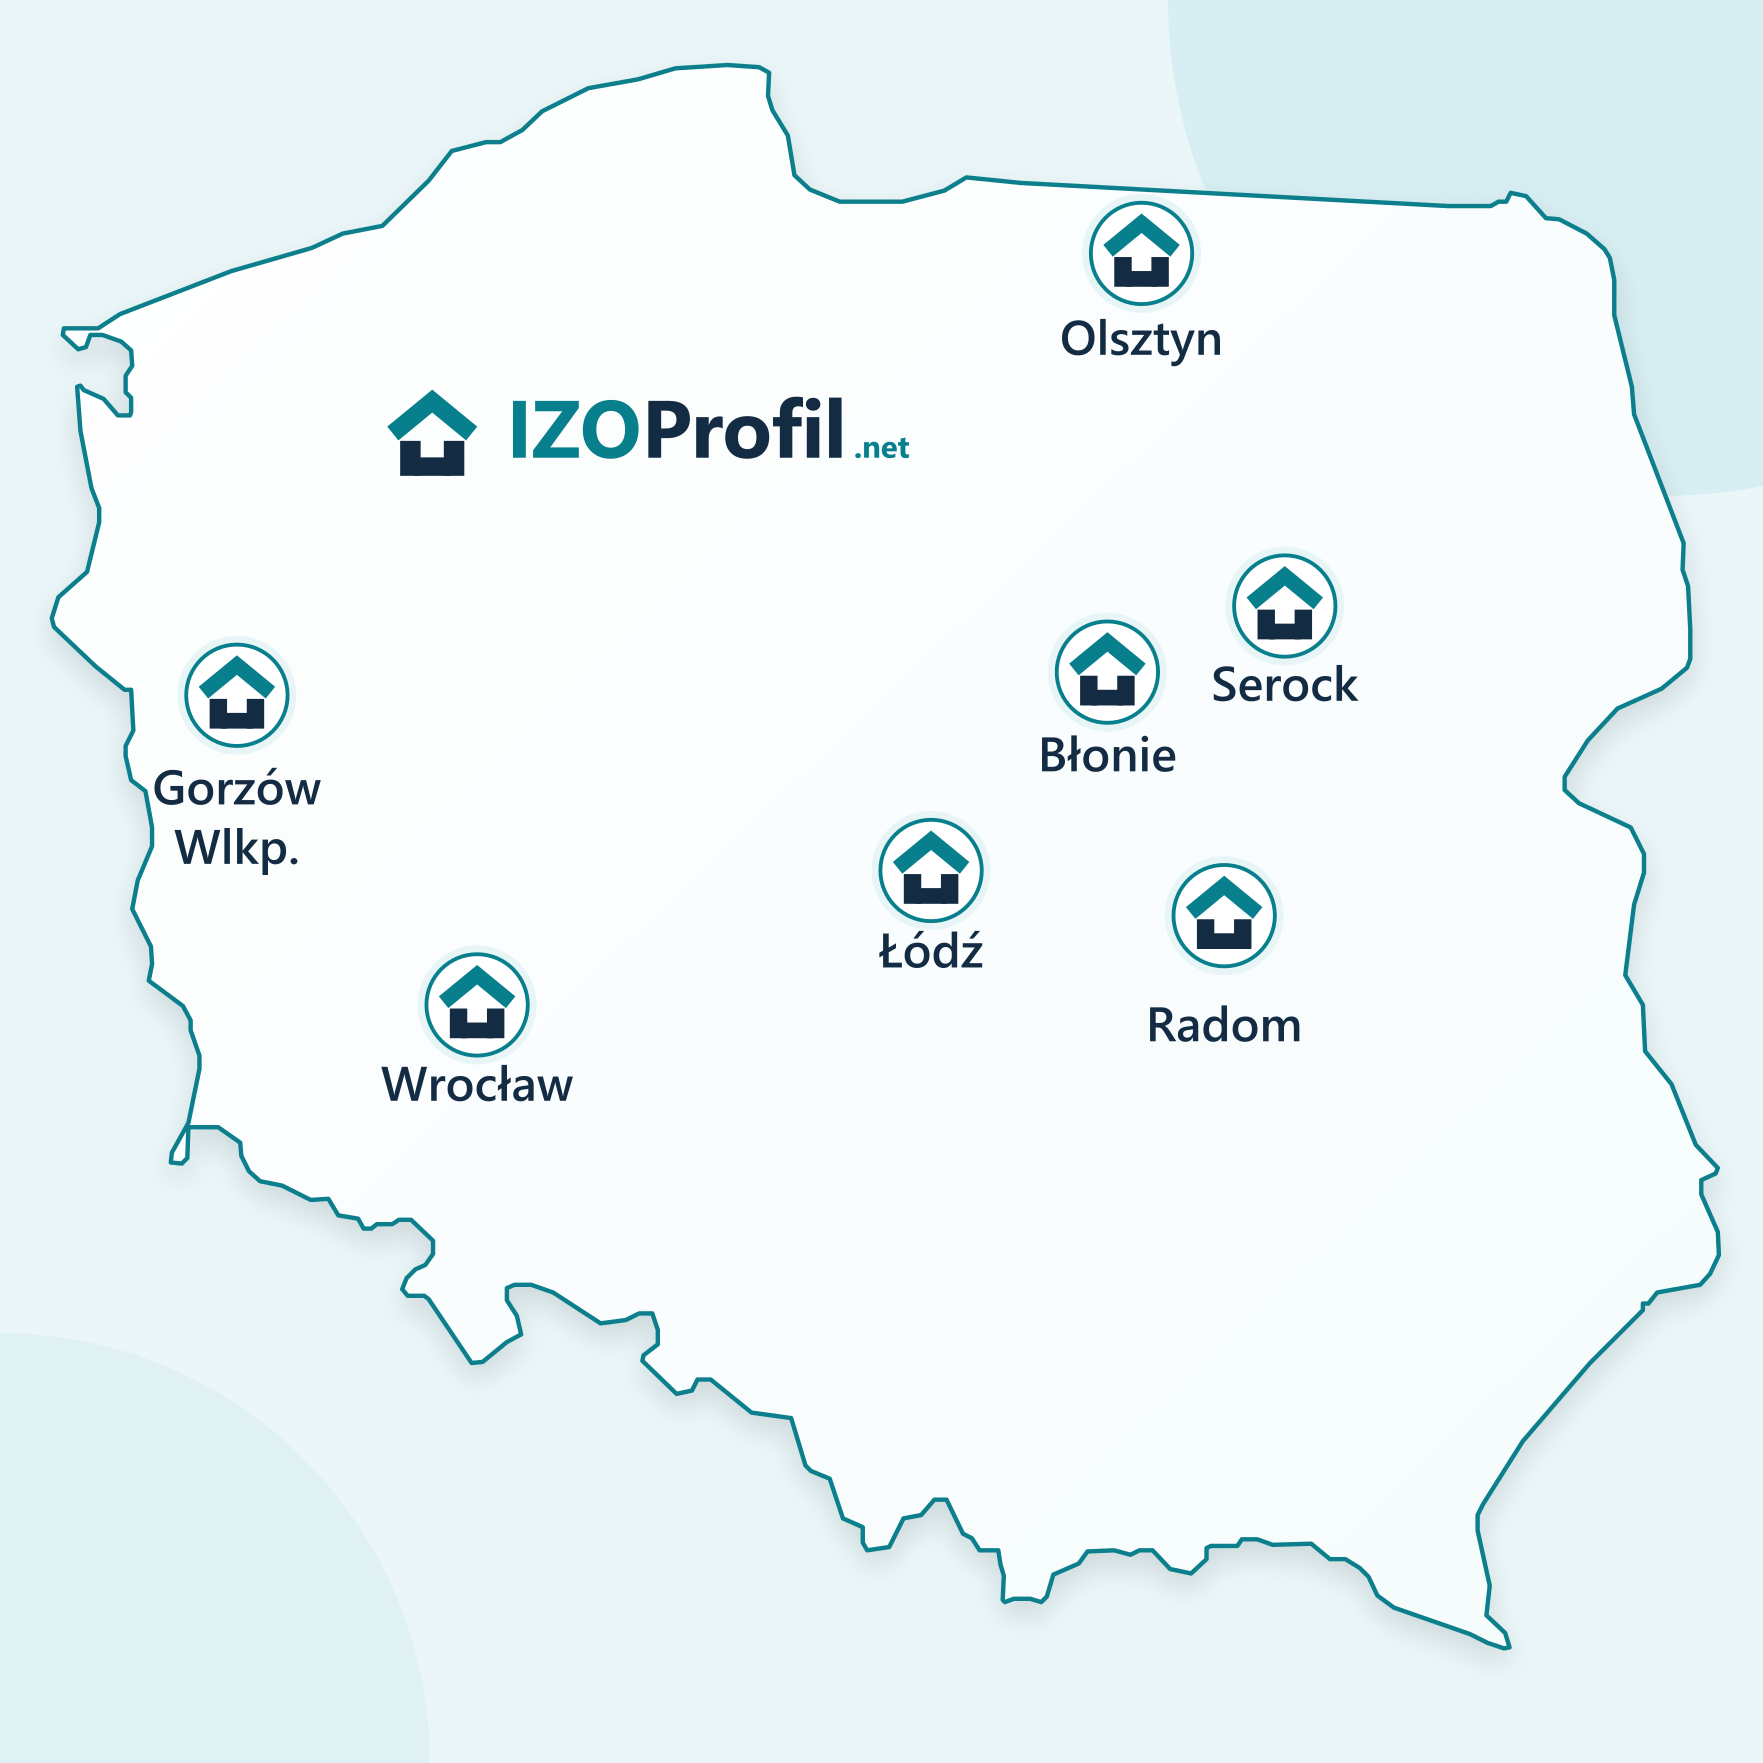
- SEROCK — Dzierżenin 34 E
- BŁONIE — ul. Sochaczewska 138A
- RADOM — ul. Grobickiego 8
- ŁÓDŹ — Natolin 8
- OLSZTYN — Barczewo, ul. Prosta 9
- WROCŁAW — ul. Jerzmanowska 10C
- GORZÓW WLKP. — ul. Zielona 33/34