

Building insulation
How to install internal insulation and maintain continuity of the aluminium cladding?
In brief
With internal insulation, not only the board thickness matters. The condition of the wall and the continuity of the layers at the floor, window and services also determine the outcome. Aluminium cladding can significantly restrict vapour transmission. However, it acts as part of a planned building envelope, not as a way to cover a damp wall. First establish the cause of the cold and moisture. Check the roof, gutters, plinth and water services. Assess the condition of the plaster and ventilation. Insulation on the room side reduces heat flow to the old wall. Its performance after renovation must therefore be verified in a thermal and moisture analysis.
Where to start before buying boards?
Do not close a fresh leak behind new cladding. Remove the cause and establish the drying conditions for the assembly. The surface for bonding must be load-bearing and prepared for the chosen system. Weak paint or detached plaster does not become a stronger substrate once covered with a board. The frame also requires secure fixings.
Measure the entire room before dismantling the fittings. Note the position of cables, radiators and window sills. This allows details to be prepared without reworking the finished insulation.
What is the aluminium foil responsible for?
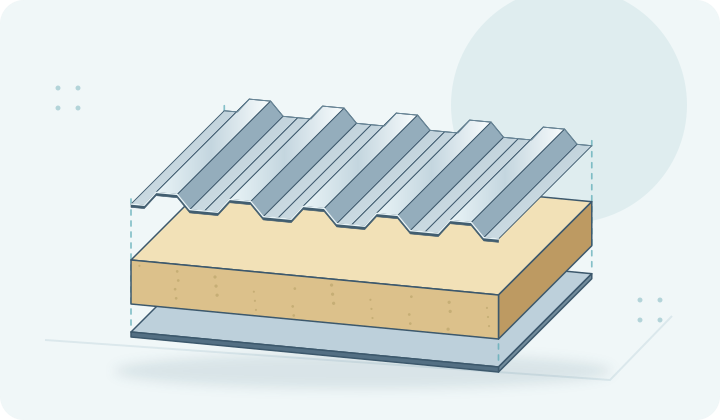
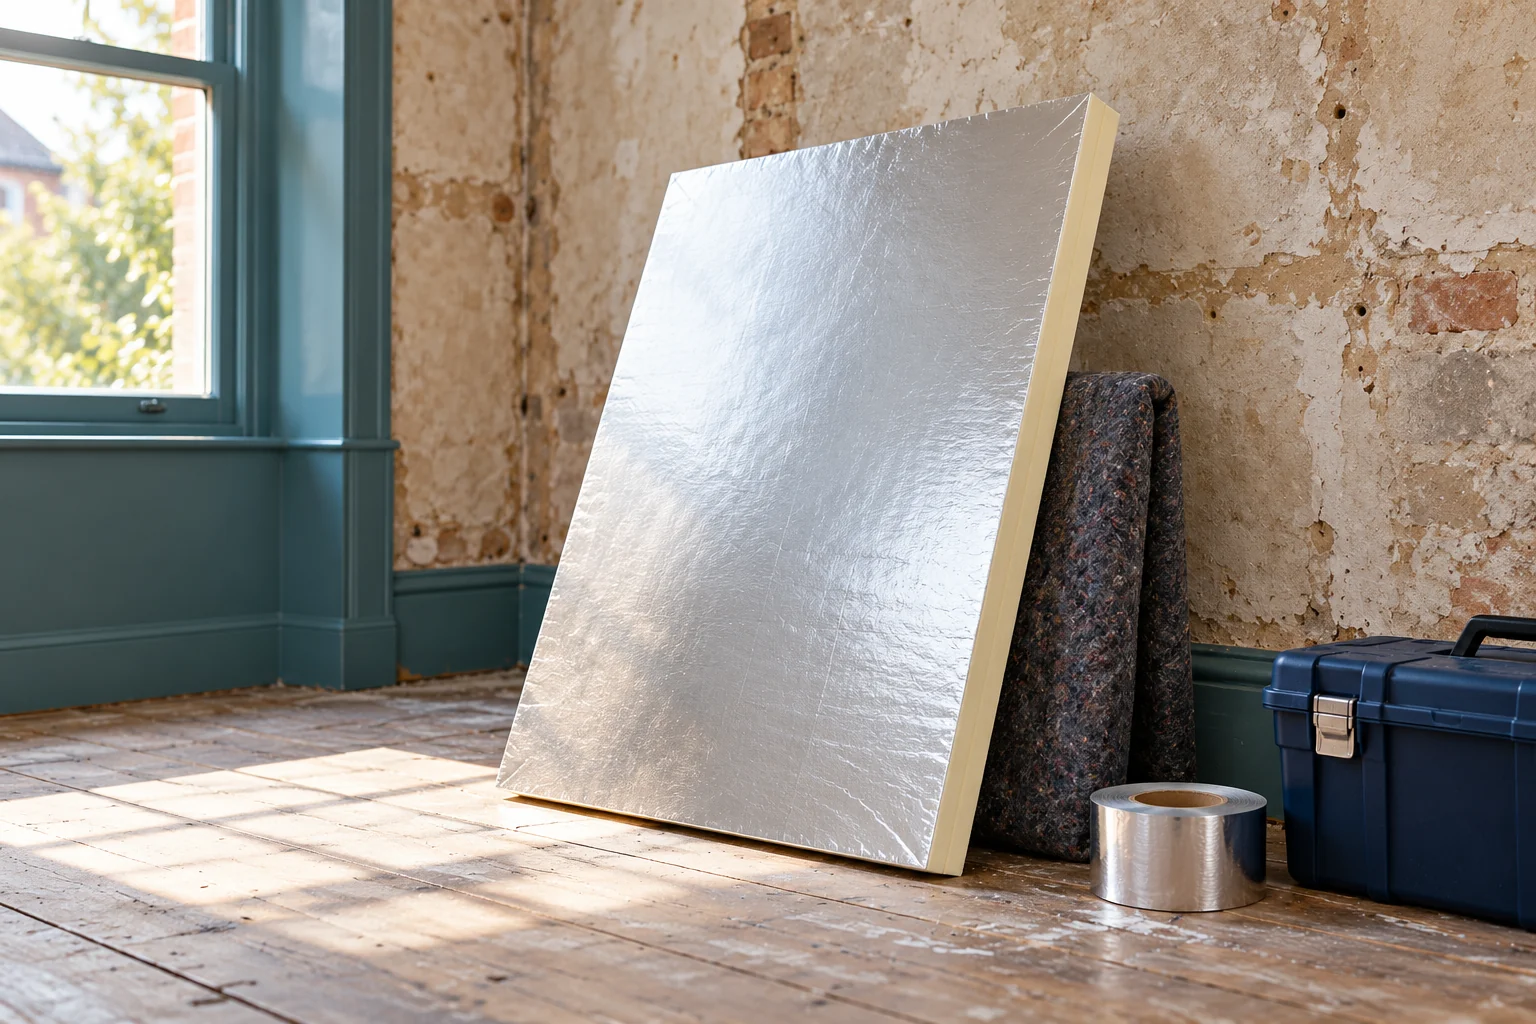
Cladding containing aluminium has a high diffusion resistance. In a correctly designed assembly it restricts the passage of water vapour from the interior towards cooler layers. However, the foil alone should not be equated with a complete airtight surface. An open joint and an unsealed perimeter interrupt its function.
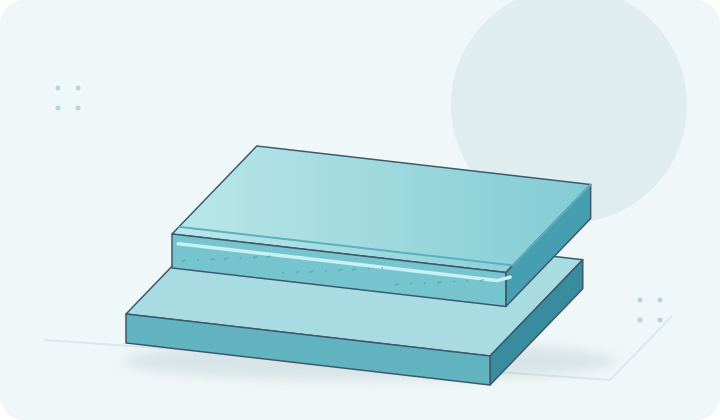
Air flow through the gap is a different phenomenon from slow diffusion through the material. Therefore suitable tapes and joints are needed, matched to the cladding and the substrate. Ordinary packing tape is not a substitute for a construction seal. Surface preparation for bonding also remains important.
Do not attribute a separate, arbitrarily high thermal insulation value to the foil. For an example PIR board with a lambda of 0.022 W/(m·K), the basic resistance results from the foam thickness. Any reflective effect depends on the layer arrangement and the gaps.
What is the installation sequence?
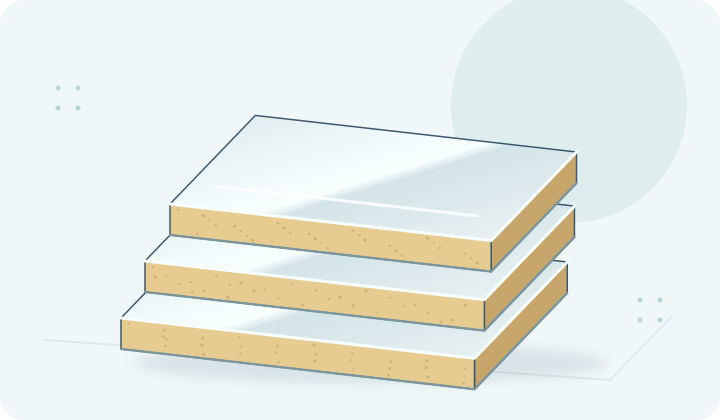
Begin the works by approving the fixing and finishing method. An insulation board with foil and a composite board with gypsum cladding require different solutions. Do not assume that every product can be bonded with the same mortar. Check the compatibility of the adhesive, the surface and the entire system.
After preparing the substrate, mark out the board layout. Adapt it to openings and the run of joints. Make sealed connections in an order that leaves them accessible. It is particularly easy to overlook the perimeter behind a future radiator or a narrow section under a window sill. Covering a location with the finish should only happen after it has been checked.
If the design includes an installation void, separate it from the airtight layer. This allows some work to be carried out later without repeatedly piercing the cladding. The thickness of this build-up must be added to the loss of space in the room.
Before starting on the whole wall, carry out a trial in a location with a difficult detail. Check whether the required contact pressures, distances and access for tape can be maintained. Such a trial helps establish the sequence of work without damaging the surface already laid.

Which details require a separate solution?
On a wall without openings, continuity is easy to maintain. It is more difficult at a window, ceiling and partition wall. These are the places where a cold surface may remain after renovation. Simply sticking a thicker strip in the middle of the wall does not solve all thermal bridges.
At electrical boxes, pipes and brackets, plan the penetrations before closing the build-up. The sealing material must match the substrate and the expected movement of the joint. A heavy radiator or cabinet requires proper fixing to the structure. Insulating foam does not act as a load-bearing wall.
Do not leave exposed foam as the default finish of the room. The requirements apply to the entire building envelope and its surface. The class of the insulation alone is not the class of the finished wall after adding any board.
How to accept works before painting?
Check the closing of the perimeter, the contacts and the installation penetrations. Take photos of the places that will shortly disappear under the cladding. The acceptance inspection must also cover the stability of the fixing and the conformity of the layers with the design. A nice plasterboard surface does not confirm the continuity of the sealing behind it.
After renovation, maintain working ventilation. Replacing windows and sealing the room change the air exchange conditions. Observe the reveals and corners during the first heating season. If moisture appears, its cause must be determined. An additional coat of paint is not a repair of an error in the building envelope.
Short answers from site
Does aluminium cladding always allow a separate vapour barrier to be omitted?
Only when the adopted system and calculations provide for such a function. The board joints, the perimeter and all penetrations must be resolved.
Can you insulate one section of a room at a time?
The work can be staged, but each stage needs a planned finish. Do not leave random gaps or details that cannot be sealed later.
7 branches. Materials closer to your project.

- SEROCK — Dzierżenin 34 E
- BŁONIE — ul. Sochaczewska 138A
- RADOM — ul. Grobickiego 8
- ŁÓDŹ — Natolin 8
- OLSZTYN — Barczewo, ul. Prosta 9
- WROCŁAW — ul. Jerzmanowska 10C
- GORZÓW WLKP. — ul. Zielona 33/34