

Building insulation
How to plan internal insulation for a 1990s house without replacing the façade?
In brief
In a 1990s house, it is not always worth stripping the entire façade straight away. First you need to establish how the walls were built and where heat is escaping. Internal insulation can be feasible, but it requires careful selection of layers. The most problems usually arise at junctions and services, which are easily overlooked in an initial quote. The year of construction does not tell you what the wall is made of. In similar houses you can find various hollow blocks, cavity walls and later alterations. Locate the documentation, compare it with the actual condition of the building and carry out the necessary inspections. Check extensions and sections rebuilt when the windows were replaced separately.
What to check in the house before designing changes?
Pay attention to moisture at the plinth, roof and balconies. Insulation will not replace repairing a leak. The condition of the old plaster determines whether new layers can be bonded. It is also worth assessing how the ventilation and heating of the rooms perform. A cold room can have several causes of heat loss.
If you plan to modernise in stages, make a shared map of problems for the whole house. Repairing one room without resolving the leak above may bring only a short-lived improvement. Establishing the dependencies allows funds to be spent in the right order.
When does internal insulation make sense?
It is considered when external works are difficult or the façade is to remain. However, the effect of the new layers on the temperature and moisture of the masonry must be checked. After reducing the heat supply from the room side, its conditions change. Therefore a thermal and moisture assessment specific to the system under study is needed.
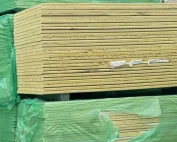
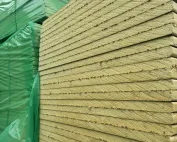
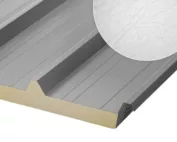
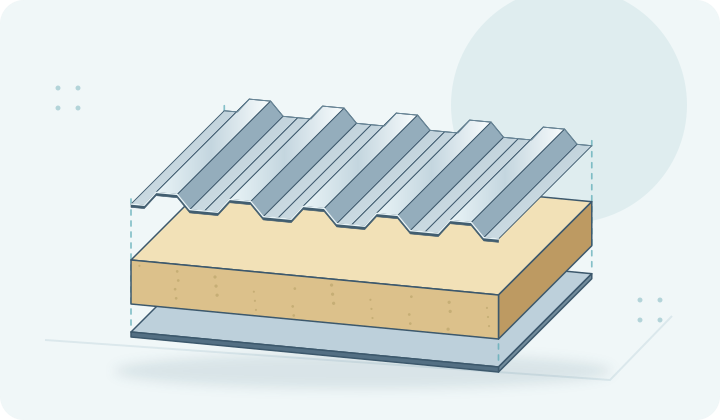
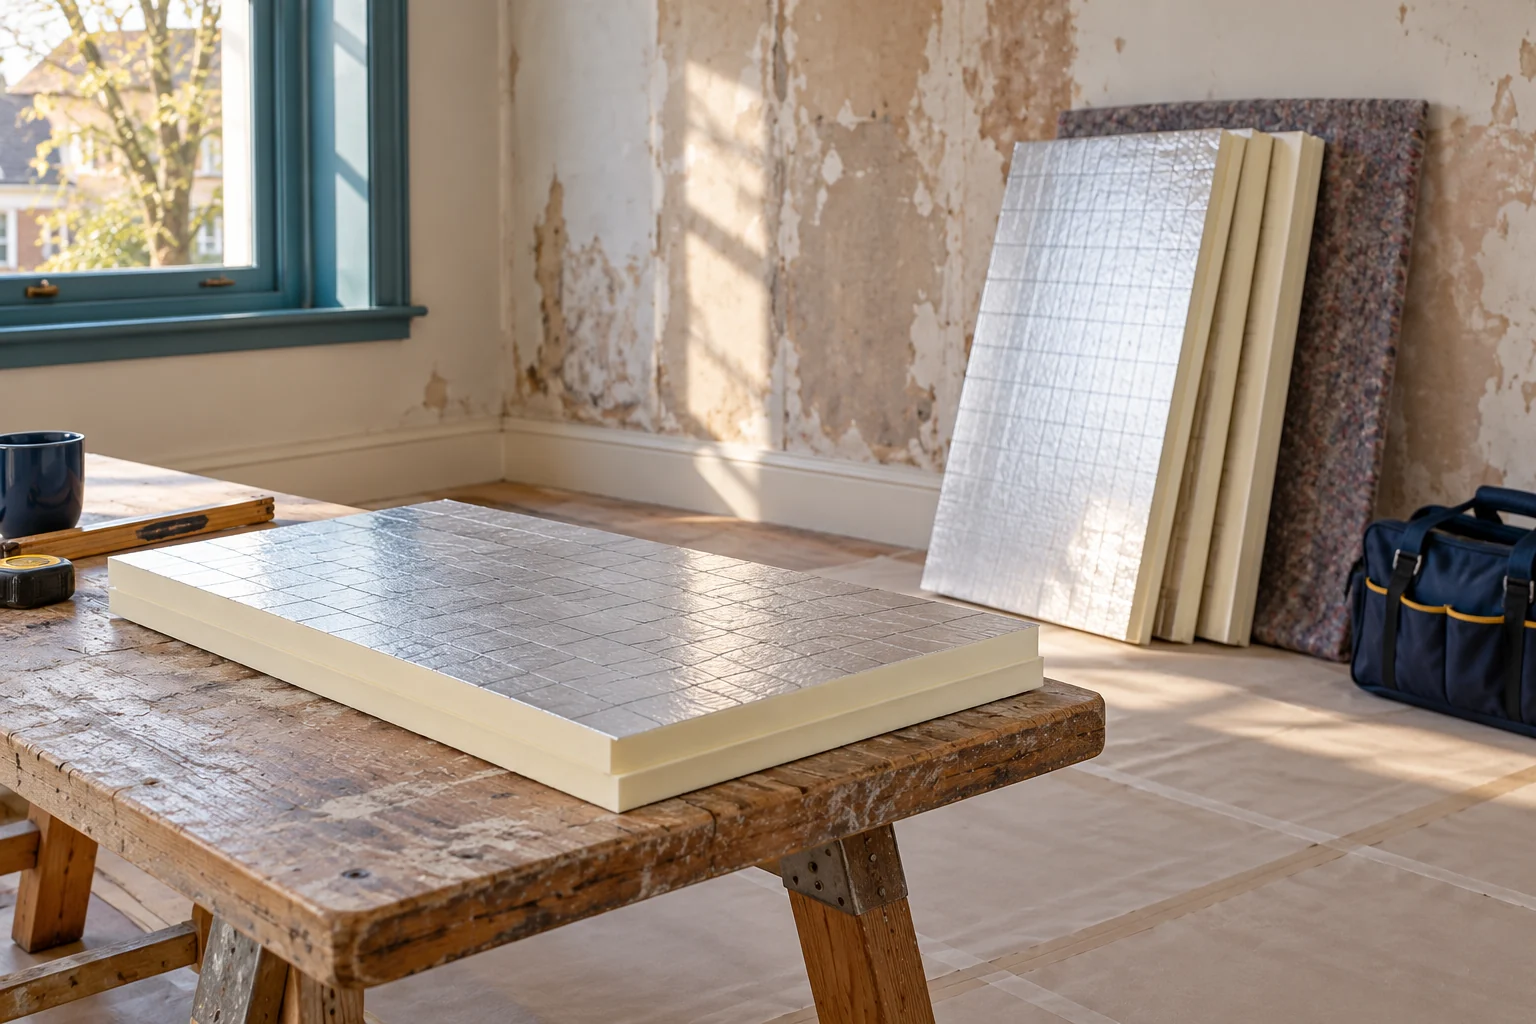
PIR with an aluminium facing has different diffusion properties from insulation open to vapour flow. It is not chosen solely by its small thickness. The solution must include tight joints and the ability of the assembly to dry out under the assumed conditions. A damp wall first requires identification of the cause.
Not every element of the house can be insulated in the same way. Separate details are needed at the ceiling, transverse walls and balcony. If constraints prevent correct execution, it is worth changing the scope or system before the boards are purchased.
How to determine thickness and loss of space?
Start by calculating the existing assembly and the assumed renovation target. For example, 80 mm of PIR with a lambda of 0.022 W/(m·K) gives R of approximately 3.64 m²·K/W. This is the contribution of the insulation alone to the thermal resistance. The U-value is also determined by the masonry, plasters and joints.
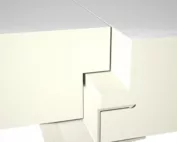
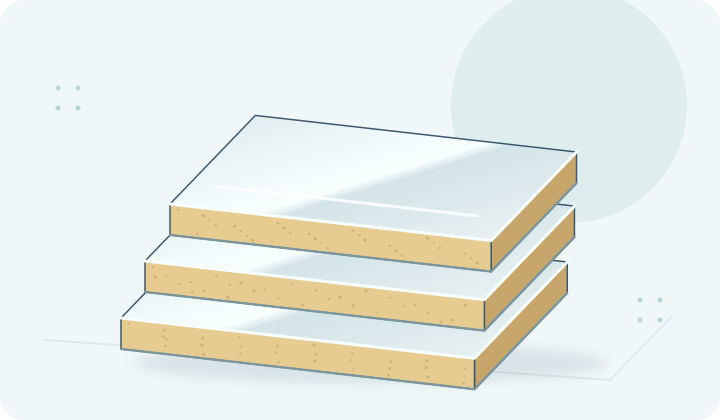
To the installation dimension add the fixing, the finish and any installation space. A composite board with a gypsum facing can reduce some of the work, but does not remove the need to resolve the details. Check doors, recesses and radiators. A few additional centimetres can force a change of fittings.
For an example wall 4.80 m long, build-up with a total thickness of 100 mm will take up approximately 0.48 m² of floor space. It is worth comparing this space cost with the thermal effect. Counting only centimetres of foam will understate the actual change to the room.

How to renovate rooms in an occupied building?
First plan the services and equipment fixing points. Removing radiators and relocating sockets should precede closing the insulation. Allow access to key connections. Some work can be done room by room, but stage completions must be designed.
An example renovation in Żnin can begin with one room with a well-assessed wall. The trial will show the condition of the substrate and actual conflicts. However, it is not a substitute for calculations. If the revealed layers differ from the assumptions, the choice of solution must be revisited.
Before every break, protect the material and exposed edges. Do not leave an open air-flow path behind completed build-up. The junction between stages must remain accessible so that it can be correctly closed.
What should the completion of works cover?
Accept the insulation and seals before final finishing. Check the perimeter at the floor, ceiling and reveals. Verify that service penetrations were executed as planned. Photo documentation of concealed areas is more useful than photos of the painted room alone.
After renovation, restore heating and proper ventilation. Observe the corners in the first season. Do not immediately block the problematic wall with sealed fitted furniture without taking usage conditions into account. If moisture appears, check the cause before further covering.
Keep the data of the boards used and a description of the layers installed. For subsequent rooms it is then easier to maintain consistency. A change to a product of the same thickness but a different facing should be reassessed.
Short answers from the site
Does the age of the house allow the PIR thickness to be selected straight away?
No. Knowledge of the actual masonry and the condition of the layers is needed. The year of construction does not define a single construction or a single level of insulation.
Can internal renovation be completed one wall of a room at a time?
The scope must be based on analysis and connection details. The temperature of adjacent surfaces and the airtight termination of the new layer must be checked.
7 branches. Materials closer to your project.

- SEROCK — Dzierżenin 34 E
- BŁONIE — ul. Sochaczewska 138A
- RADOM — ul. Grobickiego 8
- ŁÓDŹ — Natolin 8
- OLSZTYN — Barczewo, ul. Prosta 9
- WROCŁAW — ul. Jerzmanowska 10C
- GORZÓW WLKP. — ul. Zielona 33/34