



Installation and details
How a roof valley collects water and keeps it out of the roof
In brief
A valley gutter is the concave junction of two roof slopes that collects water from both sides and directs it to the eaves. When designing it, the key factor is the width of the exposed channel, matched to the volume of flowing water and the length of the drainage path. Check that the flashing has stable support in line with the roof system and does not deflect between fixing points. Pay attention to membrane layout with laps following the slope and to fixings kept outside the water flow path. Leave final design decisions to the system installer.
Where is the roof valley located and what distinguishes it from the ridge?
A roof valley forms at the concave junction of two roof slopes. Water flows into it from both sides and then runs towards the eaves. The ridge is a convex point from which water drains to the sides. Confusing these two details leads to incorrect ideas about ventilation and sealing.
Roof valleys occur on hipped roofs, dormers and junctions between building wings. The larger the slopes feeding the valley, the greater the flow that must be accommodated. The length of the drainage path also matters. In the lower section, water from the entire stretch meets leaves and snow sliding down from higher sections.
How should the substrate be prepared for the flashing?
The flashing must have stable support in accordance with the adopted roof system. During installation it must not deflect between random points. The method of support is determined together with the arrangement of battens, counter-battens and the underlay. It should not be assumed that boards inserted by eye will solve every case.
The membrane is laid so that water on its surface has a path to the eaves. Joints should overlap in the direction of flow. At the valley it is easy to create a pocket in which moisture will be retained. Before covering, it is worth inspecting the entire run of the membrane, especially where the valley meets the eaves and at the dormer.
How should the valley sheet be selected and laid?
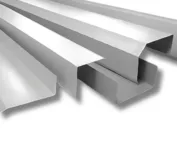
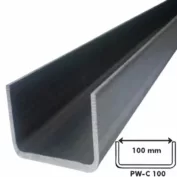
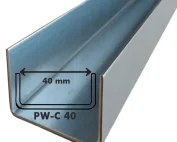
The width of the flashing is selected according to the geometry of the slopes and the quantity of water drained. A universal dimension from a short guide cannot replace this selection. The channel needed at a small dormer may be too narrow for a long valley collecting water from a large area. The remaining drainage width should result from the detail design.
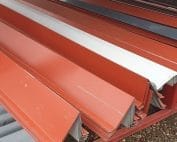
The elements are laid from the bottom upwards so that the higher flashing overlaps the lower one. The size of the overlap and additional sealing depend on the system and the roof pitch. Allowance must be made for thermal movement of the sheet metal. Fixings are placed at the locations specified in the instructions, outside the main path of flowing water. Driving screws through the centre of the channel is a serious error.

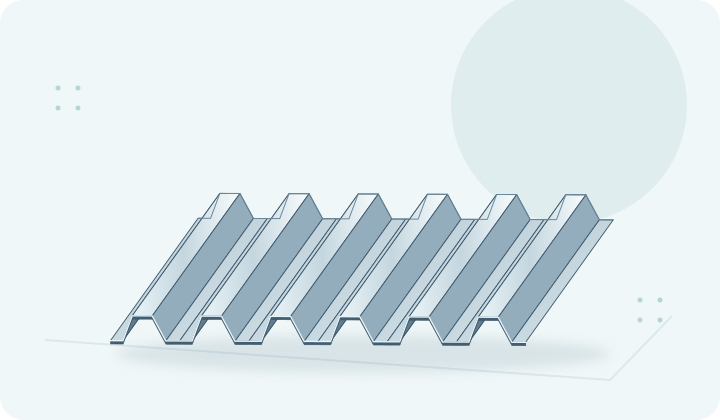
How should tile-effect metal roofing or trapezoidal steel sheet be terminated at the roof valley?
The sheets are cut to the marked line. They must not meet above the centre of the valley or create random narrowings of the drainage path. With modular tile-effect metal roofing, the division of elements must be planned in advance. Narrow ends after diagonal cutting require reliable support and fixing, and sometimes a change in the layout of the sheets.
The steel sheet is cut with a tool intended for the given covering. Sparks and high temperature can damage the protective layer. Swarf must be collected before leaving the roof overnight. Surface sealing must not block drainage. Profile seals are also selected for the specific section, rather than pressing a random foam under the sheet.
Why does a roof valley leak despite a new covering?
The source of the problem is often a channel that is too narrow, an incorrect overlap or a screw hole. Water can also get under the covering through ponding on leaves. During thaw, ice makes the situation worse. A mark in the attic is not always located directly beneath the damage, because moisture can travel along the membrane and roof truss components.
Repair should be preceded by determining the cause. Sealing a visible gap from above is often short-lived if water still remains underneath. In the case of a recurring leak, the lower end of the roof valley and the capacity of the gutter must also be checked. A correctly made channel will not help if the outlet at the eaves is constantly blocked.
What should be inspected at handover and during subsequent inspections?
At acceptance, ask for photos of the support and the underlay before they were covered. Check the continuity of the channel, the conformity of the overlaps, the absence of swarf and fixings outside the drainage path. Inspect the cut edges of the covering. They should not be ragged or so long that they narrow the valley at its lower part.
In later use, the most important thing is patency. After the leaf-fall period and after strong gales, it is worth commissioning an inspection. Do not enter the valley without protection or rest a ladder on it. In the contractor’s offer, it is good to separate the price of the sheets themselves from the cost of the valleys and other flashings. These are labour-intensive details that have a direct impact on the durability of the entire roof.
7 branches. Materials closer to your project.

- SEROCK — Dzierżenin 34 E
- BŁONIE — ul. Sochaczewska 138A
- RADOM — ul. Grobickiego 8
- ŁÓDŹ — Natolin 8
- OLSZTYN — Barczewo, ul. Prosta 9
- WROCŁAW — ul. Jerzmanowska 10C
- GORZÓW WLKP. — ul. Zielona 33/34