
Building insulation
How do you choose insulation for a house made of ceramic blocks before finishing the façade?
In brief
A ceramic wall does not have a single, common thermal parameter. The blocks, their thickness, the mortar and the details executed all matter. The insulation is selected for the whole wall. It is easiest to avoid rework when the insulation thickness is determined before window sills, roof flashings and the fixing of façade equipment. Find the block marking and the solution specified in the design. Do not compare two houses solely by the red colour of their walls. Products differ in the arrangement of voids and in thermal properties. Also check the wall thickness and the type of joints. In an extension, the older part may have a completely different construction from the new one.
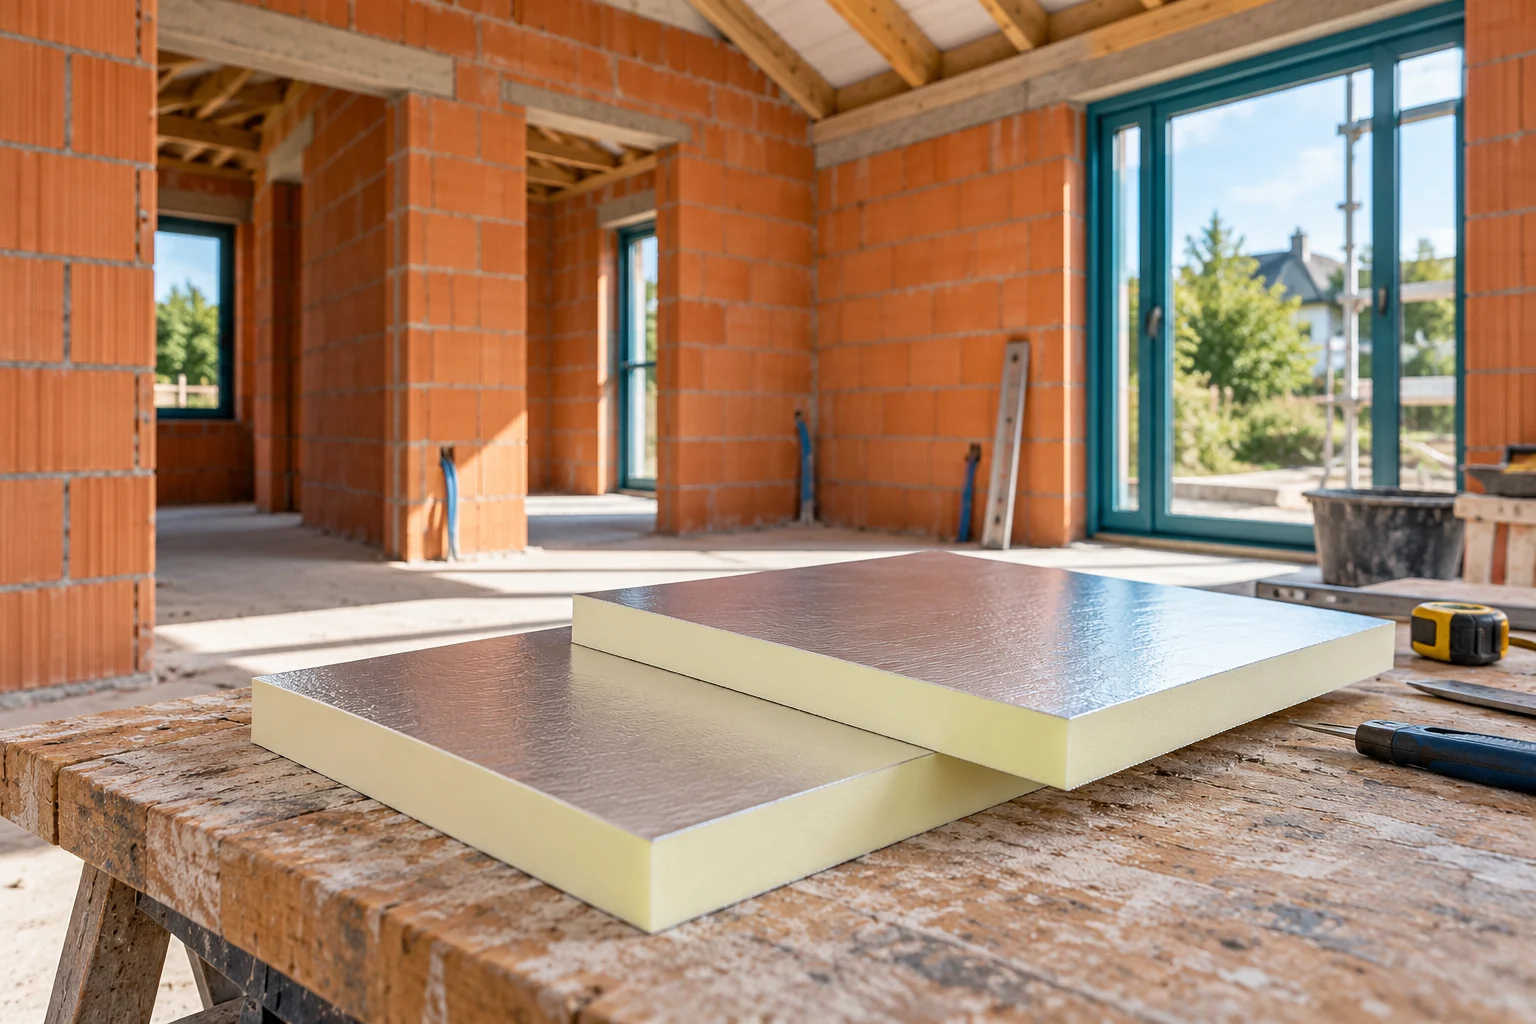
What do you need to know about the finished wall?
Inspect the lintels, ring beams and the junction with the floor slab. Establish where the reinforced concrete elements occur. They must be taken into account in the insulation solution. Insulating the flat field of the wall does not guarantee correct performance at the balcony corner or the reveal.
Before gluing, assess the evenness and condition of the surface. Remove the causes of damp. Loose fragments and dirt can weaken the fixing. Large unevennesses are not levelled with an arbitrarily thick layer of adhesive unless the system allows such work.
How do you compare thicknesses without guessing?
Calculate the resistance of the existing layers, then select the insulation for the adopted target. For example, assume that the wall together with the renders and surface resistances gives a total of R = 1.10 m²·K/W. This is an agreed value for the calculation, not a parameter of every ceramic block.
If the target is U = 0.20 W/(m²·K), the total resistance should be, in simplified terms, 5.00. About 3.90 m²·K/W is therefore missing. At a lambda of 0.026 W/(m·K) this corresponds to about 101 mm of insulation. The result requires selecting an available thickness and checking corrections and details. It should not be rounded down merely to fit the price.
The 120 mm variant may have a different declared lambda than a thinner board from the same family. The calculation must then be repeated with the parameter specific to the ordered product. Assuming one lambda for every PIR leads to errors.
Which cladding is suitable under render?
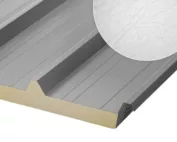
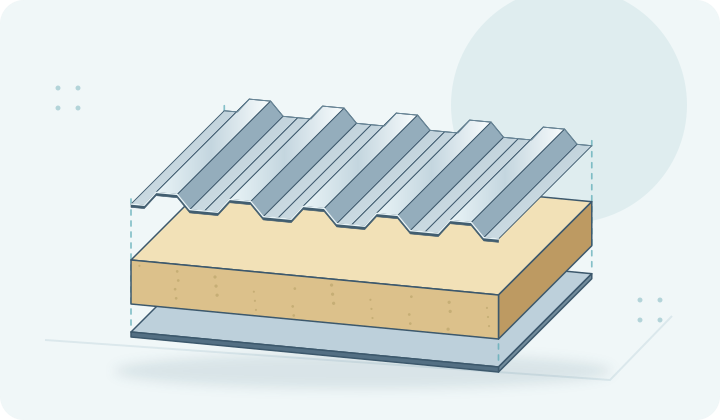
For insulation systems with render, boards with a surface intended for such use are used. An example is a suitable glass fleece. The smooth aluminium facing of another board does not automatically become a substrate for adhesive and mesh. The whole set matters: insulation, mortars, fixings, reinforcing layer and finish.
For a hollow clay block wall, enter the λ-value for the insulation thickness you intend to order. In the render-grade board range discussed here, boards at least 120 mm thick have a λ-value of 0.025 W/(m·K). Use 0.026 W/(m·K) for thicknesses from 80 mm up to but excluding 120 mm, and 0.027 W/(m·K) for thinner boards in this range. If you change product ranges, check the new board’s data sheet.
During installation, observe the indicated side of the board. Do not swap adhesives or meshes arbitrarily. The number and arrangement of fixings must also be selected to suit the substrate and loads.

Which works need to be coordinated in advance?
Determine the projection of window sills, the width of flashings and the position of downpipes. Allow for the finishing layers. A narrow eaves overhang may require a change of detail once the wall has been thickened. Likewise, brackets for balustrades, canopies or air-conditioning units need a planned transfer of loads into the masonry.
In the example extension in Przeworsk, the new wall can be insulated together with the old one if both substrates are assessed. The junction between the parts of the building nevertheless requires a separate solution. Different structural movement does not disappear under the mesh. Gaps and movement joints must not be covered without checking the design.
Plan scaffolding access and the sequence of work on the roof. The finished facade layer should not later be damaged during replacement of flashings. Every service penetration must have a defined method of sealing.
How do I check my order and collect the insulation?
Prepare the material schedule after measuring the walls. Calculate the areas of reveals and the cuts at openings. Check the actual coverage of grooved boards and the pack sizes. The same facade area can give different consumption with a different cutting layout. Do not add an allowance at random, however, without reviewing the layout.
Before covering the insulation, check the joints, the corners of openings and the continuity at the plinth. Acceptance should take place in stages. Once the render has been applied, every fixing can no longer be easily checked. Keep the markings of the delivered batches and photographs of key details. They will help establish what was actually installed.
Also order solutions for fixing later equipment. A canopy, lamp or downpipe requires different preparation from a light decoration. Recording them before insulation reduces the number of later penetrations.
Short answers from site
Does a thicker block always allow thinner PIR to be bought?
This does not follow from the dimension alone. The properties of the specific masonry and a calculation of the entire assembly are needed. Bridges at structural elements also matter.
Can the choice of insulation be left until the day the window sills are ordered?
It is better to decide earlier. The thickness of the finished wall affects window sills, flashings, fixings and window details. A late change usually requires re-measurement.
7 branches. Materials closer to your project.
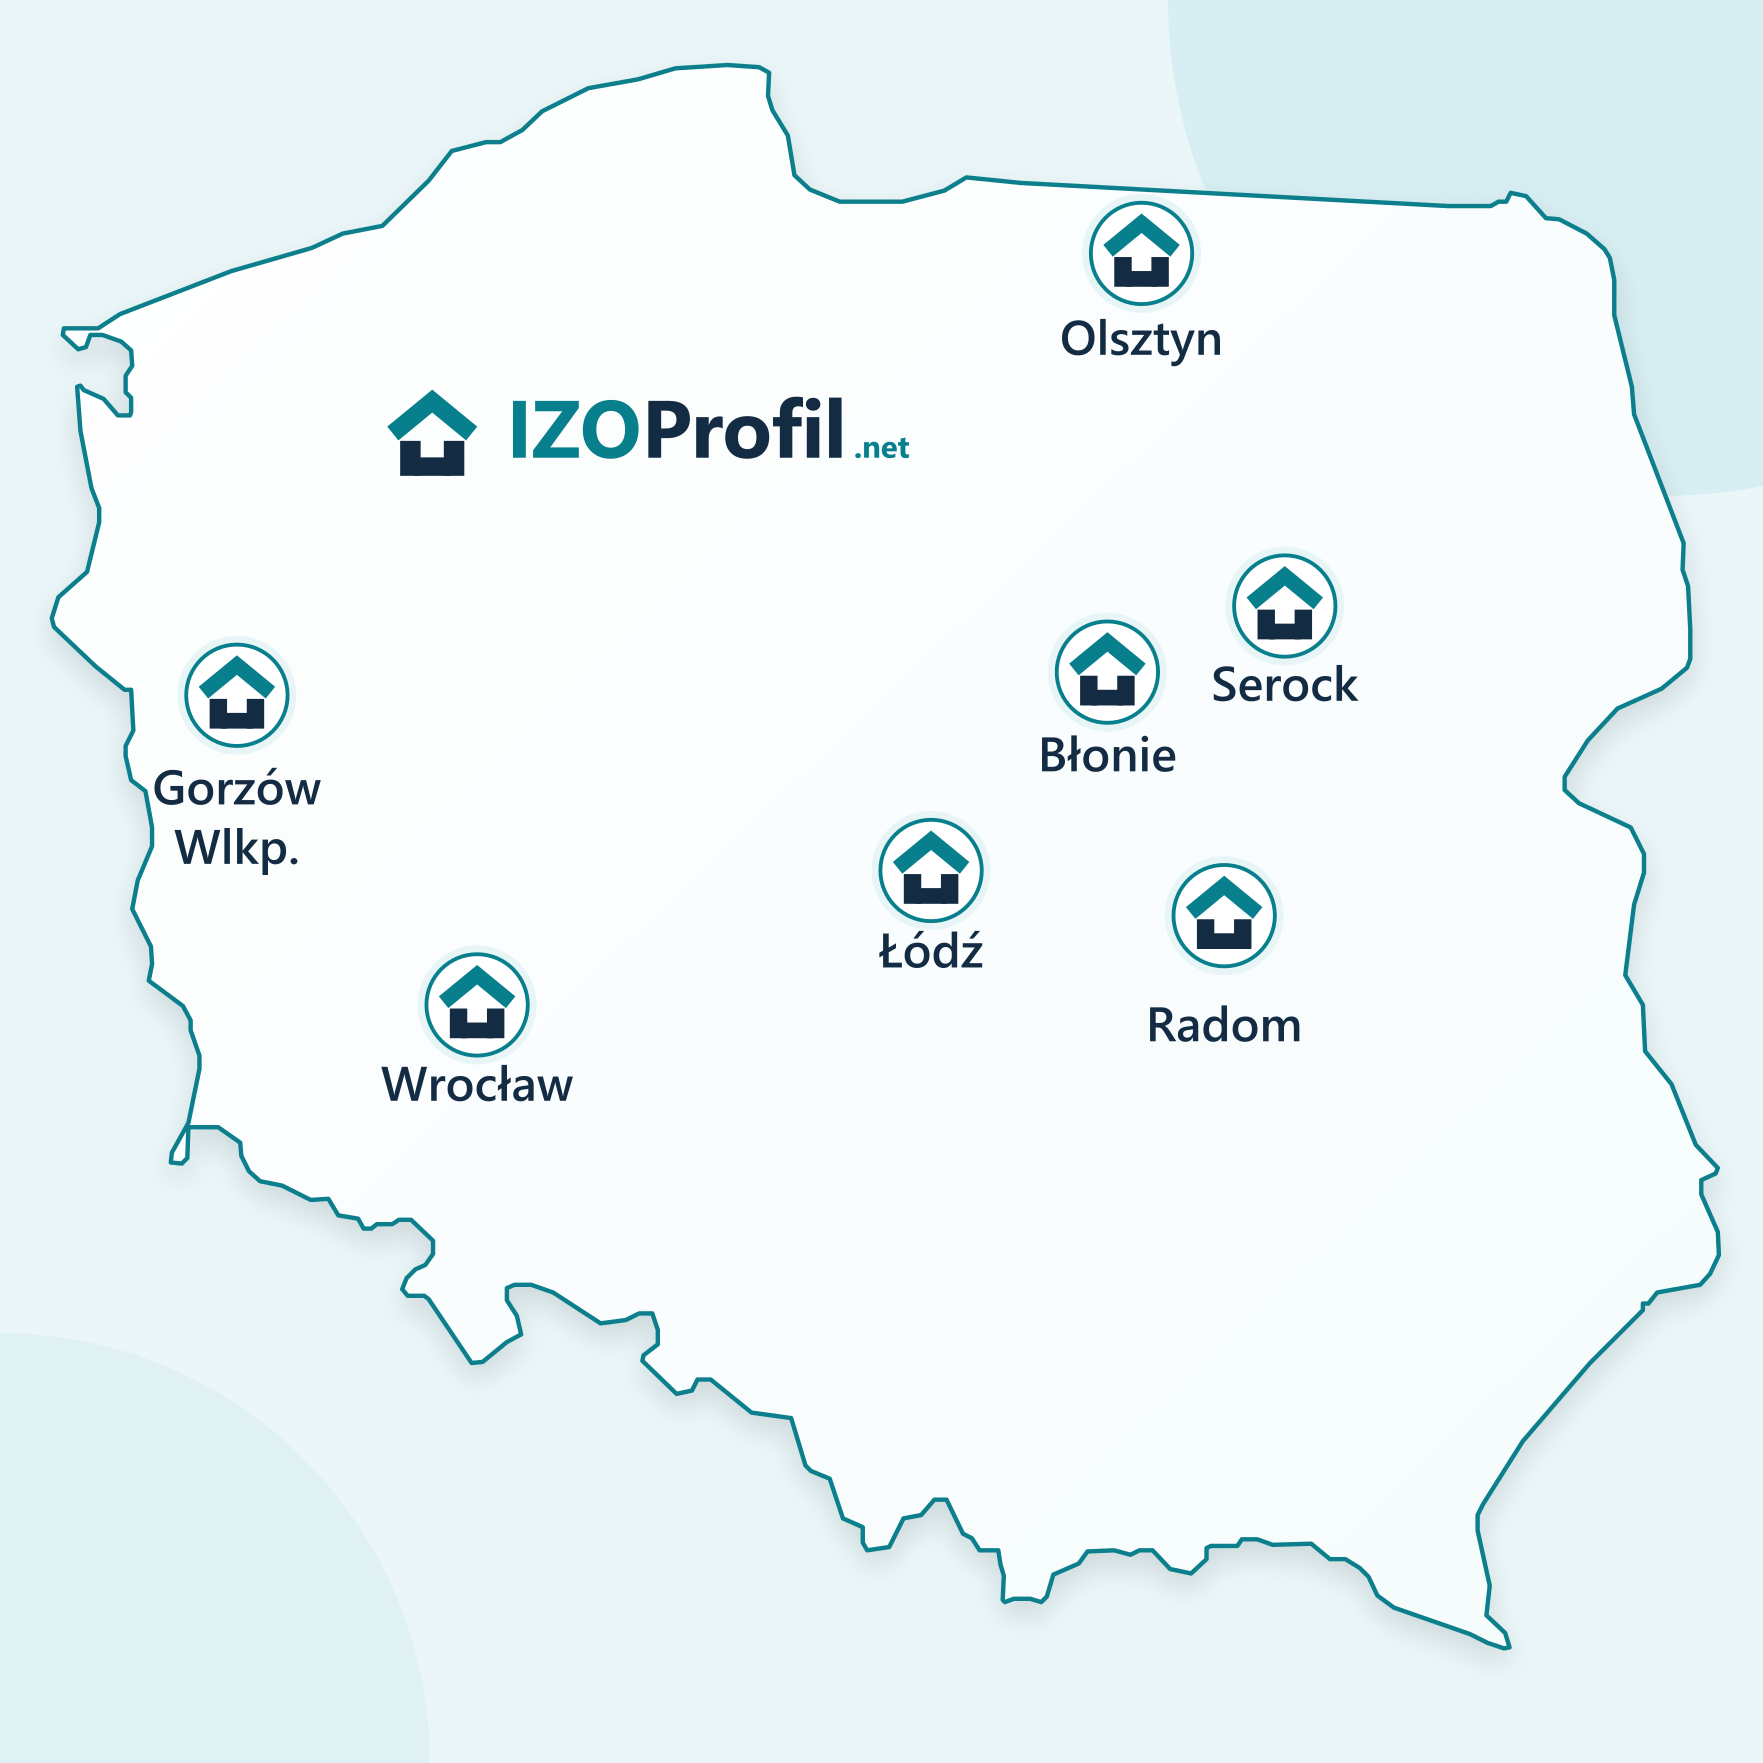
- SEROCK — Dzierżenin 34 E
- BŁONIE — ul. Sochaczewska 138A
- RADOM — ul. Grobickiego 8
- ŁÓDŹ — Natolin 8
- OLSZTYN — Barczewo, ul. Prosta 9
- WROCŁAW — ul. Jerzmanowska 10C
- GORZÓW WLKP. — ul. Zielona 33/34