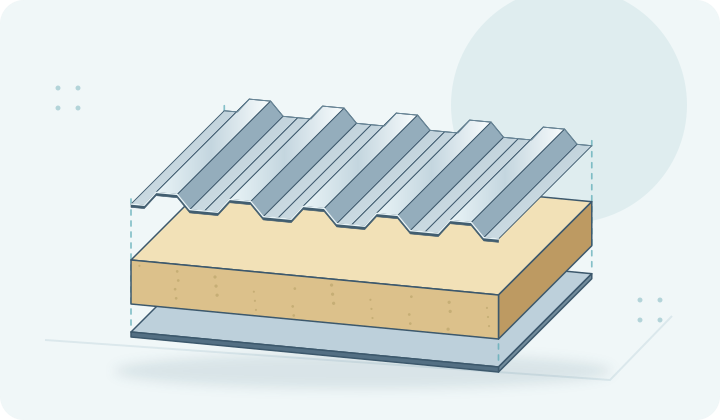
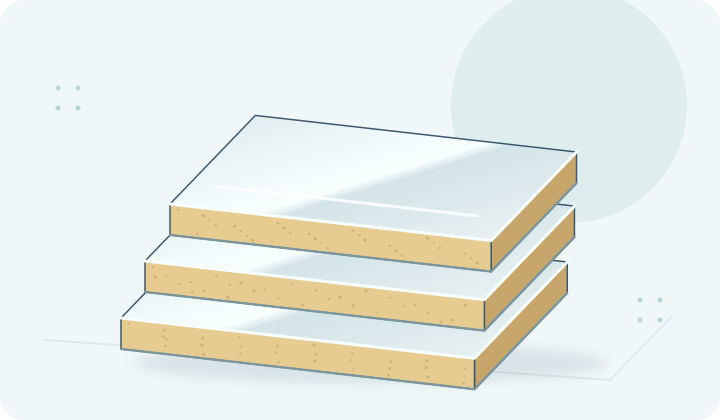
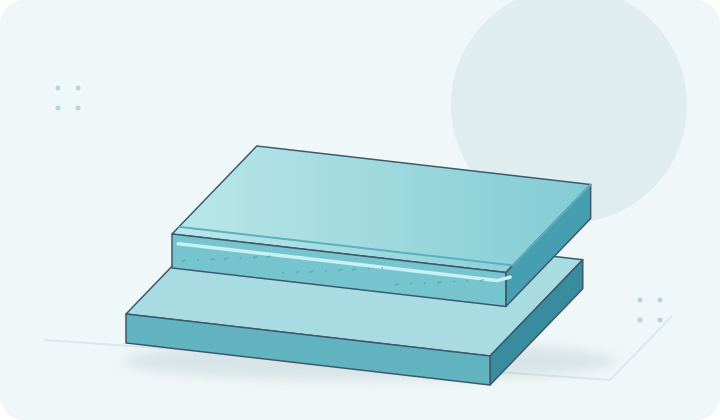


PIR insulation
Receiving and laying Utherm Floor LE: preparation for screeding
At a glance
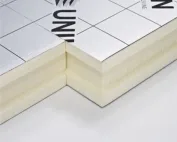
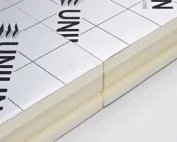
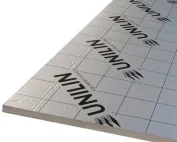
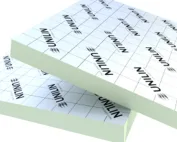
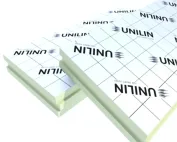
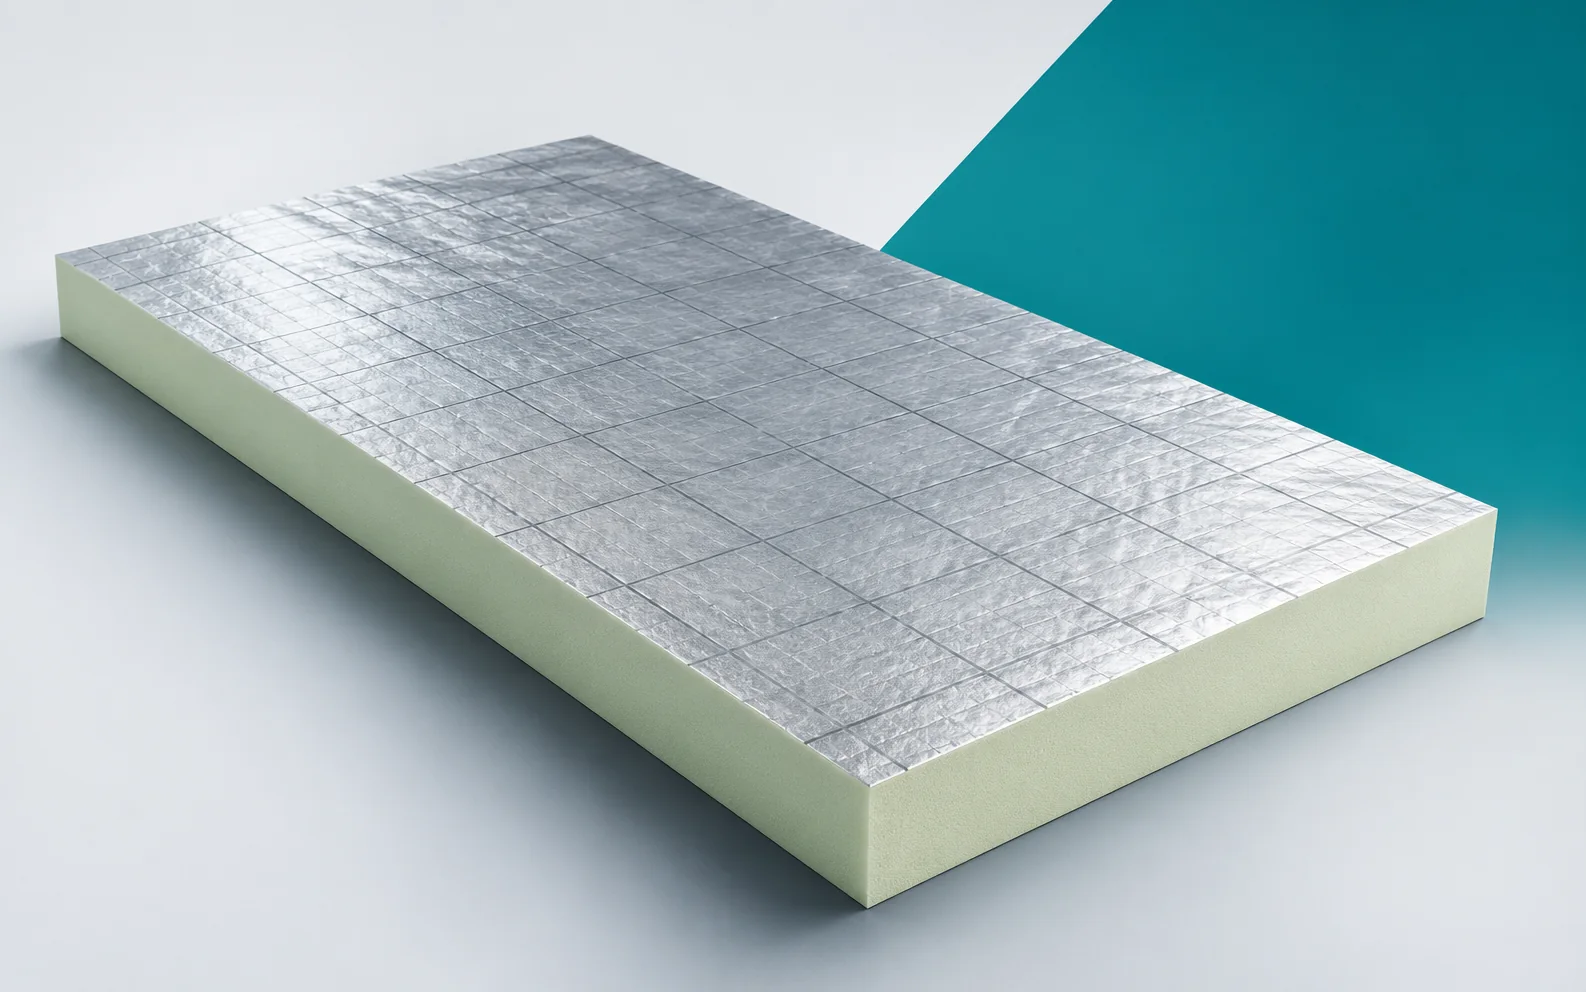
Utherm Floor LE is a PIR board intended for floors, with gas-tight foil facings on both sides and a printed grid. Preparation for the screed begins with checking the substrate and the services that will be located beneath the insulation, and with establishing how rigidly the board will be supported. At the briefing with the crew, the restricted floor level at the doors must also be agreed and the height of Floor LE, the underlay, the services and the finished covering added together.
PIR Floor LE boards and the finished floor level
The dimension of the board alone does not show the finished floor level, which is why delivery does not conclude the preparations. Before distributing the material, check the cross-section from the substrate to the threshold level and the adjacent floor together with the person supervising the works. Agreeing the first stage is to allow the required thermal insulation to fit without inadvertently reducing the layers above it.
The correct thickness and reading the thermal resistance
To check the delivery of Floor LE, prepare the designation of the selected thickness: the 60 mm variant has a declared R_D of 2.70 m²K/W. The thermal conductivity value of this board is 0.022 W/(m·K). With a small gap between the substrate and the planned floor, the low lambda facilitates the selection of insulation, but space for the entire designed floor cross-section must still be found on the drawing.
Before using the first batch, assign the thermal result to the correct Floor LE thickness. An assessment of appearance is not sufficient, since a floor on the ground requires consideration of the geometry and the conditions of contact with the substrate. The check before use is to allow the influence of the board to be assessed without calling its resistance the coefficient of the entire floor. In the record, note the catalogue data of the selected thickness and the separate calculation of the relevant cross-section, so that the installed components can be linked to the documents.
Polyurethane insulation on a prepared substrate
A PIR board will not level out pronounced bumps or hollows, which is why the substrate should provide even support. Before laying Floor LE, check the support in the area around conduits routed below the insulation.
On the starting section, level the surface beneath the Floor LE boards in the 1200 × 600 mm format and only then move on to the next rows. A protruding pipe or a hollow can leave a board supported at only a few points. Acceptance of this section should confirm even contact without wedging the insulation with offcuts; before laying the next layer, record in the works documentation the condition of the substrate, the levels and the method by which the services were routed beneath the thermal layer.
Heating, screed and movement joints
In underfloor heating, Floor LE limits the loss of energy towards the substrate, but it does not replace the design of pipe spacing, flow temperature or circuit control. As you complete this stage, check the heating layout above the insulation and its connection to the screed.
Before closing the stage, agree the separating layer, the fixing of the pipes and the movement joints above Floor LE. PIR limits the flow of heat towards the substrate, but it does not select the output or the heating control, so an open issue in the heating part should not be left until the next layer. The polyurethane foam in the board still requires protection — before resuming work, assess the pipe layout, the thickness of the screed and the type of finish on the room side.
Equipment loads and footfall noise
Utherm Floor LE is a rigid board, so on its own it does not act as a layer attenuating impact sound. Where the floor is to meet acoustic requirements, the layer build-up must be selected for that condition. Before letting the next crew onto the completed section, assess the heavy wardrobe and the requirement to reduce footfall sound above the Floor LE board.
On site, two matters must be kept separate: the way loads from equipment are distributed and the acoustic function of the floor. Temporary works also matter, because rigid thermal insulation does not automatically replace impact-damping material. The agreed sequence should allow the entire floor to be matched to the actual equipment and the way it is used. Before covering a section, confirm the arrangement of the load-distributing layers and the edge detail at the walls, and clarify any discrepancies before the next team takes over the work.
Insulation with polyurethane: the cost of a complete floor
Before laying the boards, establish the cross-section from the substrate to the finished surface: insulation, heating, screed, adhesive and covering. When calculating the material, include the cost of adapting thresholds where the Floor LE thickness changes.
It is worth linking acceptance of the delivery and the substrate to the full scope of the floor with Floor LE, including preparation and finishing. A lower price for the board alone does not determine the outcome if the solution has lower resistance or omits the substrate work. Pass on the schedule of levels, the required levelling and the materials above the insulation together with the section, so that inspection does not rely solely on the number of pallets.
A case worth considering
Before laying Utherm Floor LE, acceptance of the substrate also covers the route of services beneath the boards. A protruding pipe can leave the board without continuous contact, which is why the points where it passes through are checked before the next layer is installed. Photo documentation should also show the location within the room. Once the screed has been installed, correction is considerably more difficult, so preparing the substrate directly affects the efficiency of installation.
7 branches. Materials closer to your project.
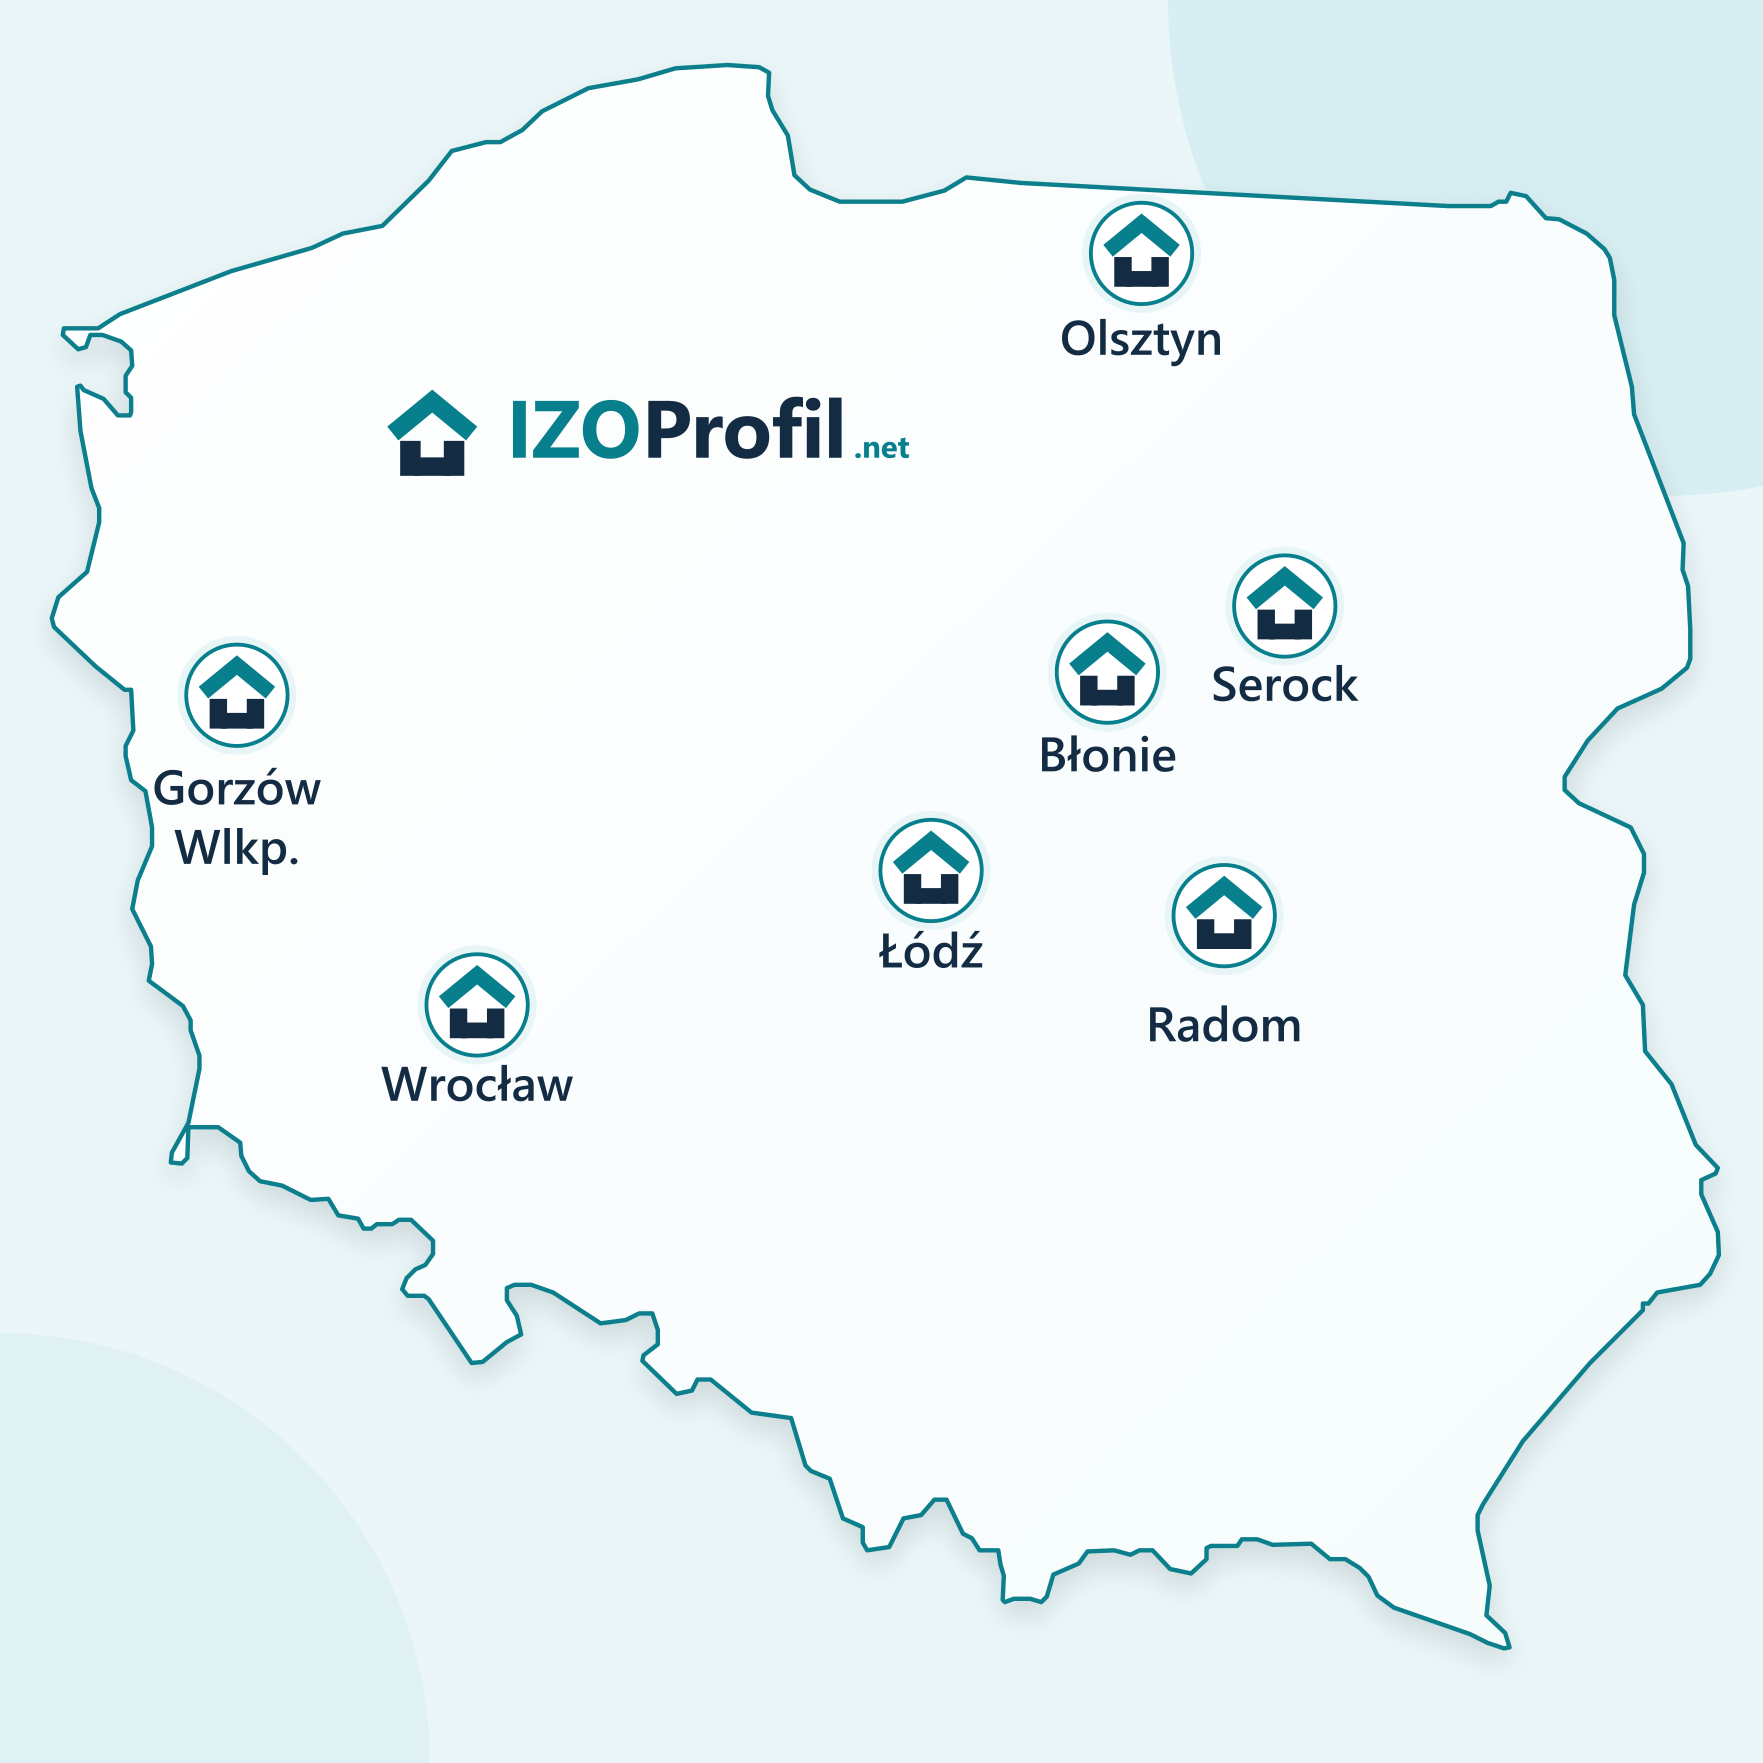
- SEROCK — Dzierżenin 34 E
- BŁONIE — ul. Sochaczewska 138A
- RADOM — ul. Grobickiego 8
- ŁÓDŹ — Natolin 8
- OLSZTYN — Barczewo, ul. Prosta 9
- WROCŁAW — ul. Jerzmanowska 10C
- GORZÓW WLKP. — ul. Zielona 33/34