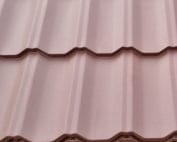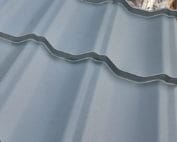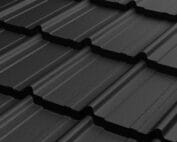
Installation and details
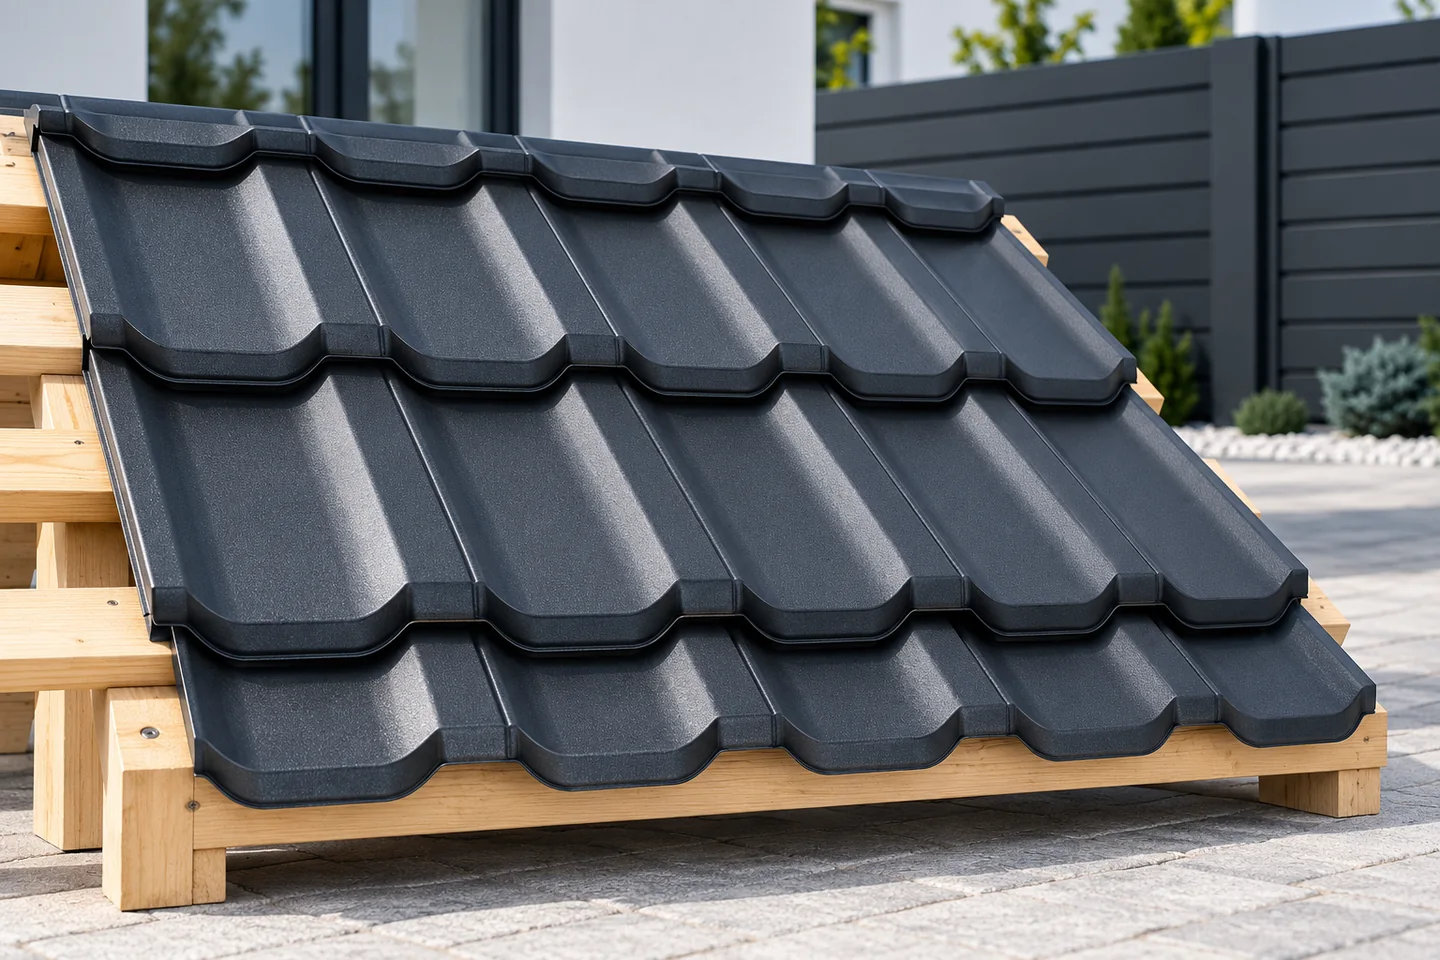
Modular metal roof tiles on a pitched roof: how to lay out the courses
In brief
The key is to confirm that the roof pitch and structure meet the requirements of the chosen modular metal roofing system before anything is ordered or accepted. Before carrying sheets onto the roof, check the current product instructions, the material schedule and the flashing plan, and organise safe access and a method for passing the modules up. On delivery, verify the markings, colour and condition of the packs, protecting them from moisture inside the packaging and from coating damage. These steps set the order for the work and reduce the risk of errors during installation.
What should be prepared before bringing the modules onto the roof?
First you must confirm that the pitch and the structure meet the requirements of the chosen covering. You need the current installation instructions, a material schedule and a flashing plan. On top of that comes the organisation of safe access and of getting the sheets up onto the roof. The smaller format reduces some of the transport difficulties, but the work is still carried out at height.
Before unpacking, check the product markings, the colour and the condition of the packs. The sheets are stored in accordance with the instructions, protecting them from moisture inside the pack and from damage to the coating. Material should be issued in line with the sequence of works. It is not worth distributing random stacks across the roof slope, because the covering and the structure have specified load conditions.
How to check the substrate and batten spacing?
The battens must be stable, straight and set at the required spacing. This dimension results from the geometry of the specific module. One distance cannot be assumed for every tile-effect metal roofing sheet. The eaves zone requires separate checking, where the position of the first batten and the projection of the covering affect the alignment of the entire roof slope.
The roof geometry, the eaves line and the diagonals are also checked. The underlay should be correctly connected and drain water in accordance with the adopted detail. The intended ventilation above it must be maintained. Substrate errors will not disappear after the modules are screwed on; they can hinder the fitting of the laps and cause an uneven appearance of the covering.
How to start laying and maintain the line of sheets?
The direction and sequence of installation should be taken from the product instructions. They are determined by the shape of the laps, the profiles and the water-draining solutions. The module must not be rotated simply because it is more convenient to lay it that way. An element with a seemingly symmetrical appearance may have a specific side intended for connection with the next sheet.
The first modules are positioned with particular accuracy relative to the eaves. As the work progresses, the lines of the profiles and the fit of the laps must be checked. A small displacement repeated in successive rows can produce a large error at the end of the roof slope. Alignment must not be forced by excessively bending the sheet or by drawing a badly positioned element tight with screws.

How to carry out fixings and connections?
The type of screws, the fixing positions and the sequence of fastening must correspond to the system. A distinction is made between fastening to the substrate and connecting adjacent sheets. The arrangement should account for wind load, including at the roof edges. It is not enough to calculate a single average number of fasteners for the entire surface without checking the zones.
Screws must be seated perpendicularly and with the correct seal compression where the seal is part of the connection. Too little compression leaves a gap, while too much can damage the component. The tool must be checked during the work. Faulty fixing should not be masked with additional sealant without establishing the cause and an appropriate repair method.
What should be done at roof valleys, chimneys and the ridge?
Cutting requires tools that do not overheat the edges and are approved for the sheet. Swarf must be removed immediately from the surface and the laps. At the roof valley, correct detailing and the water drainage path are important. The cut module must retain the required support and fixing method, even when only a small piece remains after cutting.
Around the chimney and other penetrations, details matched to the geometry and the roof layers are needed. The ridge should combine protection against precipitation with the required ventilation of the system. Accessories such as roof steps or snow guards require prepared fixing. Their installation should be planned in advance so that finished connections do not later have to be reworked unnecessarily.
What should the acceptance of the finished covering include?
Straight module lines, lap fit, fixings and completeness of flashings are checked. The condition of the coating, absence of swarf and clearance of the intended ventilation gaps are important. The eaves, roof valleys and installation penetration points should be inspected. Photographs taken before the layers are covered help confirm solutions that are not visible after the work is completed.
Finally, waste and protective film must be removed within the period specified for the material. The owner should receive operating instructions and data on the product as actually installed. The modular format can streamline the work if the contractor knows the system. A good result comes from consistently applying its rules across the whole roof, from the first sheet to the last flashing.
7 branches. Materials closer to your project.

- SEROCK — Dzierżenin 34 E
- BŁONIE — ul. Sochaczewska 138A
- RADOM — ul. Grobickiego 8
- ŁÓDŹ — Natolin 8
- OLSZTYN — Barczewo, ul. Prosta 9
- WROCŁAW — ul. Jerzmanowska 10C
- GORZÓW WLKP. — ul. Zielona 33/34