

PIR insulation
Laying Recticel Eurofloor: level substrate, cuts and board protection
At a glance
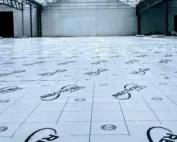
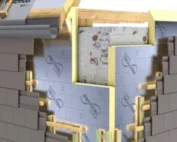
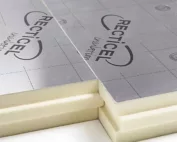
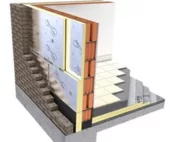
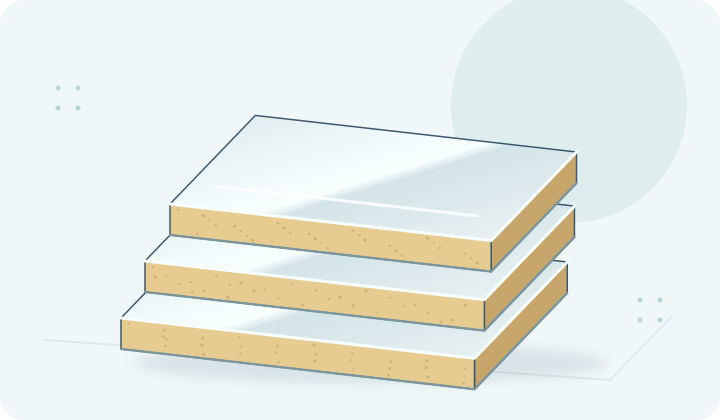
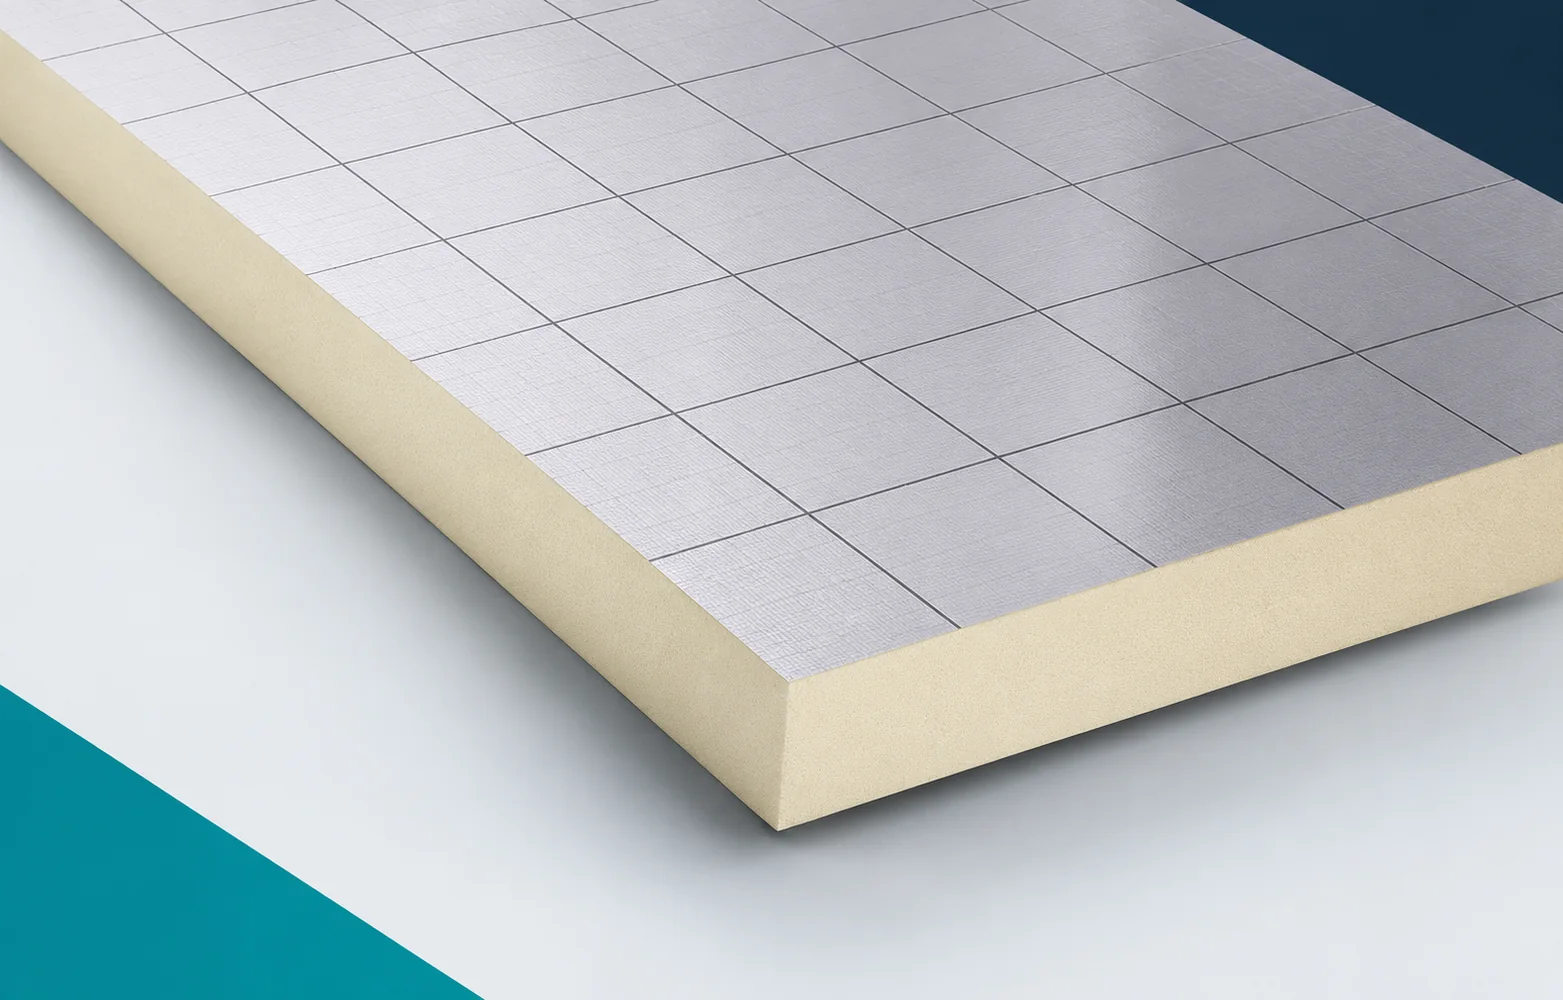
Eurofloor is thermal insulation for floors, including those with underfloor heating, so the result depends on a level substrate, precise cut-outs around services and protection of the surface during subsequent works. The boards have a rigid PIR foam core and a multi-layer gas-tight foil on both sides with a printed grid. Before distributing the material between work stations, establish at the briefing where the insulation will sit within the floor build-up relative to the heating installation located above it.
Receiving and organising the material
The printed grid on the foil helps to lay out the boards, but does not replace the heating installation distribution plan. Therefore, before separating the material into work stations, compare the layer build-up from the substrate to the floor with the routing of the planned heating. Only this correspondence allows you to choose the starting point and the direction of laying the PIR boards.
Layout, cutting and joints
The current Recticel Eurofloor datasheet states a format of 1200 × 1200 mm and square edges. This is important when cutting and ordering packs.
The first laid section is a trial of the working method: use it to check the plan resulting from the 1200 × 1200 mm format and square edges, adapted to the actual dimensions of the room and to obstacles in the substrate. If you rely on a description of an older format, the number of packs required may differ. After this assessment, prepare the cutting plan according to the dimensions of the Eurofloor variant actually supplied, and before covering the insulation, record in the works documentation the format from the label, the support at the joints and the arrangement of the final strips at the walls.
Base the cutting of Eurofloor on the format of the boards actually delivered to site; confirm the current 1200 × 1200 mm dimension before laying. Carry out acceptance of the condition of the insulation, including at walls and services, before the next crew takes over. Then any later damage will not be mistaken for a material defect after the screed has been installed.
Dry storage and closing the layers
The Eurofloor foil limits diffusion through the board, but the joints remain part of the floor solution. Depending on the arrangement, separate moisture-control and separating layers are required.
At the end of the working day, check the separating layer and the moisture protection in a cross-section of the insulated floor. The foil on Eurofloor cannot be equated with the complete set of layers protecting the floor against moisture before handing over the laid layer to the team carrying out further works. A gap between adjacent boards can interrupt the continuity of the surface covered by the foil, so agree this matter before completing the stage. The airtight facing of Eurofloor does not exempt you from protecting the rigid boards; before resuming work, assess the type of protective layers, the connections at the perimeter and the condition of the substrate before laying the insulation.
Checking the assumptions before cutting
The lambda of Eurofloor is 0.022 W/(m·K) within the stated thickness range of 20–100 mm. In the datasheet, 100 mm thickness is assigned RD 4.50 m²K/W.
Before the first cut, check in the documentation the declared RD 4.50 m²K/W assigned to the Eurofloor board of 100 mm thickness. RD describes the insulation layer and does not replace the calculation of the floor on ground before marking and cutting the elements. The reciprocal of the board’s RD is not a ready-made U-value for the whole building floor, so do not choose the variant on the basis of appearance. On delivery acceptance, record the RD value from the datasheet, the floor geometry and the layers and connections required in the calculation.
How to limit damage during the works
Eurofloor declares CS(10/Y)120 and reaction to fire F. The CS value relates to 10% deformation in the test.
Before allowing further crews onto the finished layer, check the location of heavy equipment with small feet on the floor. The screed over Eurofloor must distribute the pressure in accordance with the requirements of the entire floor in use before the adopted solution is released for the further stages of work. Without an assessment of the floor layers, 120 kPa cannot be converted into a permissible weight of furniture. Before closing a section, the serviceability deformation and the load on the system must be checked, and the test result alone must not be relied upon. In the section record, confirm the dimensions of the supports, the requirements for the screed and the loads envisaged for the given room, and report any discrepancies before continuing the task.
Acceptance before covering
An order for Eurofloor needs both the specified insulation thickness and details of the proposed floor construction. Include cutting to size, protection of the boards and the overlying layers in the quotation.
When accepting work described as “polyurethane insulation”, check the quotation for the floor thermal insulation, including cut-offs, covers and protection during subsequent work. The condition of the laid boards must be accepted before the surface is handed over to the installation and screed contractor, when settling the material account and handing the section over to the next trade. A joint agreement on the scope is needed because damage occurring after the insulation has been laid can be difficult to identify once it has been covered. Before handing the front over to the next trade, it is worth establishing responsibility for the condition of Eurofloor between the successive stages of constructing the floor. In the as-built documentation, keep the bill of quantities for the boards, the scope of the auxiliary layers and the record of handing the finished substrate over to the next crew, so that acceptance is not based solely on the number of packages used.
7 branches. Materials closer to your project.
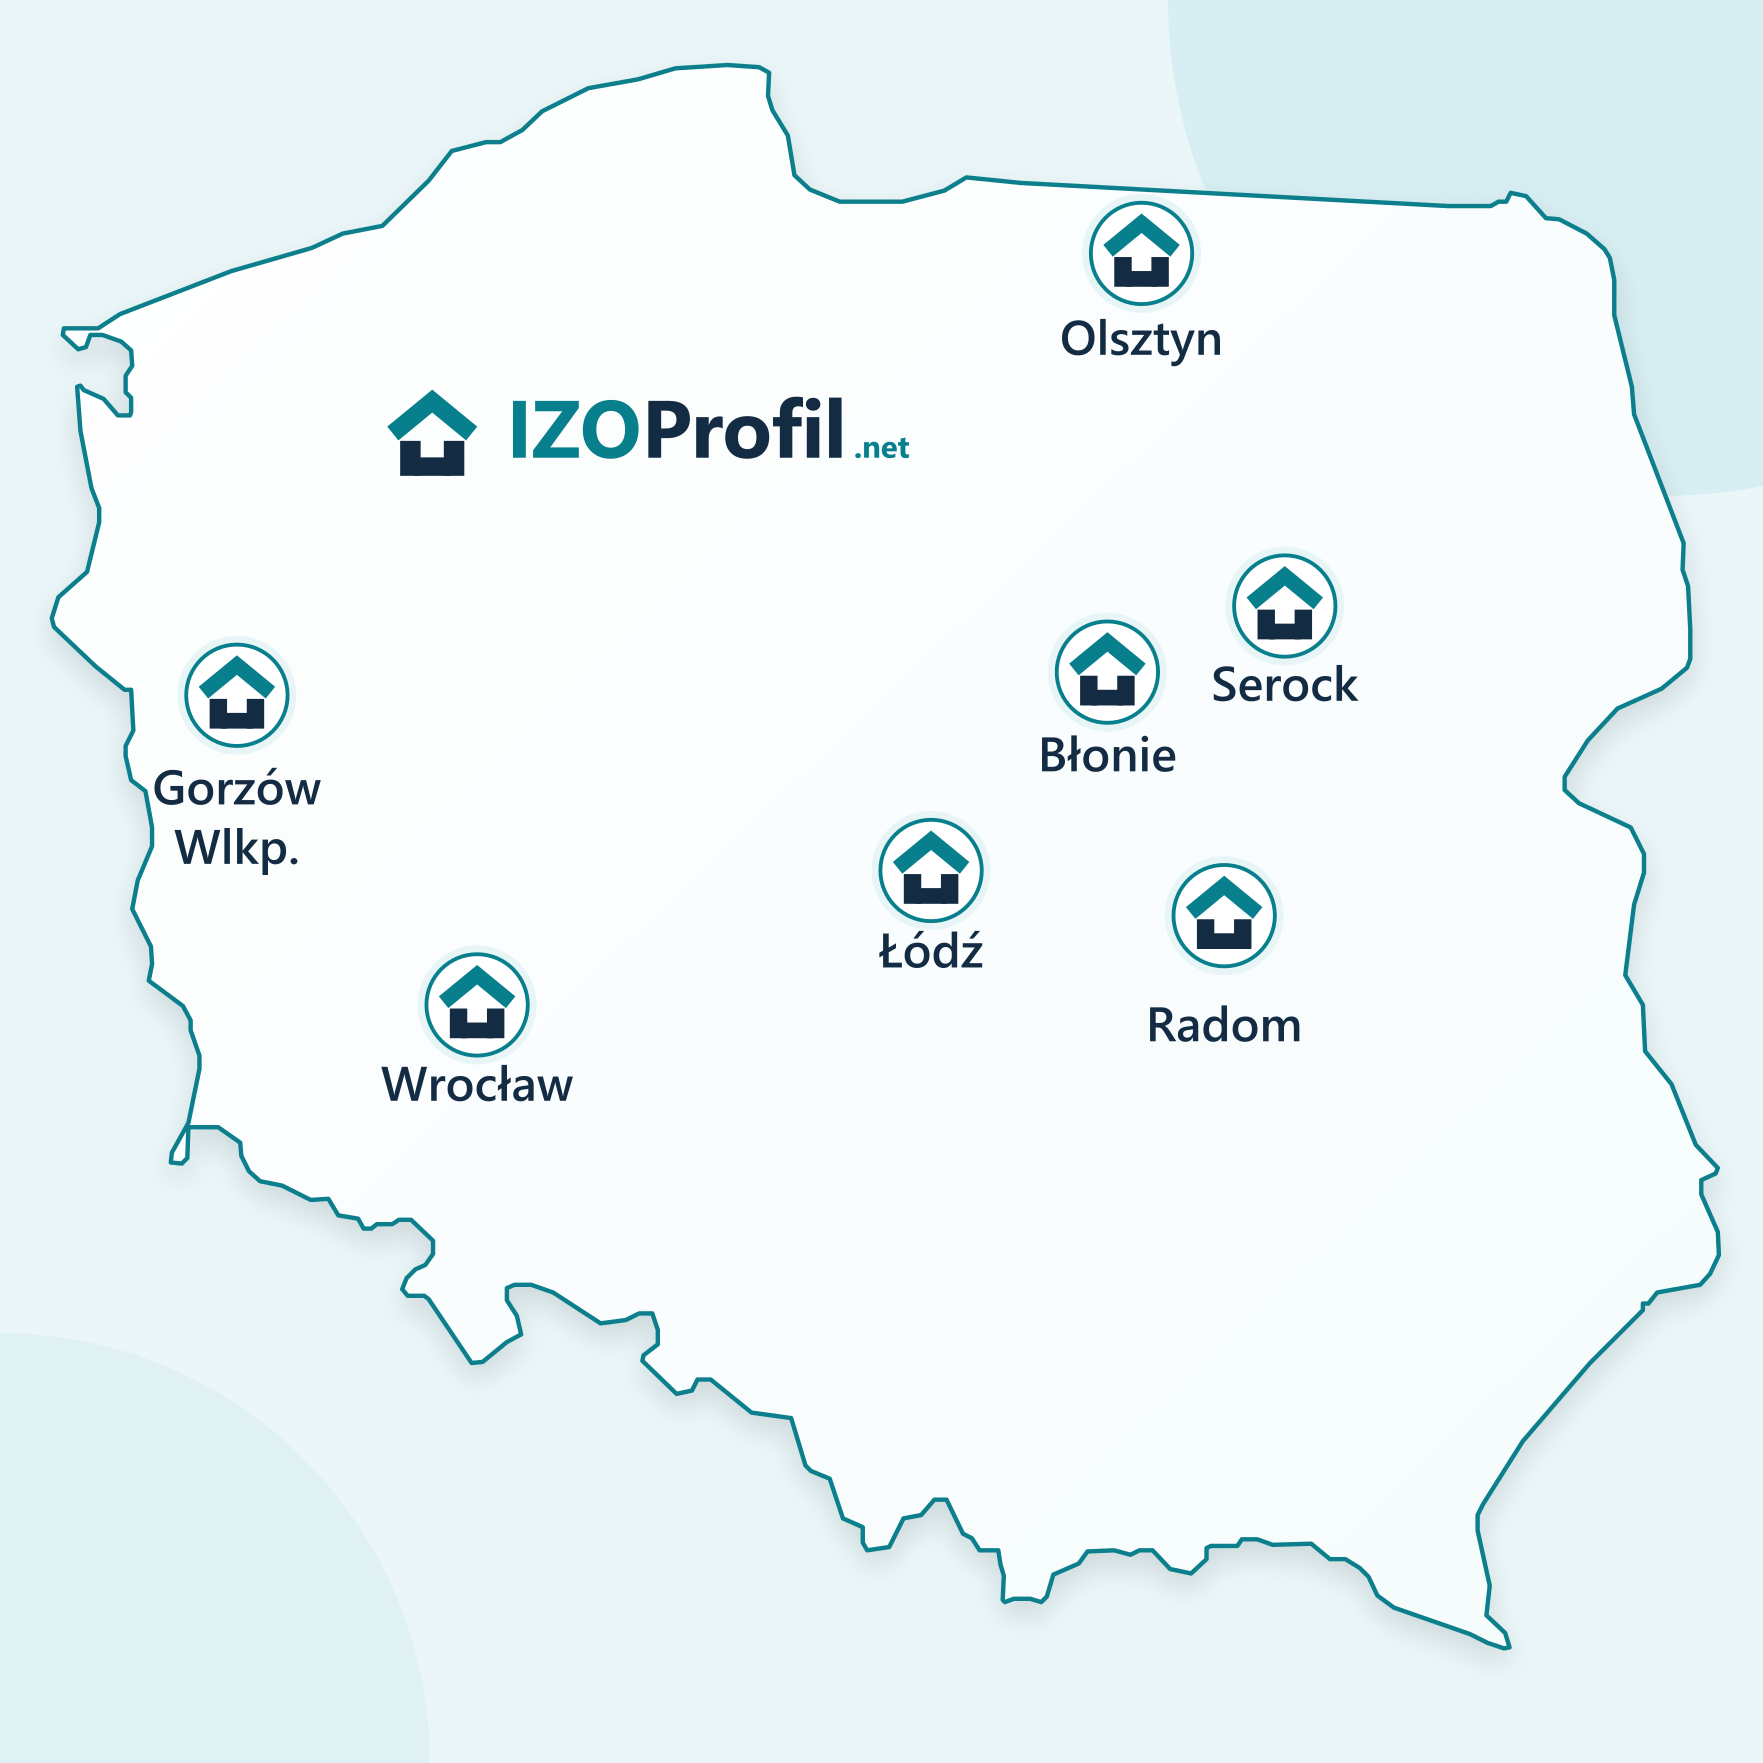
- SEROCK — Dzierżenin 34 E
- BŁONIE — ul. Sochaczewska 138A
- RADOM — ul. Grobickiego 8
- ŁÓDŹ — Natolin 8
- OLSZTYN — Barczewo, ul. Prosta 9
- WROCŁAW — ul. Jerzmanowska 10C
- GORZÓW WLKP. — ul. Zielona 33/34