Renovation and maintenance
How to plan each stage of a roof covering replacement
In brief
Start by checking the structure and deciding what needs repairing before you think about the material. Look at the roof from outside and, where possible, at its framework in the attic. Search for signs of water ingress, sagging, damaged timber and worn connections. A new top layer will not remove old faults. If load-bearing capacity is uncertain, ask a structural engineer for an opinion. Where asbestos is suspected, identify what will be removed.
Step one: assess the condition of the existing roof
Inspect the covering from outside and the structure from the loft side, if accessible. Look for damp patches, deflections, damage to the timber and the condition of the connections. Do not assume that every problem will disappear once the new steel sheet is laid. If there are doubts about load-bearing capacity, an assessment by a structural engineer is needed. The scope of repairs should be established before choosing the covering variant.
Also identify the material intended for removal. If asbestos is suspected, it must not be treated as ordinary rubble or damaged on trial. Establish the formal requirements for the planned scope of renovation. A change of geometry, intervention in the structure and the special status of the building may require different measures than merely renewing the existing outer layer.
Step two: choose the entire roof system
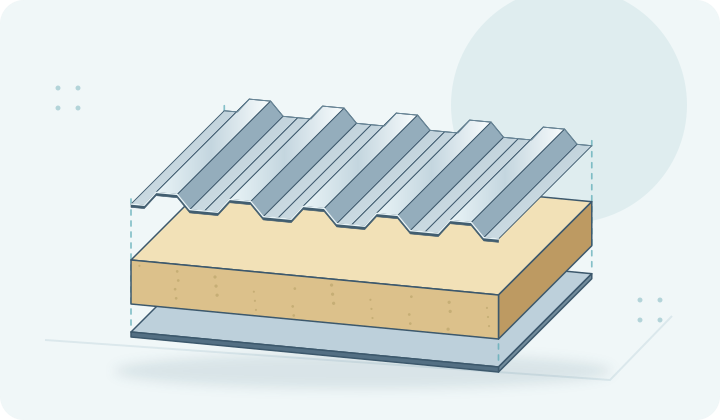
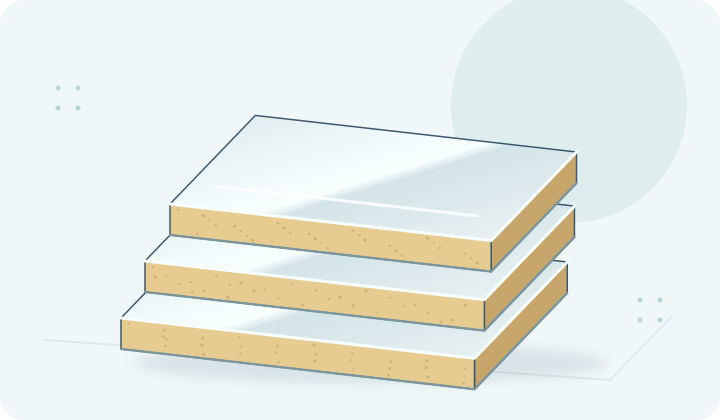
Determine whether the attic will be usable and how it is to be heated. The choice of covering should be consistent with the insulation, airtightness and ventilation. Tile-effect metal roofing, trapezoidal steel sheet and roof sandwich panels require different details. Do not buy the material first and only then consider how to adapt the old substrate to it.
Check the actual pitch of the roof slopes and the approval of the chosen profile. Plan penetrations, snow guards and access to the chimney. If photovoltaics are to be installed in the future, allow for their loads and fixings. During renovation, corrections are easiest to make in the layers that will become difficult to access once the roof is closed.
Step three: measure the roof and prepare a quote
The measurement covers every roof slope, edges, valleys, corners and openings. For sheets cut to size, lengths and transport are important. For modules, the number of elements and the distribution of offcuts must be determined. Do not determine the order solely by dividing the house area by the coverage per square metre. A roof has pitches, laps and places requiring a margin.
The cost estimate should cover dismantling, waste, structural repairs, new layers and flashings. Add transport, unloading, scaffolding and protection of the building. Agree how damage revealed after opening up the roof slopes will be priced. Such a provision allows responding to the actual condition without unclear arrangements made only halfway through the works.

Step four: prepare delivery and dismantling
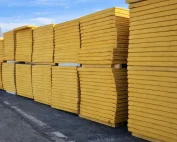
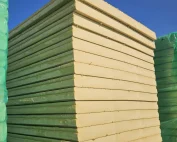
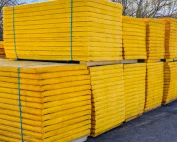
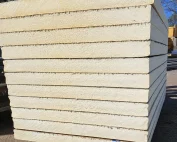
Establish the storage location and how the material will be lifted. Long sheets are easily deformed when handled incorrectly. The pack should be protected from moisture and have conditions for ventilation. Check the delivery immediately by comparing the coating, colour and number of elements with the order. A missing small flashing can halt the closing of an entire roof slope.
Dismantling is planned with regard to the weather and the possibility of temporary protection. It is not worth exposing a larger area than the team can safely cover. Protect the interior and the surroundings of the building. After removing the old material, carry out a re-inspection of the structure. This is the right moment to confirm the condition of the battens, the membrane and connections previously hidden.
Step five: install the layers and the covering
The new substrate must be level and matched to the selected system. The batten spacing for tile-effect metal roofing results from the module, and for trapezoidal steel sheet from the design and loads. The sealing and insulating layers require continuity at walls, the chimney and windows. Leaving these connections to be corrected later from the inside often makes it difficult to achieve a good result.
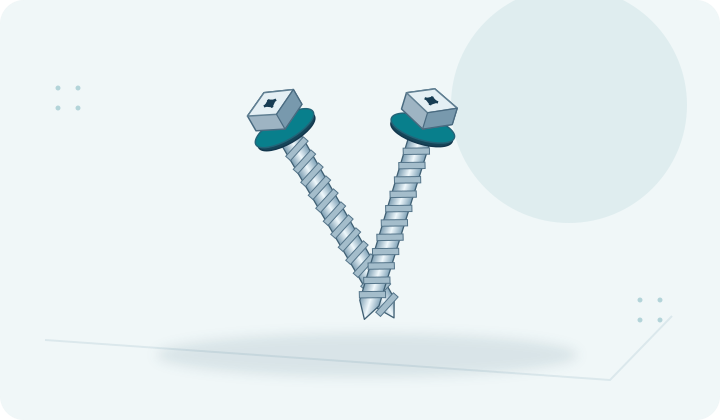
The sheets are installed according to the profile instructions. The direction of the laps, the correct fastenings and the planned ventilation must be maintained. Swarf is removed continuously, and the surface is protected from overheating during cutting. The casings and flashings are made so that water has a drainage path. The aesthetics of the detail should go hand in hand with its function.
Step six: accept the roof and documentation
Acceptance covers the surface, fastenings, flashings, gutters and penetrations. Check that protective films and material residues have been removed. Ask for photos of important connections before they are covered. It is also worth inspecting the interior after the first rainfall, particularly in places of former leaks. The mere sight of an even roof slope does not confirm all the layers.
Keep the product documentation, the warranty conditions and the scope of works. Establish the rules for inspections and cleaning. For a larger renovation, it is good to have a list of any remarks and confirmation that they have been rectified. The replacement of the covering will be a lasting improvement when it addresses the causes of the previous problems. It is precisely the order of decisions and the care taken at acceptance that protect against a quick return to repairs.
7 branches. Materials closer to your project.
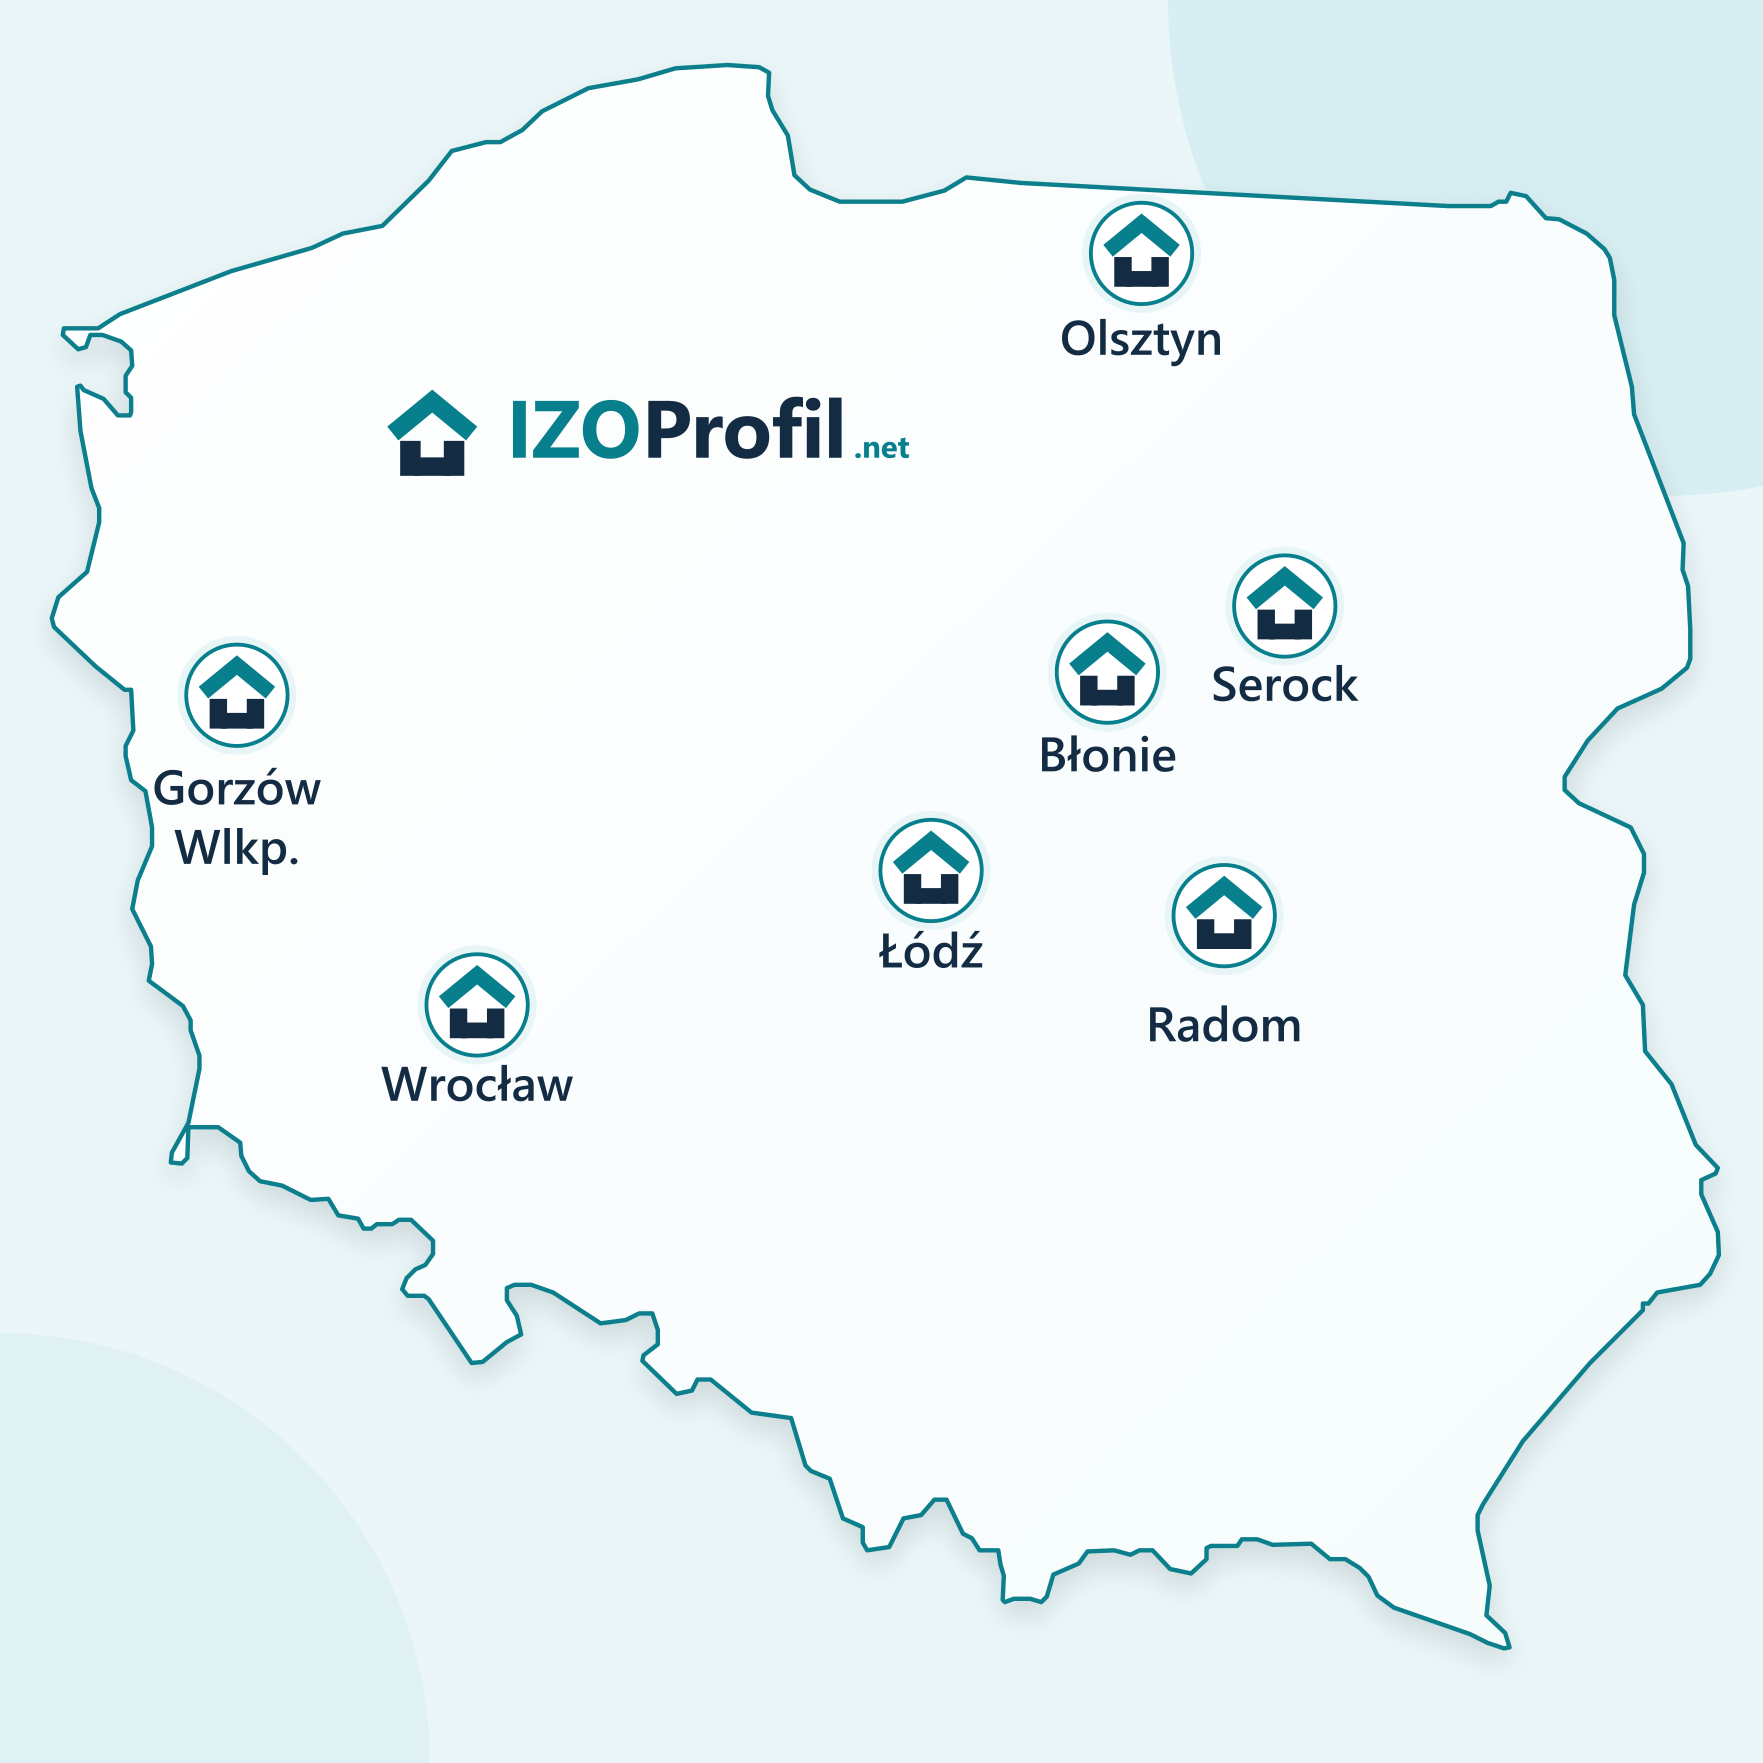
- SEROCK — Dzierżenin 34 E
- BŁONIE — ul. Sochaczewska 138A
- RADOM — ul. Grobickiego 8
- ŁÓDŹ — Natolin 8
- OLSZTYN — Barczewo, ul. Prosta 9
- WROCŁAW — ul. Jerzmanowska 10C
- GORZÓW WLKP. — ul. Zielona 33/34