PIR insulation
Installing Utherm Roof LE: organising deliveries and laying boards
At a glance
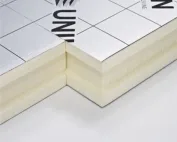
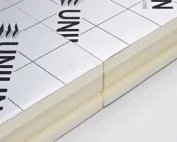
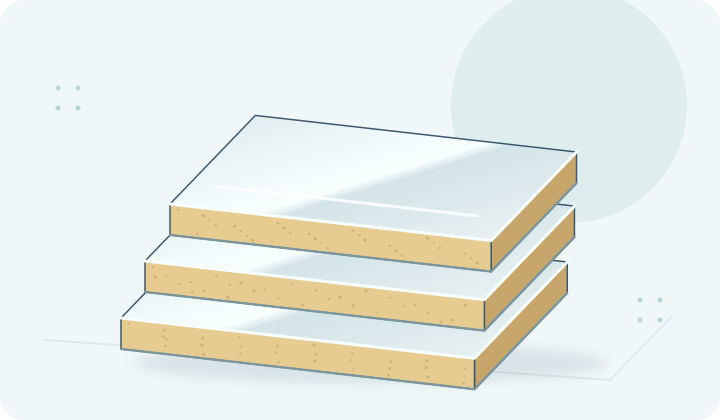
Utherm Roof LE is installed on a flat or low-pitched roof as a PIR board whose core is faced on both sides with a multi-layer, gas-tight laminate. Practical organisation of the work begins with preparing the roof section to receive the delivery together with the accessories and with ensuring that successive layers can be closed off. Cutting to size and trimming must be planned before the waterproofing is laid, and at the briefing the combined thickness of Roof LE, the fall layer and the remaining layers must be established, because it limits the insulation height at the parapet. The terms “polyurethane boards” and “polyurethane foam” are broader than the PIR designation.
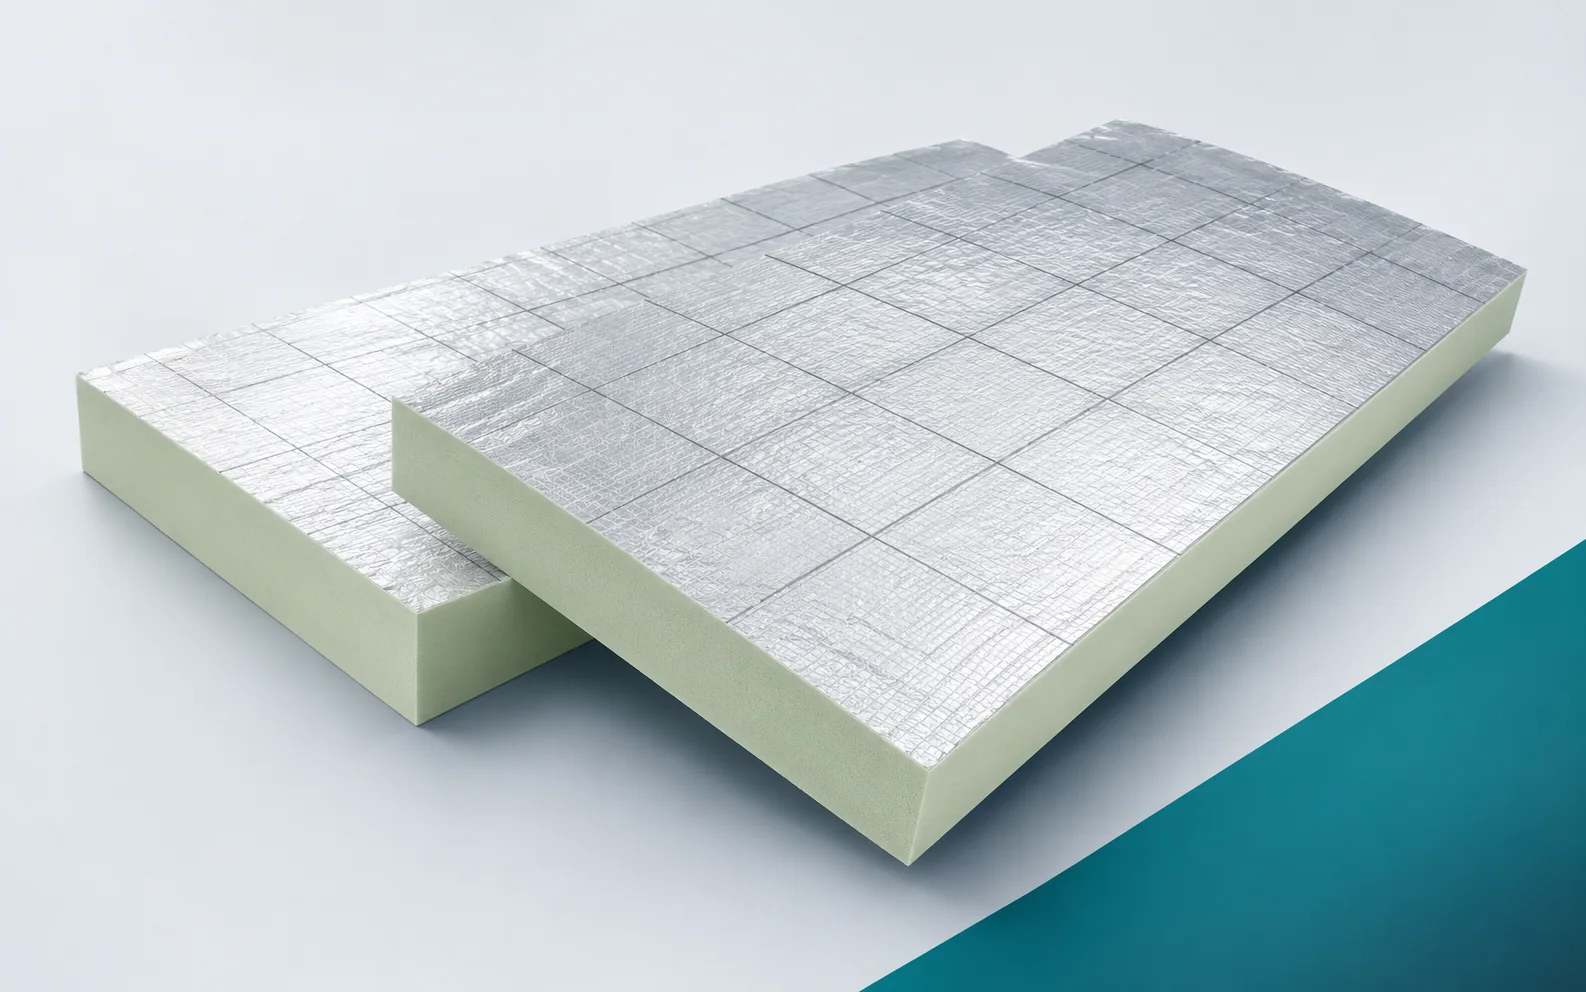
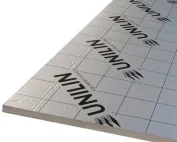
Roof LE PIR boards in a roof of limited height
The delivery of the PIR boards alone does not complete the preparations, because the gas-tight laminate does not determine the height of the remaining layers of the roof covering. Before distributing the material, check the dimensioned cross-section at the lowest and highest point of the assembly together with the person supervising the works, so that the low lambda value can be used without shortening the required finish of the covering.
Lambda and the thermal resistance of a specific thickness
Utherm Roof LE has a declared lambda of 0.022 W/(m·K), so a high thermal resistance is achieved with a relatively small thickness. On the delivery note and the drawing, compare the Utherm Roof LE 100 mm board with the declared R_D of 4.50 m²K/W.
Before installing the first batch, it is worth separating the thermal resistance of the Roof LE board itself from the U-value of the entire roof covering — the fixings and the junction with the parapet change the heat flow outside the regular field. Such a record makes it possible to compare thickness variants for the same thermal task and the same limitation of the structure’s height. In the acceptance report, state the catalogue thickness together with the result of the calculation for the entire building element, so that the installed components can be assigned to the documentation.
Polyurethane insulation at openings and edges
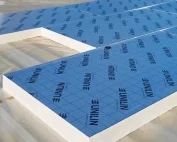
Before laying the Roof LE boards, plan the cutting layout in relation to the row of skylights and service penetrations, in order to avoid long, continuous gaps across successive rows. Support the boards on the substrate intended for the given roof, and offset the joints within a row so that they do not form a single line across the entire roof slope.
Before laying the first row, mark the board joint positions on the roof slope and plan the cuts where installation components pass through the roof. Follow the same cutting layout consistently in subsequent rows, because with numerous openings a large format will not by itself reduce waste. When accepting the starting section, check that the thermal insulation runs continuously and that the edges have not been formed from random narrow strips. Enter the established laying plan with the chosen board format and the marking of joints at openings in the works documentation before you lay the next layer.
Roof LE laminate and compatible covering
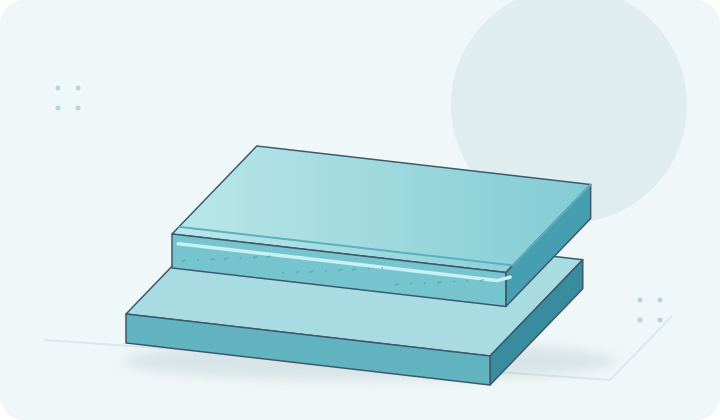
At inlets, skylights, parapets and installation penetrations, the choice of board thickness results from the height of the waterproofing upstand and the shape of the falls. At the end of the stage, check the contact between the aluminium laminate of Roof LE and the intended roof covering.
Before closing the stage, the compatibility of the adhesive or fixing with the Roof LE facing must be confirmed. The silver surface alone does not prove uniform adhesion, so this issue must be resolved at the installation stage and not postponed until the finishing layers are laid. The arrangement of waterproofing and thermal insulation must be determined in accordance with the documentation, not on the basis of the appearance of the boards. The polyurethane foam in the board still requires protection against damage; before resuming work, assess the complete set of accessories and the method of preparing the contact surfaces.
Compression and requirements of the entire roof covering
Utherm Roof LE has a declared compressive stress of at least 150 kPa at 10% deformation. This value is not a permissible permanent load from a device standing on a small foot. Before the next crew enters the completed section, assess the pressure of the device support on the assembly containing Roof LE with CS of at least 150 kPa.
Before laying the Utherm Roof LE boards, establish where loads will occur during the works and how they will be distributed over the insulation. The test point at 10% deformation is not a permit for any permanent pressure, so temporary activities must also be planned. Adopt a sequence of works that allows the support to be selected without converting a single figure into the load-bearing capacity of the whole roof. Acceptance of a section covers the geometry of the support, the execution of the protective layers and a separate fire classification of the assembly; clarify any discrepancies before the insulation is covered.
Polyurethane insulation: format, delivery and roof cost
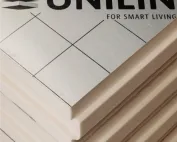
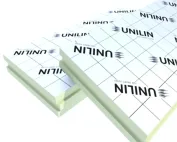
Specify Roof LE by its complete name, board thickness, dimensions and edge finish when placing the order. Available catalogue sizes include 1200 × 600 mm and 2400 × 1200 mm. Allow for the different handling and delivery requirements of these Roof LE formats when calculating material quantities.
The Roof LE delivery is planned together with the cutting plan, because the chosen format determines the storage location and the way the boards are carried in. Before laying, the division into full boards and cut pieces at the edges and around the roof perimeter is established. The installation sequence is carried out so that joints and terminations remain correct with a limited number of operations. The quantity survey covers full boards, cut pieces and the materials needed at the perimeter, not just the number of pallets.
A case worth considering
Work on the roof should begin by marking out the sections that the crew will complete in one cycle, and the places where work will be interrupted. Packs of Roof LE are directed straight to these areas, so that the boards are not moved repeatedly and the edges are less exposed to damage. Establishing which joints will be accepted before the waterproofing allows the installation sequence to be arranged so that no large areas are left unprotected. Efficiency of execution then results from preparing the work front, not from the speed of laying.
7 branches. Materials closer to your project.
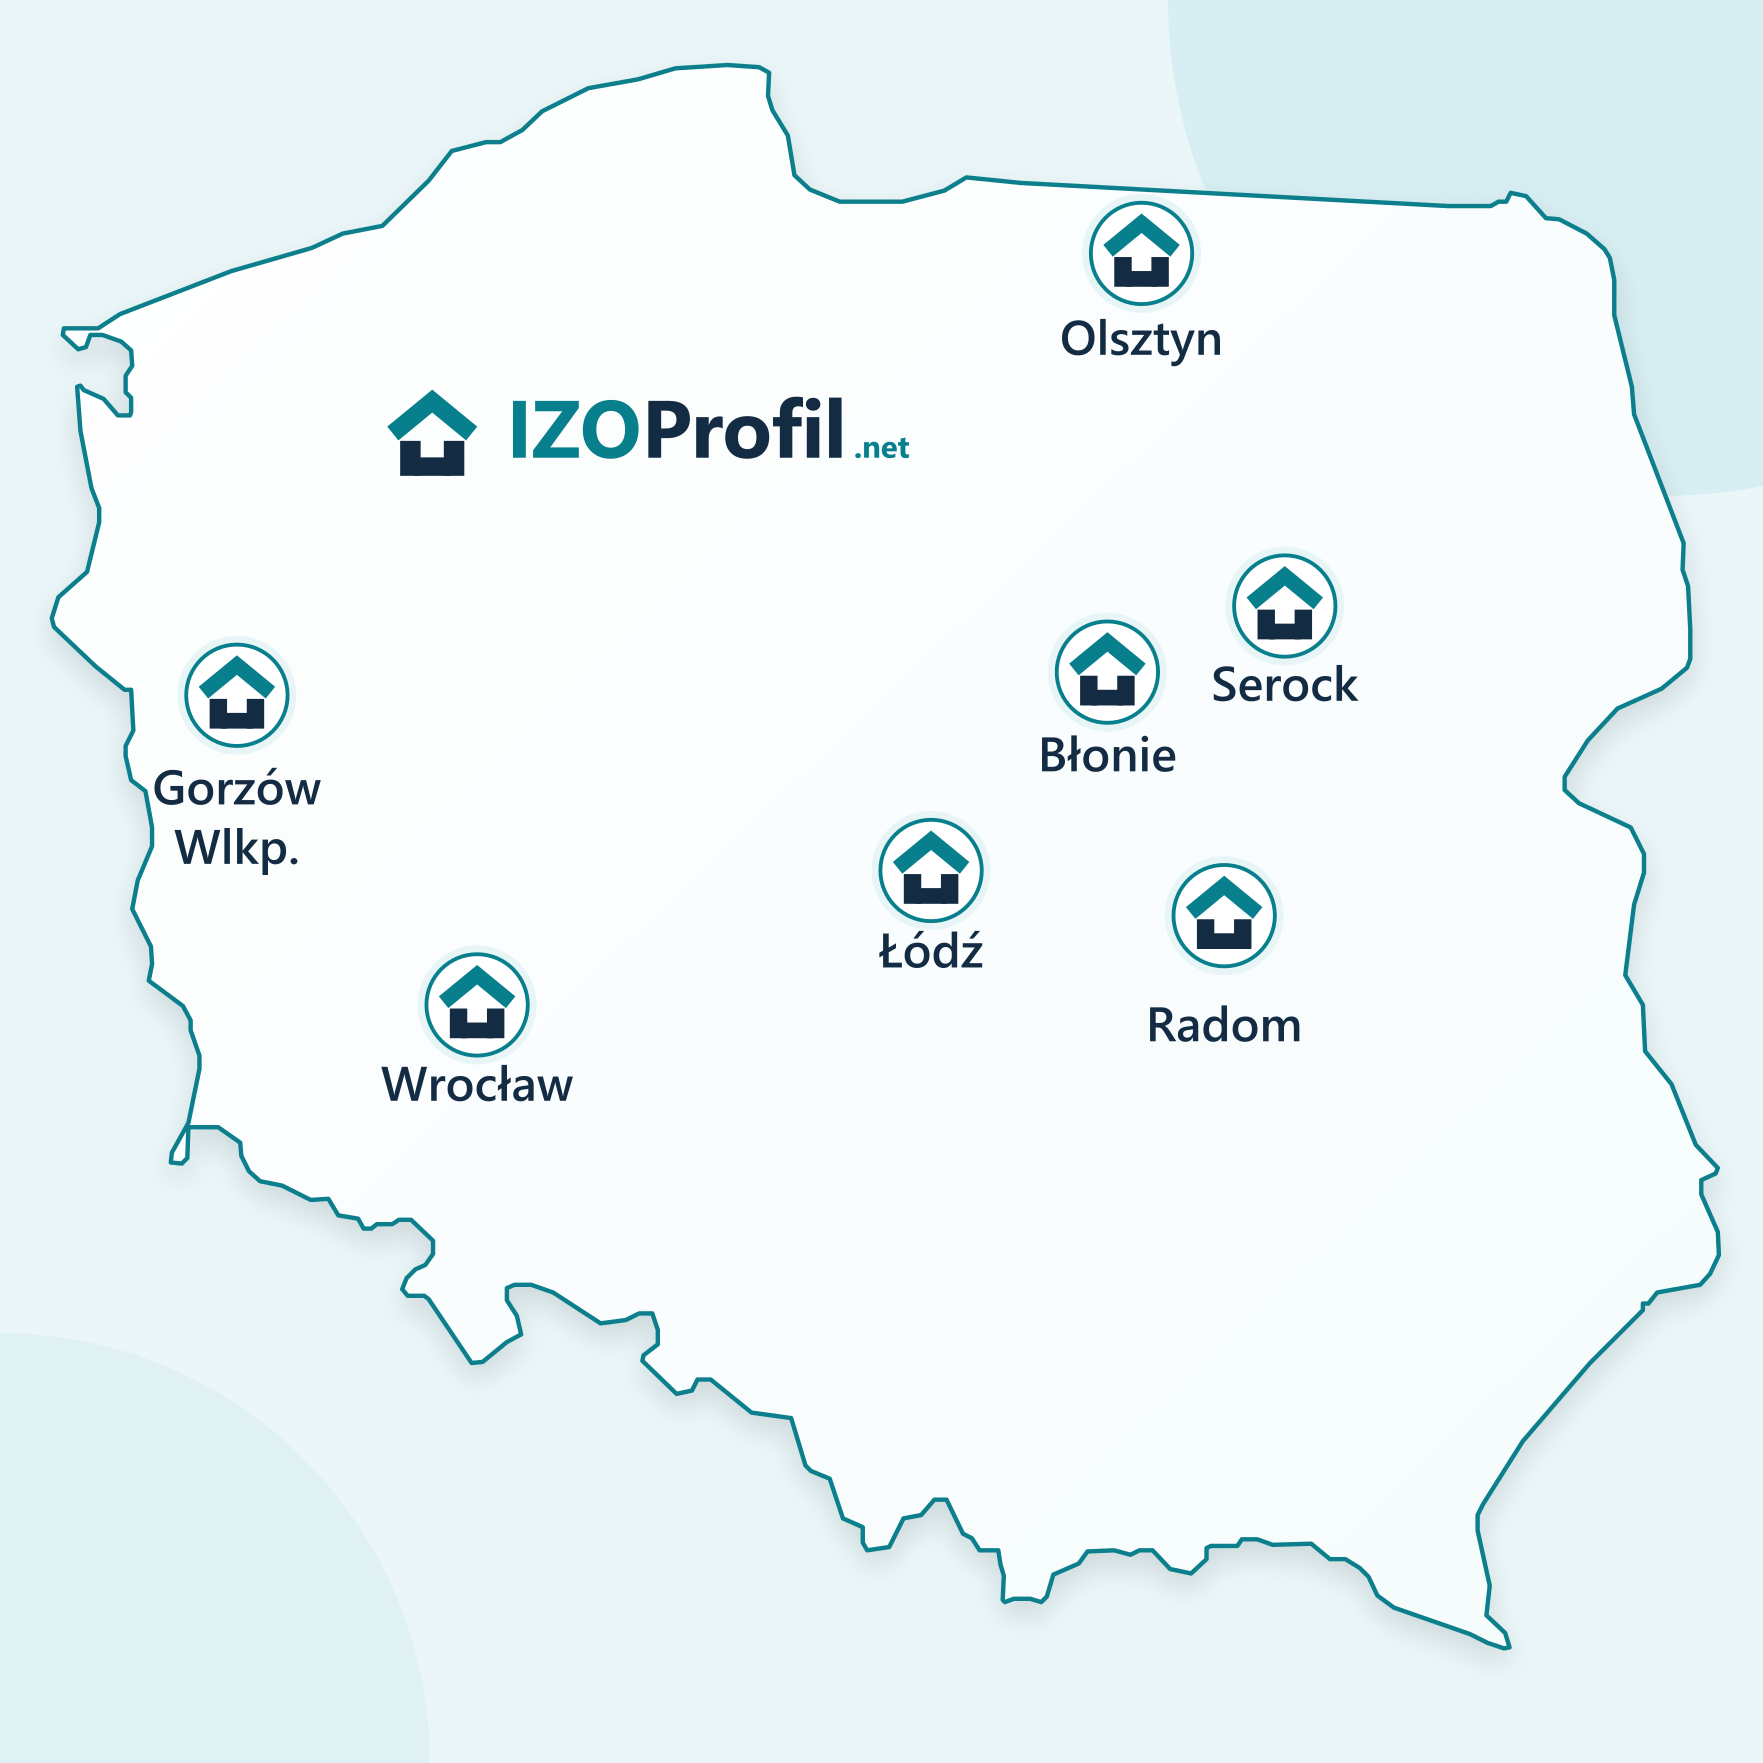
- SEROCK — Dzierżenin 34 E
- BŁONIE — ul. Sochaczewska 138A
- RADOM — ul. Grobickiego 8
- ŁÓDŹ — Natolin 8
- OLSZTYN — Barczewo, ul. Prosta 9
- WROCŁAW — ul. Jerzmanowska 10C
- GORZÓW WLKP. — ul. Zielona 33/34