

PIR insulation
Installing Recticel Powerroof: planning the roof board layout
At a glance
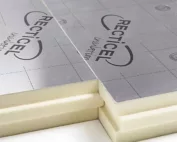
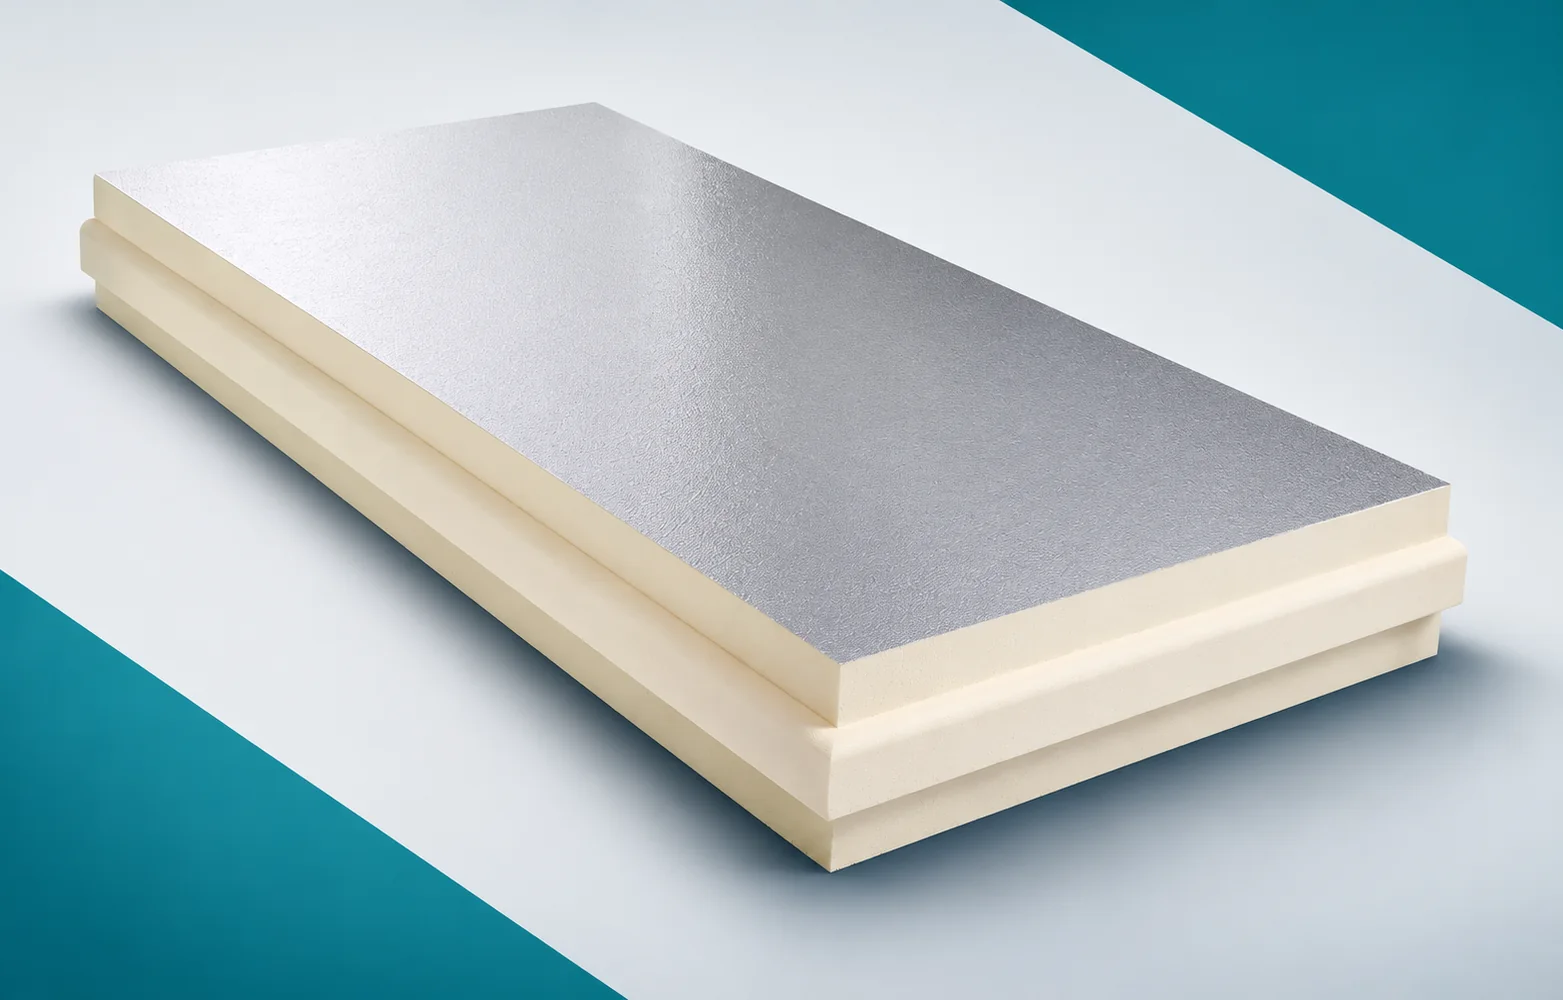
Planning the Powerroof installation begins with determining how the PIR boards with aluminium facing and tongue-and-groove profiles on all four edges will be laid out on the pitched roof slope. Cuts at windows and corners must be anticipated in advance so that no random fragments that are difficult to support are left behind. At the briefing before the material is distributed among the work stations, the run of the Powerroof layer over the rafters above the timber structure is established, along with the method of fixing the entire covering. Simply delivering the right packs is not enough, because continuous thermal insulation does not replace the elements that transfer forces from the covering to the structure.
Preparing the delivery for work
When preparing the work front for Powerroof, take into account the support of the boards and the change in geometry after adding insulation above the rafters. Agree with the person managing the works the layout of the thermal insulation, the height of the new roof slope and the design of the connection with the timber elements. Only then distribute the material between the workstations.
Layout, cutting and joints
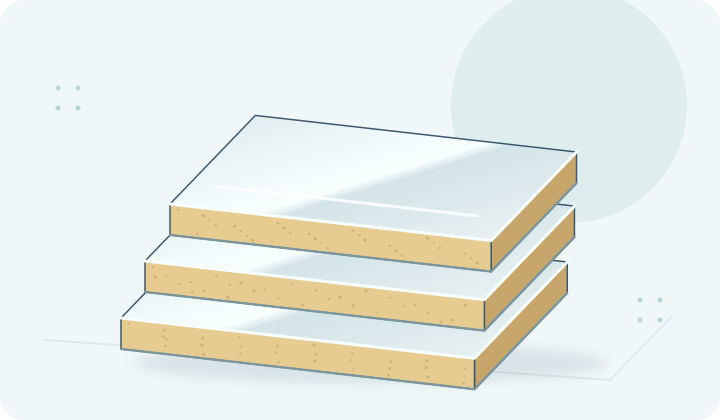
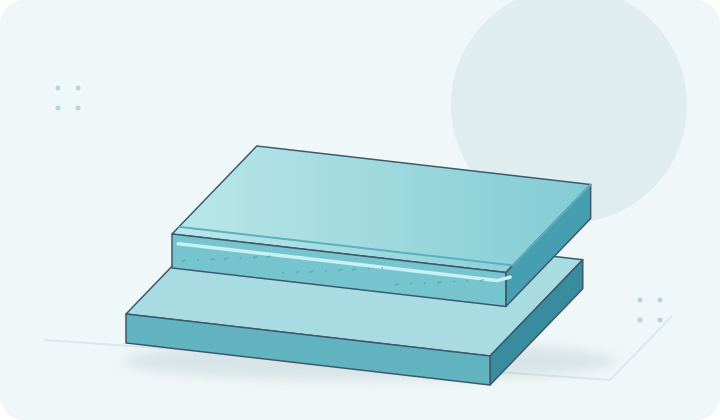
The Powerroof data sheet states a gross format of 2400 × 1200 mm and a covering area of 2380 × 1180 mm. The difference results from the tongue and groove.
On the first section to be installed, compare the 2400 × 1200 mm format with the 2380 × 1180 mm covering area. The number of Powerroof boards is determined from the net covering area, and cutting losses are added separately. Ordering according to the gross dimension overestimates the achievable area and underestimates the required number of boards. After assessing the first section, determine the number of full boards and the losses at roof valleys and roof windows. Before covering the polyurethane insulation, record in the works documentation the covering area, the number of rows and the cutting layout around obstacles on the roof slope.
Before incorporating an element into a row, check the condition of the tongue and groove; do not conceal a damaged joint by forcing the position of the adjacent board. The cutting plan should preserve the necessary support at windows and roof valleys. The area is accounted for according to the net covering area, and the remaining whole boards and usable offcuts are shown separately when closing the stage.
Dry storage and closing of the layers
Powerroof requires a suitable layer protecting the roof against water as well as correct joining of its laps and terminations. The aluminium facing does not constitute a ready-made solution for every penetration.
At the chimney, the rain-protection layer must be closed off regardless of how the PIR boards have been cut, and this must be done before the laid section is handed over to the team carrying out the further works. The aluminium facing of Powerroof will not itself form the chimney flashing or its terminations, so the continuity of the water shield must be planned independently of how the boards are joined. Rigid PIR boards still require protection: before resuming work after a break, assess the run of the laps, the treatment of the penetration and the protection of the open roof slope.
Compliance of thickness with the design
Powerroof is specified with a thermal conductivity of 0.022 W/(m·K). This helps achieve the required thermal resistance with a thinner insulation layer.
Before the first cut, check in the documentation the resistance of the layer determined from the Powerroof thickness and the lambda of 0.022 W/(m·K), and in the calculation of the roof slope allow for the fasteners penetrating the thermal insulation layer before you mark out and cut the components for installation. A favourable value for the middle of the board does not automatically describe the result at every roof detail, so do not choose the variant by appearance. Checking before installation allows the space saving to be related to the result for the full cross-section, and not to the foam alone. On acceptance of the delivery described as polyurethane boards, record the fixing parameters, the run of the joint at the eaves and the actual insulation thickness at the terminations.
How to limit damage during the works
The Powerroof declarations include CS(10/Y)150 and a D-s2,d0 reaction-to-fire rating. Neither declaration establishes that the PIR is non-combustible, nor does it independently establish the fire resistance of the complete roof.
Before allowing further crews onto the finished layer, check the D-s2,d0 class and CS(10/Y)150 specified for the Powerroof board, separating the Euroclass from the fire resistance and load-bearing capacity of the complete roof. Neither the Euroclass nor the compression result on its own determines the load-bearing capacity of the covering fixing, so before closing the section check the mechanical and fire requirements at the correct level of assessment for the solution. In the section record, confirm the documentation for the entire roof and the way loads and wind forces are transferred to the structure, and report any discrepancies before continuing the task.
Acceptance before covering
When pricing Powerroof, the actual covering, the roof slope geometry and the treatment of openings must be taken into account. The thickness of the new build-up at the eaves and at the windows also counts.
When accepting work described as “polyurethane insulation”, check the scope of rebuilding the eaves and flashings after adding the Powerroof above-rafter layer. The cost of this layer should take into account the changes to flashings resulting from the new roof slope height when settling the material and handing the section over to the next trade. A joint agreement on scope is needed because preserving the existing loft conversion may require a larger scope of work on the outside. In the as-built documentation, keep the net covering, the bill of quantities for fixing, flashings and work at the existing roof windows, so that acceptance is not based only on the number of packages used.
7 branches. Materials closer to your project.
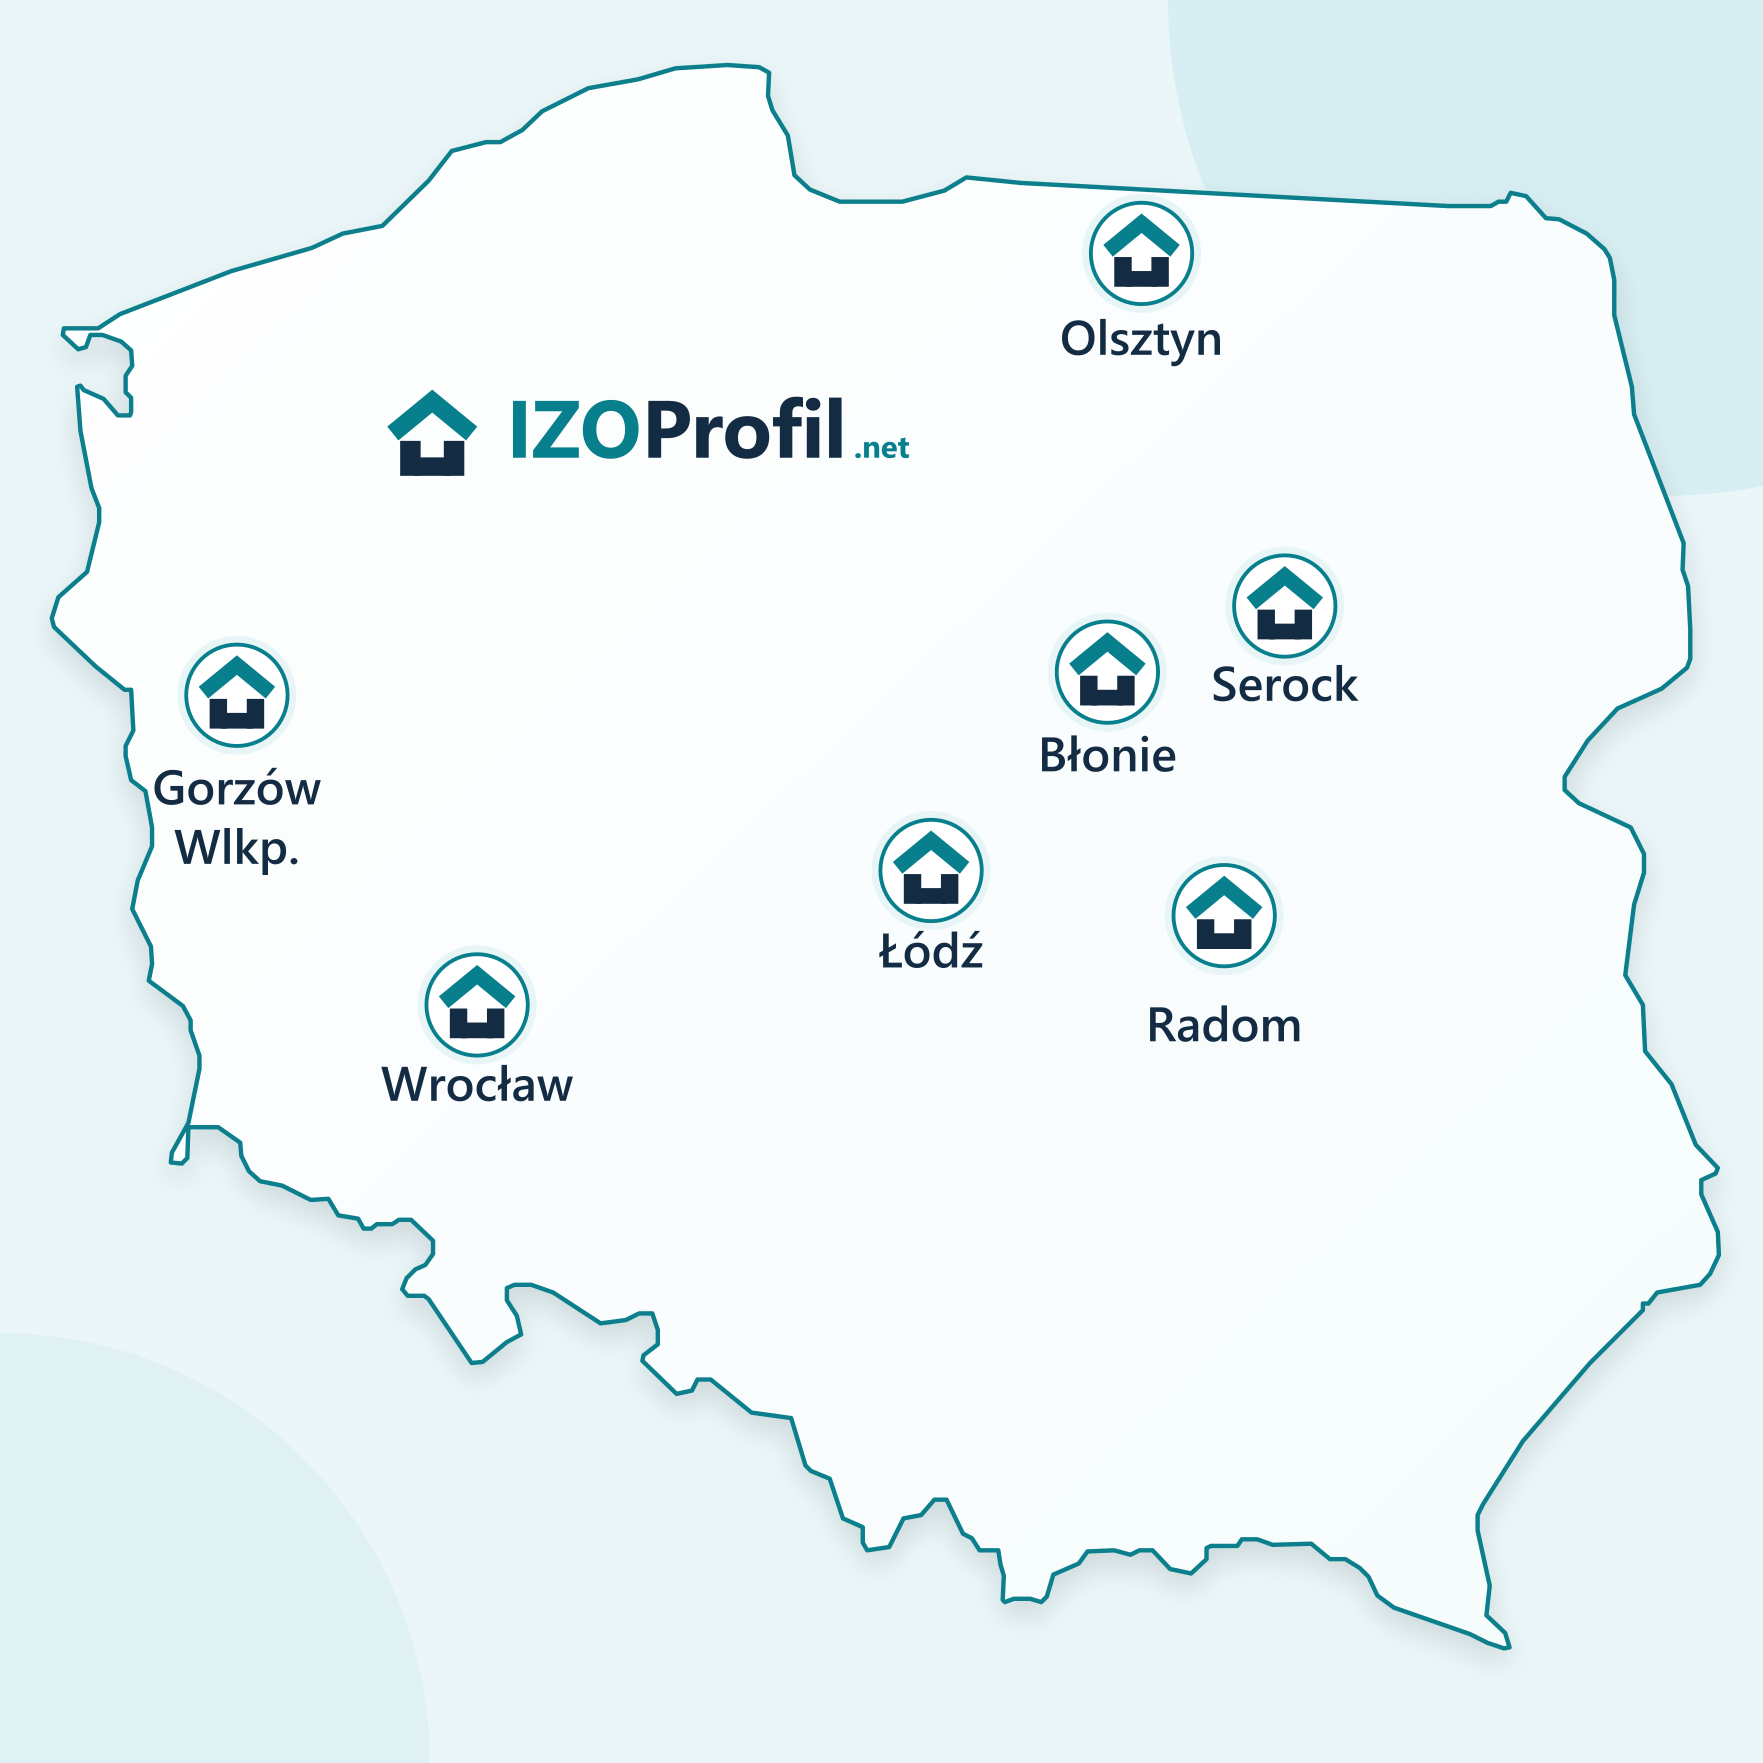
- SEROCK — Dzierżenin 34 E
- BŁONIE — ul. Sochaczewska 138A
- RADOM — ul. Grobickiego 8
- ŁÓDŹ — Natolin 8
- OLSZTYN — Barczewo, ul. Prosta 9
- WROCŁAW — ul. Jerzmanowska 10C
- GORZÓW WLKP. — ul. Zielona 33/34