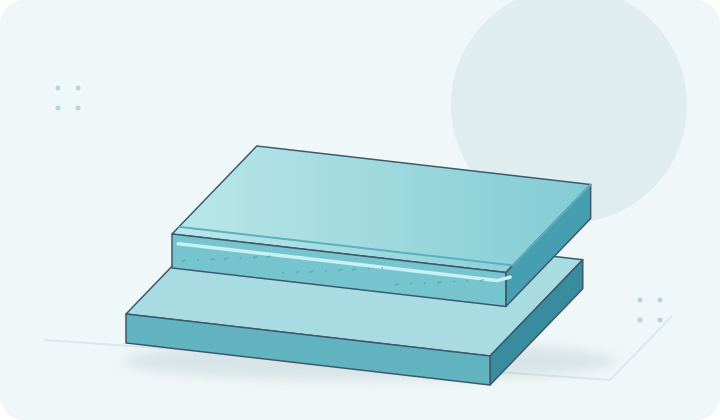


PIR insulation
Working with Thermano Roof: board layout and edge protection
At a glance
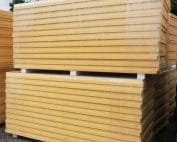
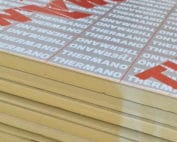
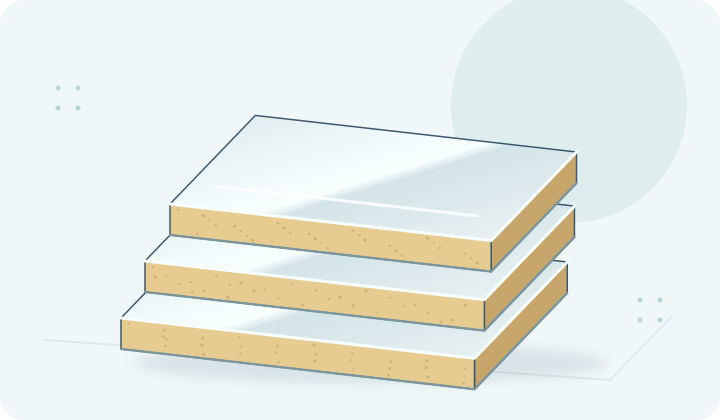
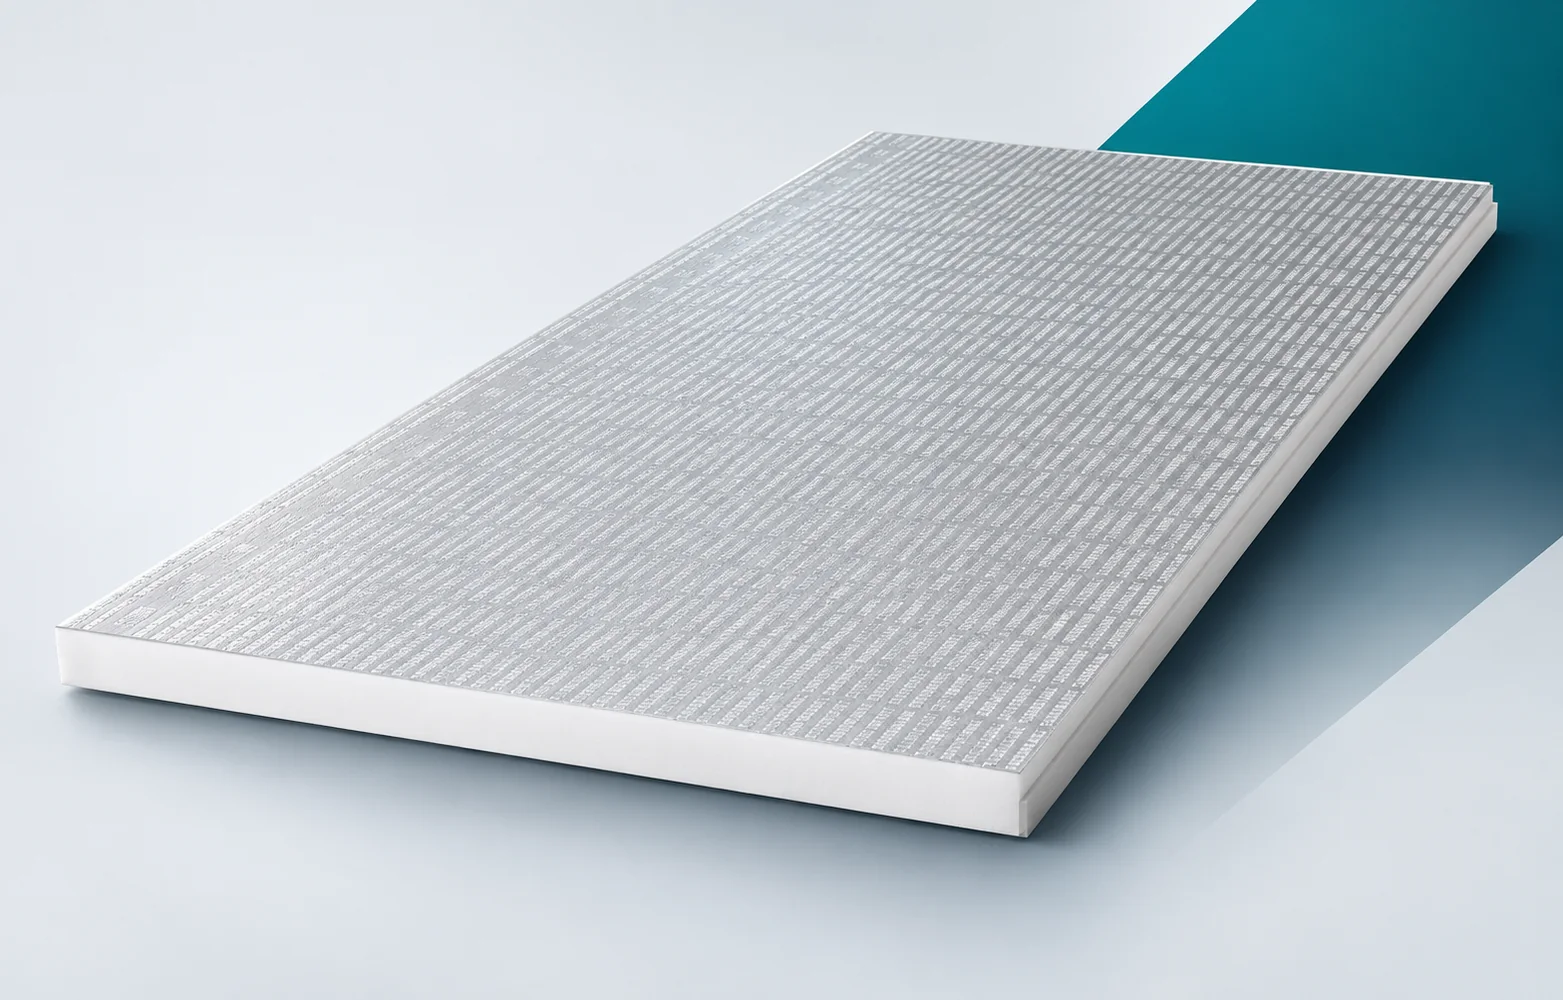
Thermano Roof is a rigid PIR board with a gas-tight multilayer aluminium facing on both sides, intended among other things for flat roofs and above-rafter insulation. In practice, installation begins with setting out the work front and establishing where the insulation will sit above the timber rafters. At the briefing before the material is distributed, the pitched roof slope and the junction of the Thermano Roof layer with the terminations at the eaves and openings must be discussed. Such a division limits accidental narrow cuts, protects the boards against shifting and helps avoid leaving unprotected edges and open penetrations after the insulation has been installed.
Preparing the delivery for work
Preparing the work front must cover the roof geometry, the timber layout and the places where existing flashings require adjustment. Above-rafter thermal insulation changes the position of the covering relative to the eaves and windows, so simply delivering the correct packs is not enough. Before distributing the PIR boards to the work stations, agree with the person supervising the works how the loft space is to be preserved given the new slope height.
How to lay successive sections
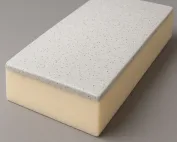
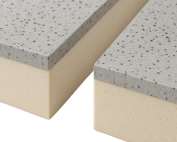
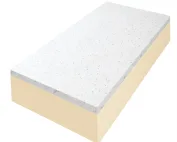
Thermano Roof can have BASIC, TOP or MASTER edges. The standard external format is 1200 × 2400 mm.
On the first section to be executed, check the layout of the large boards at the ridge, roof valley or row of roof windows. Plan the cutting lines taking into account the support at windows and roof valleys before repeating the working method in subsequent rows. An excess of small elements at the opening makes a stable and tight connection difficult, so after assessing the first section, determine the cutting lines before bringing material onto the pitched surface. Before the polyurethane insulation is covered, record in the works documentation the width of the supported cut pieces, the position of the joints and the window framing solution.
The large format of Thermano Roof requires a planned sequence for handing up and laying the elements on the roof slope. Measure the cut pieces at windows and roof valleys before starting a given field, so that they are not made solely from offcuts from the main rows. The method of support and fixing must follow from the design. Closing the day’s work also includes protecting the open part of the roof.
Protecting the material before covering
The gas-tight facing of Thermano Roof influences the vapour flow through the board, but does not replace a solution for all joints. The roof requires separate water drainage and protection at penetrations.
After finishing laying the boards on a given day, check the joint between the gas-tight boards and the layer draining water from the roof slope. Run this layer according to the detail at every roof slope intersection, before the laid layer is taken over by the team carrying out further works. The sealed aluminium surface does not by itself close the perimeter of the chimney or window, which is why the prepared protection must separate the function of thermal insulation from the function of the layer protecting against precipitation. Rigid polyurethane foam boards also require protection; before resuming work, assess the run of the water layer, the sealing of the penetration and the possibility of safely completing the stage.
Thickness conformity with the design
Thermano Roof is specified with a thermal conductivity of 0.023 W/(m·K). Enhanced mechanical performance is another characteristic used to describe this board.
Before the first cut, check in the documentation the simultaneous requirement to limit heat loss and to obtain mechanical properties. Calculate the thickness of Roof using its lambda of 0.023, irrespective of the mechanical parameters, before marking and cutting the elements for installation. A higher mechanical parameter does not by itself reduce the amount of heat conducted through the board, so do not choose the variant on the basis of appearance alone. The check before installation is intended to allow selection of the variant meeting both requirements without replacing one parameter with the other. On acceptance of the delivery of polyurethane boards, record the result of the R calculation and the separate load and fixing conditions for the roof layers.
Fixing and loads during the works
Thermano Roof declares at least 200 kPa at 10% deformation and TR100. The reaction-to-fire class of the product is E.
Before admitting further crews to the finished layer, check the loads transmitted by the covering and installations to the layers above the roof structure. Relate the CS200 and TR100 parameters to the relevant actions in the designed system before the adopted solution proceeds to further stages of work. Neither of these figures is a ready-made value for the permissible weight of equipment on the roof. Before closing a section, select the support and fixing arrangement on the basis of calculations for the entire solution. In the section record, confirm how forces are transmitted to the structure and compliance with the required fire assessment, and report any discrepancies before continuing the task.
Material reconciliation and documentation
Thermano Roof appears in applications that also include roofs with installations. At the time of purchase, the planned loads and the method of support must be described.
When accepting work described as “polyurethane insulation”, check the scope of changes at the eaves resulting from adding thermal insulation above the rafters. In the costs, include the flashings that require adjustment after the roof layers have been raised, when settling the material and handing the section over to the next trade. A joint agreement on scope is necessary, because leaving the same flashing may be impossible once the height of the entire system has changed. Before handing the front over to the next trade, take into account the saved attic space together with the cost of adjusting the roof on the outside. In the as-built documentation, keep the bill of quantities for boards, fasteners, flashings and work at windows and slope ends, so that acceptance is not based only on the number of packages used.
7 branches. Materials closer to your project.
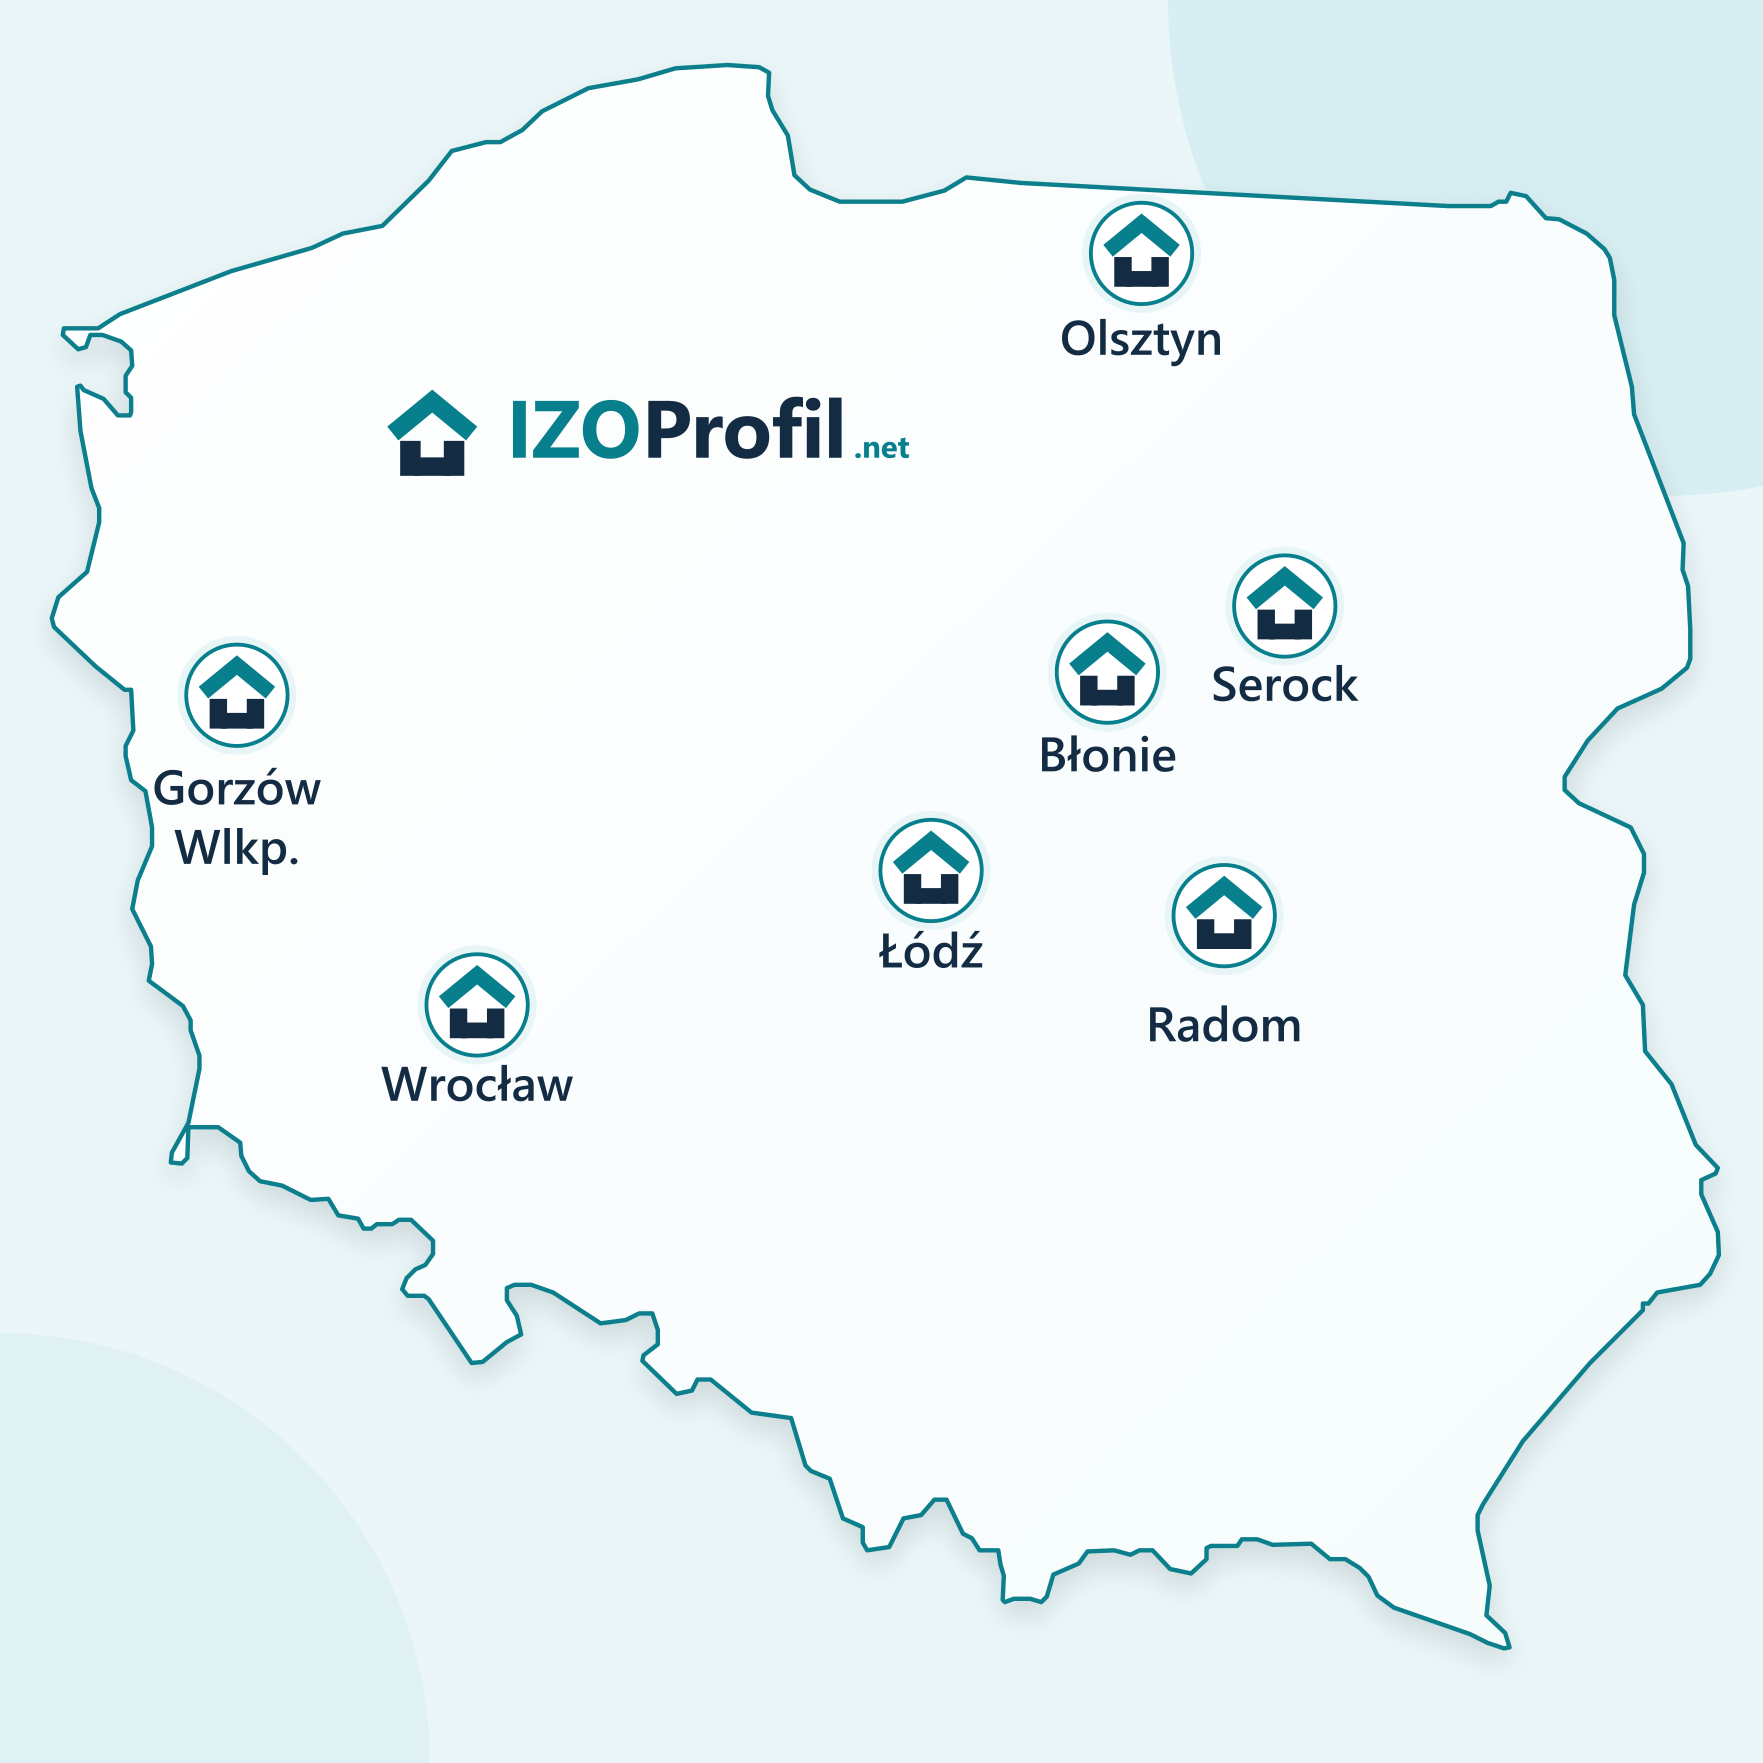
- SEROCK — Dzierżenin 34 E
- BŁONIE — ul. Sochaczewska 138A
- RADOM — ul. Grobickiego 8
- ŁÓDŹ — Natolin 8
- OLSZTYN — Barczewo, ul. Prosta 9
- WROCŁAW — ul. Jerzmanowska 10C
- GORZÓW WLKP. — ul. Zielona 33/34