
PIR insulation
Installing PIR above rafters: planning from eaves to roof closure
At a glance
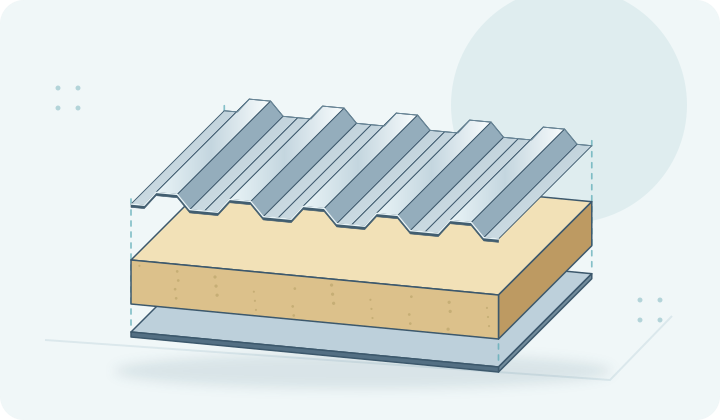
Above-rafter installation starts with the substrate, the measurements and the prepared details. The PIR boards must be laid so that the continuity of the layer and the possibility of correct fixing are maintained. The work plan should also cover protection of the open roof and handover of the roof slope to the roofing crew. PIR boards laid above the rafters form a layer that also covers the wooden structural elements. This makes it possible to reduce their contribution to the flow of heat through the roof. The support spacing must be checked before the first row of boards. The fit should follow from the adopted layout, not from a random point of contact. It is worth comparing the preparation of the support with the board layout drawing. The joints should be located at the points permitted by the given solution.
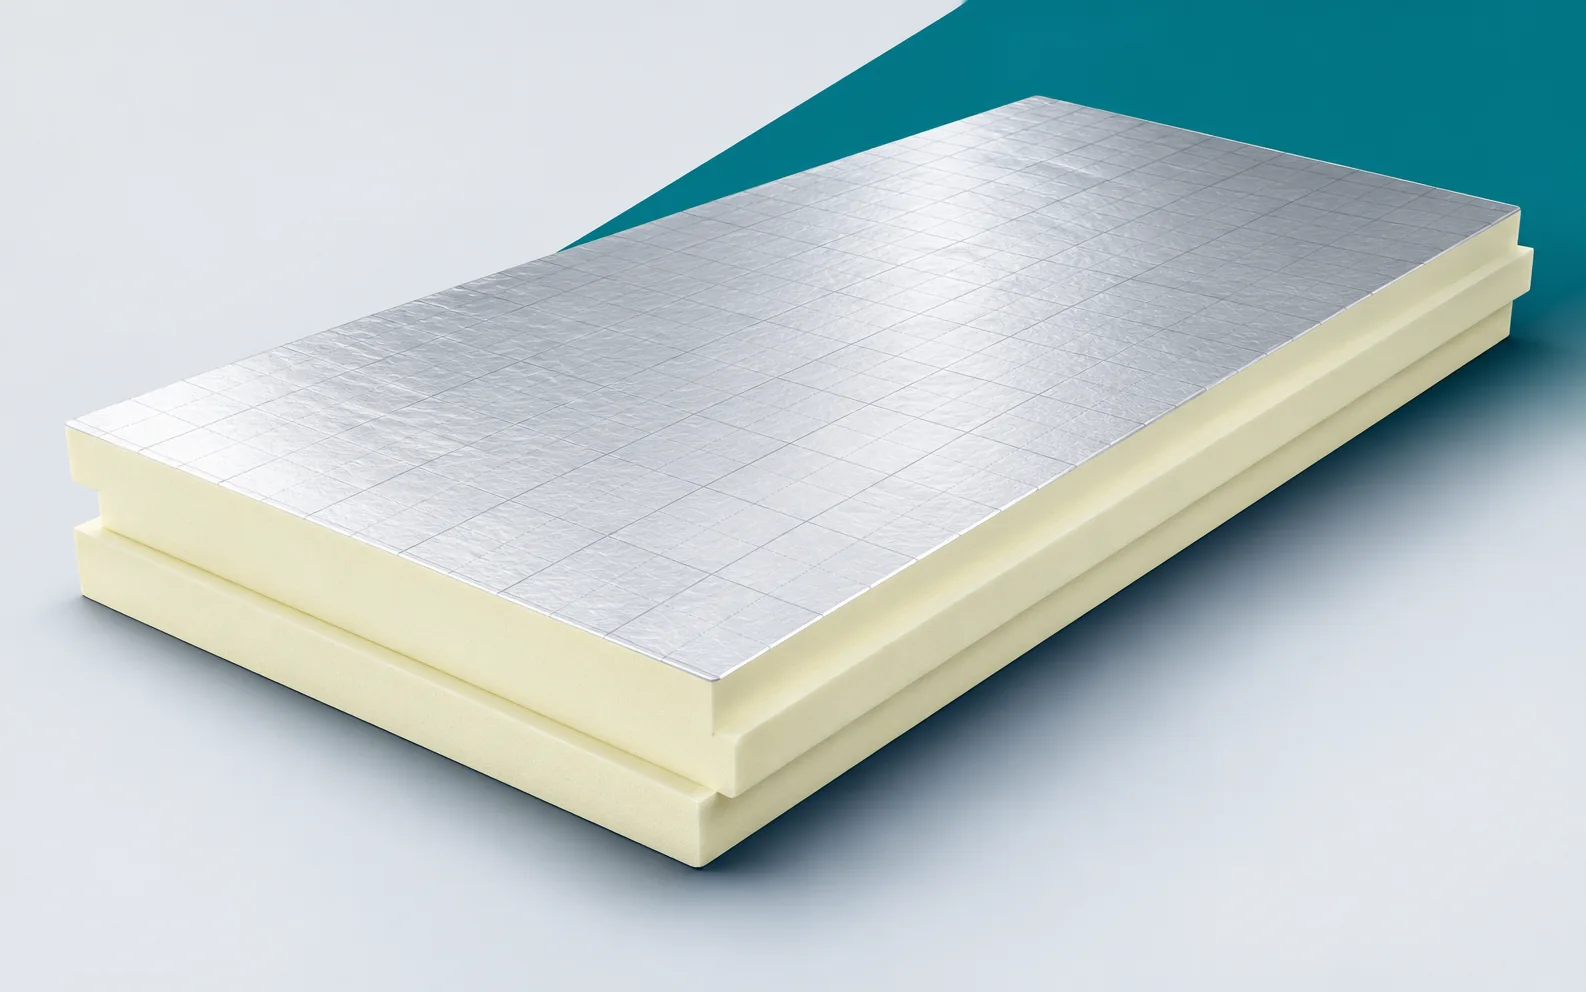
Continuous layer above the rafters
If the structure deviates from the design, this must be clarified before the first row. The entire roof slope should not be adjusted by randomly shifting the joints. A well-prepared start makes it easier to maintain continuity and correct fixing over the rest of the surface.
Roof height and available space
A low lambda value helps to limit insulation thickness, but the overall roof height depends on all its layers. Depending on the design, sheathing, membranes, counter-battens, battens and the roof covering are added to the insulation board. The first course at the eaves determines the geometry of the subsequent rows.
Accurate measurement of this section makes it easier to maintain straight lines across the entire roof slope. The eaves line is the reference point for the subsequent rows. It is worth checking its geometry and the point at which the membrane ends. The boards should not block the intended path for water drainage or ventilation beneath the covering. The start of installation should be coordinated with the flashings. Such a layout allows full formats to be used without having to correct the first strip after a substantial part of the roof has been completed.
Rainwater, vapour and airtightness
The underlay carries away water that gets beneath the covering. The solution on the interior side limits uncontrolled air and vapour flow. The membrane laps must remain accessible for a correct connection.
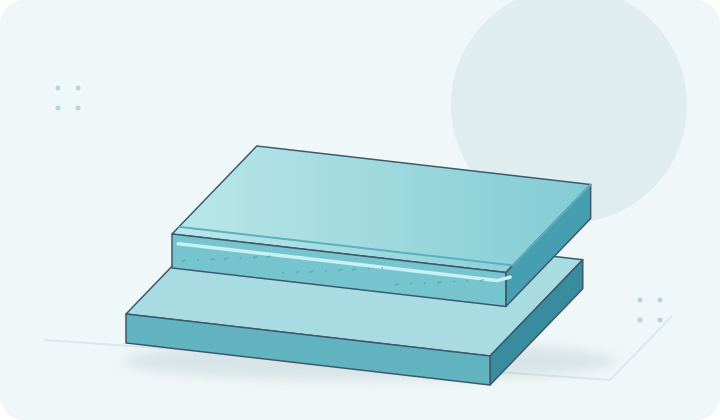
They must not be covered with the counter-batten before the required sealing operation has been carried out. With a board featuring a membrane, the direction of the laps and access to their joint must be observed. With a separate membrane, its unrolling must be coordinated with securing the laid PIR. In both cases, the terminations of the day’s section are important. The layer in the field does not automatically protect an open edge. The crew should have the accessories prepared before the next element covers the required surface.
Fixing to the structure
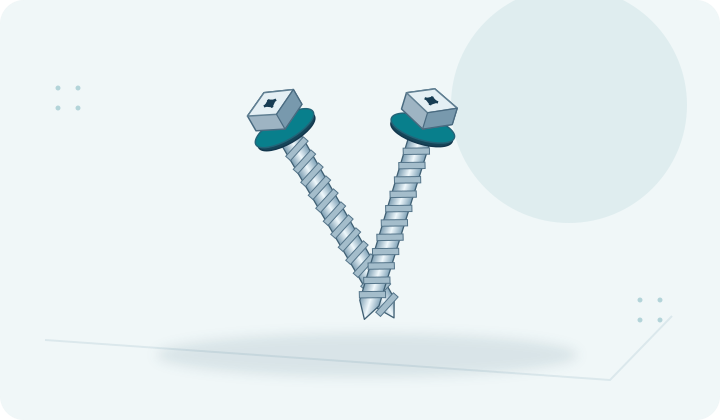
Loads from the battens, counter-battens and covering must be transferred to the load-bearing structure. The selection of screws includes their length, anchorage, spacing and orientation. The screws must be supplied in the type and length specified in the design.
Any substitution with a similar element should be checked before fixing begins. It is advisable to sort the fasteners according to the layout and the roof zones. Their type, length and the required tools must be checked. The fixing should not be used to straighten a poorly prepared substrate. If a board does not sit flush in accordance with the solution, the cause must be established. Such ongoing checking limits damage and helps maintain the correct transfer of loads from the counter-battens.
Eaves, windows and penetrations through the roof slope
At the eaves, the thermal insulation of the roof slope should connect with the thermal insulation of the wall. Around a roof window, space must be preserved for insulation, seals and water drainage. Cut-offs around the window should be prepared in accordance with the established detail.
Leaving a wide, random gap makes correct finishing more difficult later. Around the window, cut pieces should match the dimensions needed for insulation and flashings. It is worth agreeing the sequence with the team installing the joinery. Leaving a random wide gap shifts the problem to a stage where access is worse. Every termination should have a defined method of sealing. The correct detail is easier to execute before laying elements that will partially obscure it.
Sequence of works and closing the roof
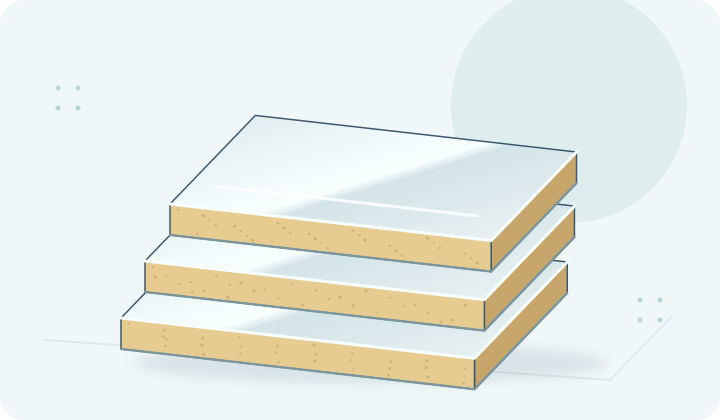
Ready-made PIR boards eliminate the need to produce the core on site, but they require dry material, well-planned cuts and protection of the exposed roof area. The extent of roof opened at any one time should be matched to the size of the crew and the current weather.
The laid PIR must be protected in accordance with the requirements of the given solution. At the end of a section, it must be checked whether the layers are also protected at the sides. Packs left over should have protection appropriate to the conditions. The material is laid out at a pace that allows it to be correctly covered. It is not worth opening up a larger area just to use up the whole delivery. The daily plan should include installation, inspection and closing the roof before a work break.
How to read the roof slope geometry
With a rafter 10 cm wide and an axial spacing of 80 cm, the timber occupies about 12.5% of the module width. This shows that the very run of the insulation relative to the structure affects the share of timber in the assembly, although the result is not a percentage of heat loss or the U-value of the roof. Once the layer above the rafters is added, the resistance also changes along the path through the timber, which is why the thermal calculation must cover the actual materials, layers and connections. In the order, it is worth specifying the PIR version intended for the given roof; polyurethane foam for sealing remains a separate accessory and must be kept separate from the insulation in the scope of delivery.
7 branches. Materials closer to your project.
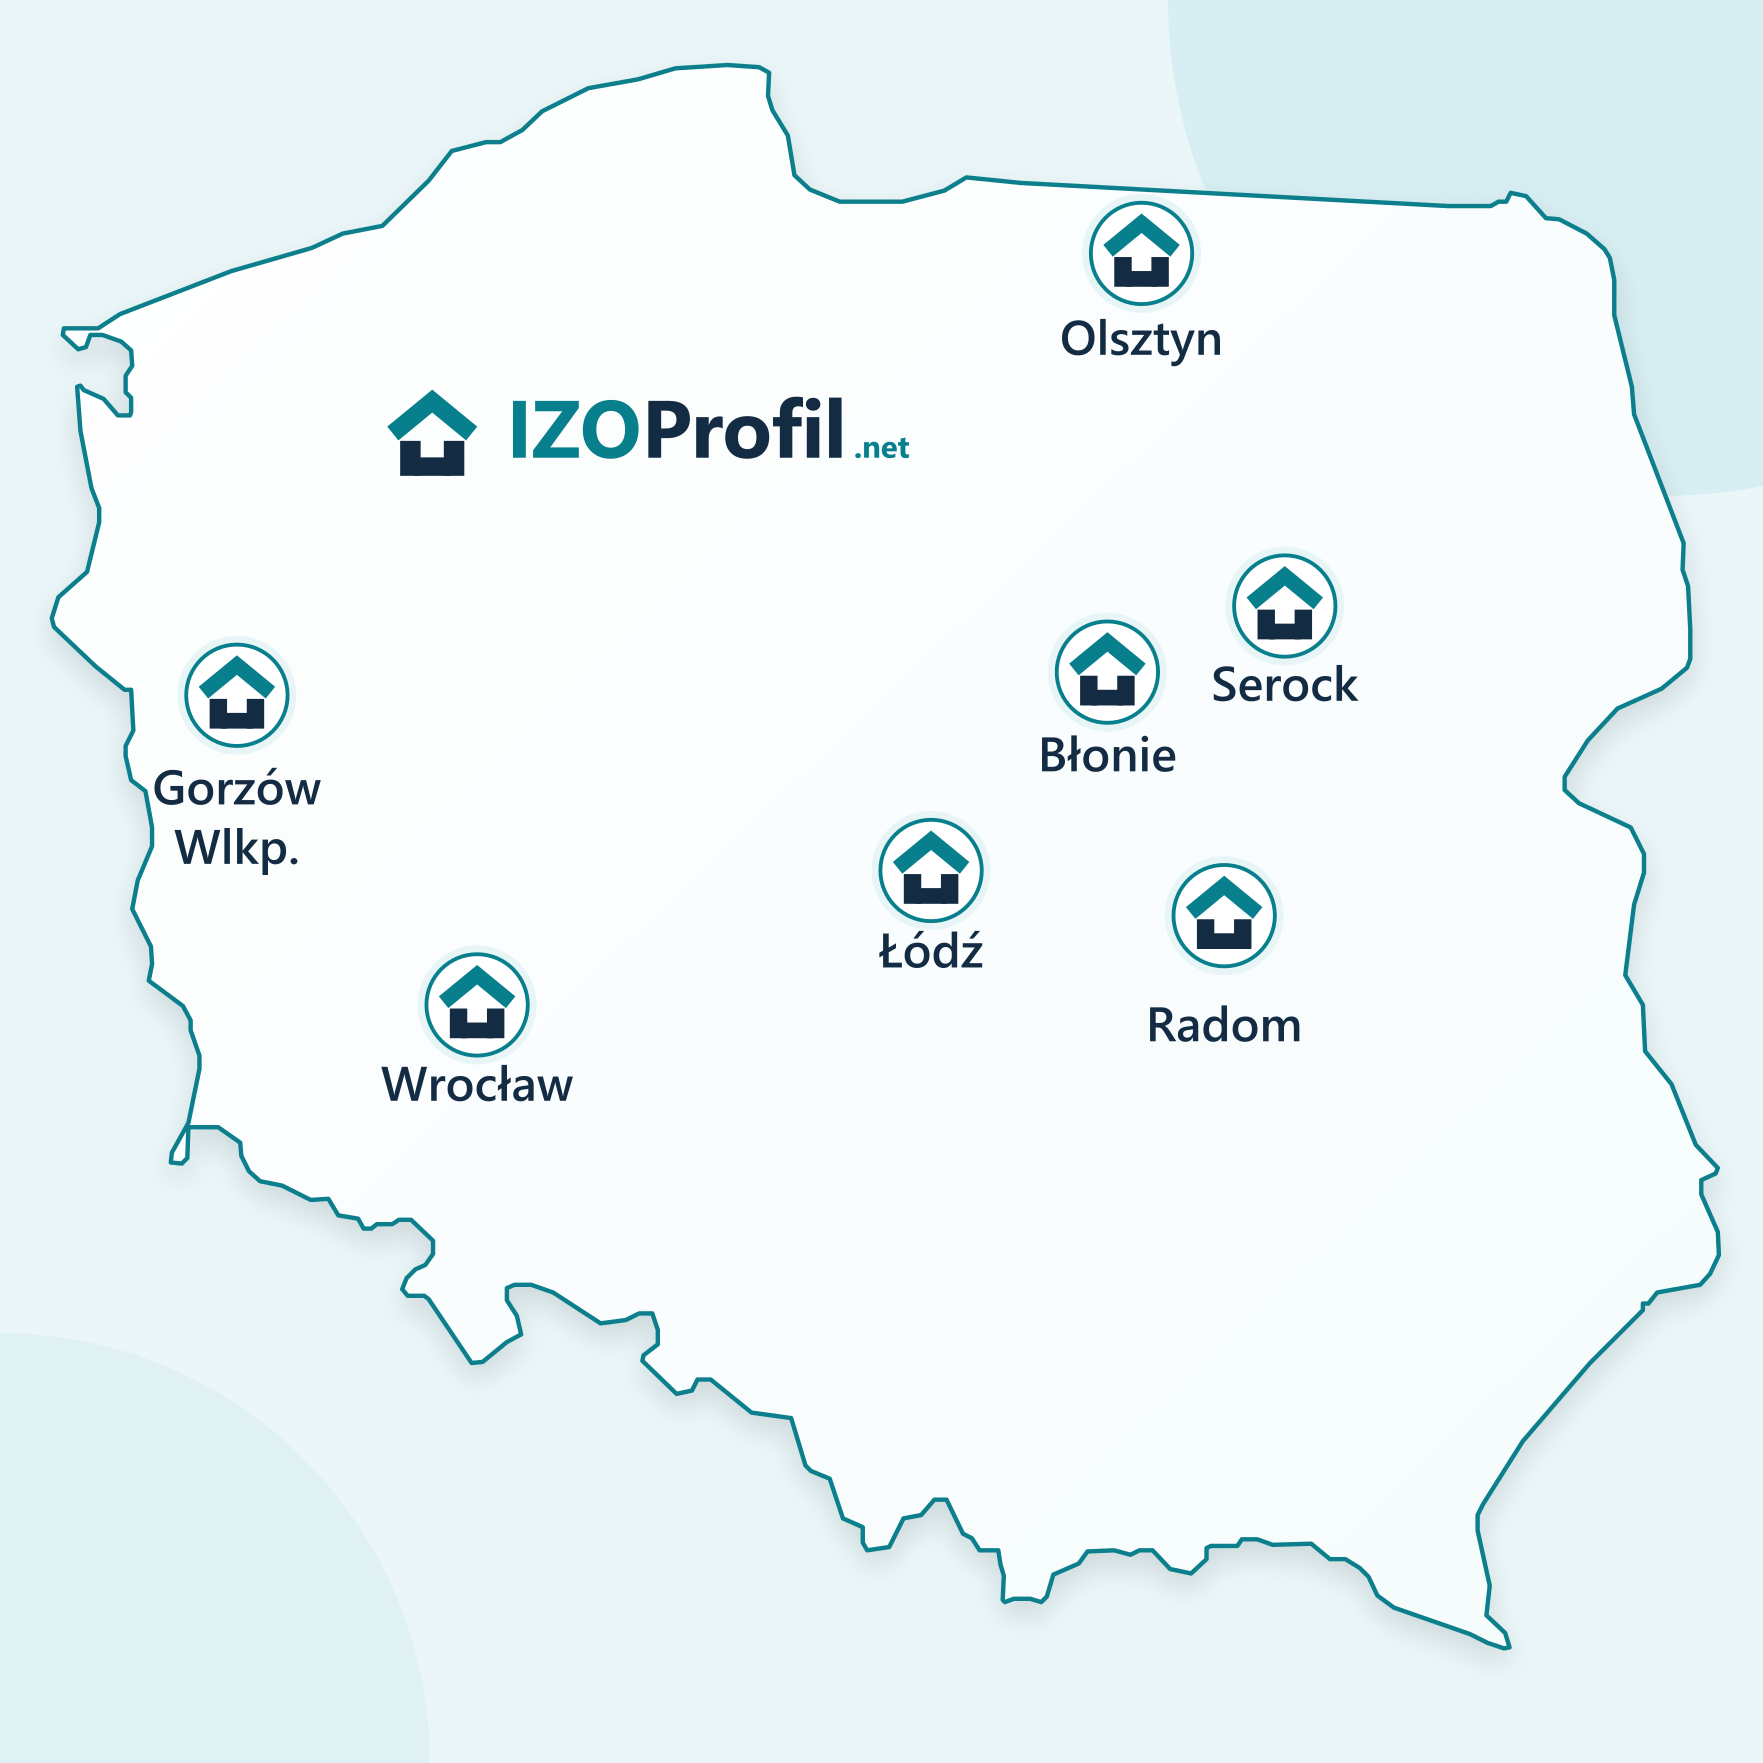
- SEROCK — Dzierżenin 34 E
- BŁONIE — ul. Sochaczewska 138A
- RADOM — ul. Grobickiego 8
- ŁÓDŹ — Natolin 8
- OLSZTYN — Barczewo, ul. Prosta 9
- WROCŁAW — ul. Jerzmanowska 10C
- GORZÓW WLKP. — ul. Zielona 33/34