PIR insulation
Roofing work with Utherm Roof BM: from preparation to handover
At a glance
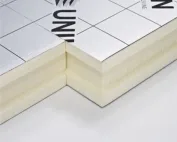
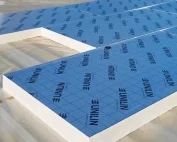
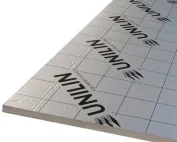
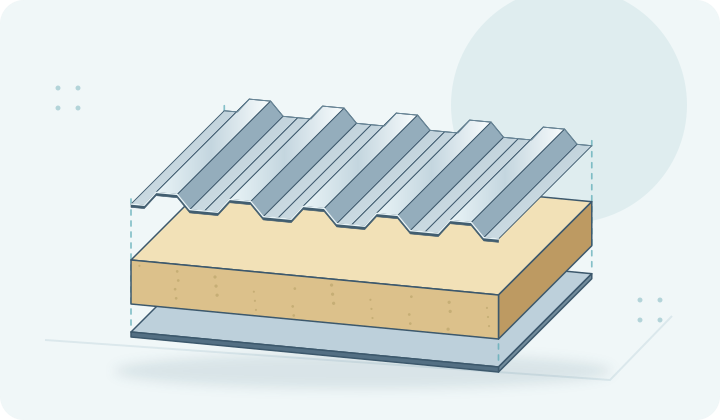
Utherm Roof BM is a PIR board with two different facings: a bituminised glass fleece and a mineralised side. Installation practice therefore begins with a briefing at which the crew establishes the orientation of the bituminised and mineralised sides of Roof BM. At the same time, the cutting plan and straight edges must be prepared before the work front speeds up. Without this, habits from a similarly looking board are easily carried over. The terms “polyurethane boards” and “polyurethane foam” are broader than the PIR product designation, which is why on site it is the specific facing that counts, not the general name of the material.
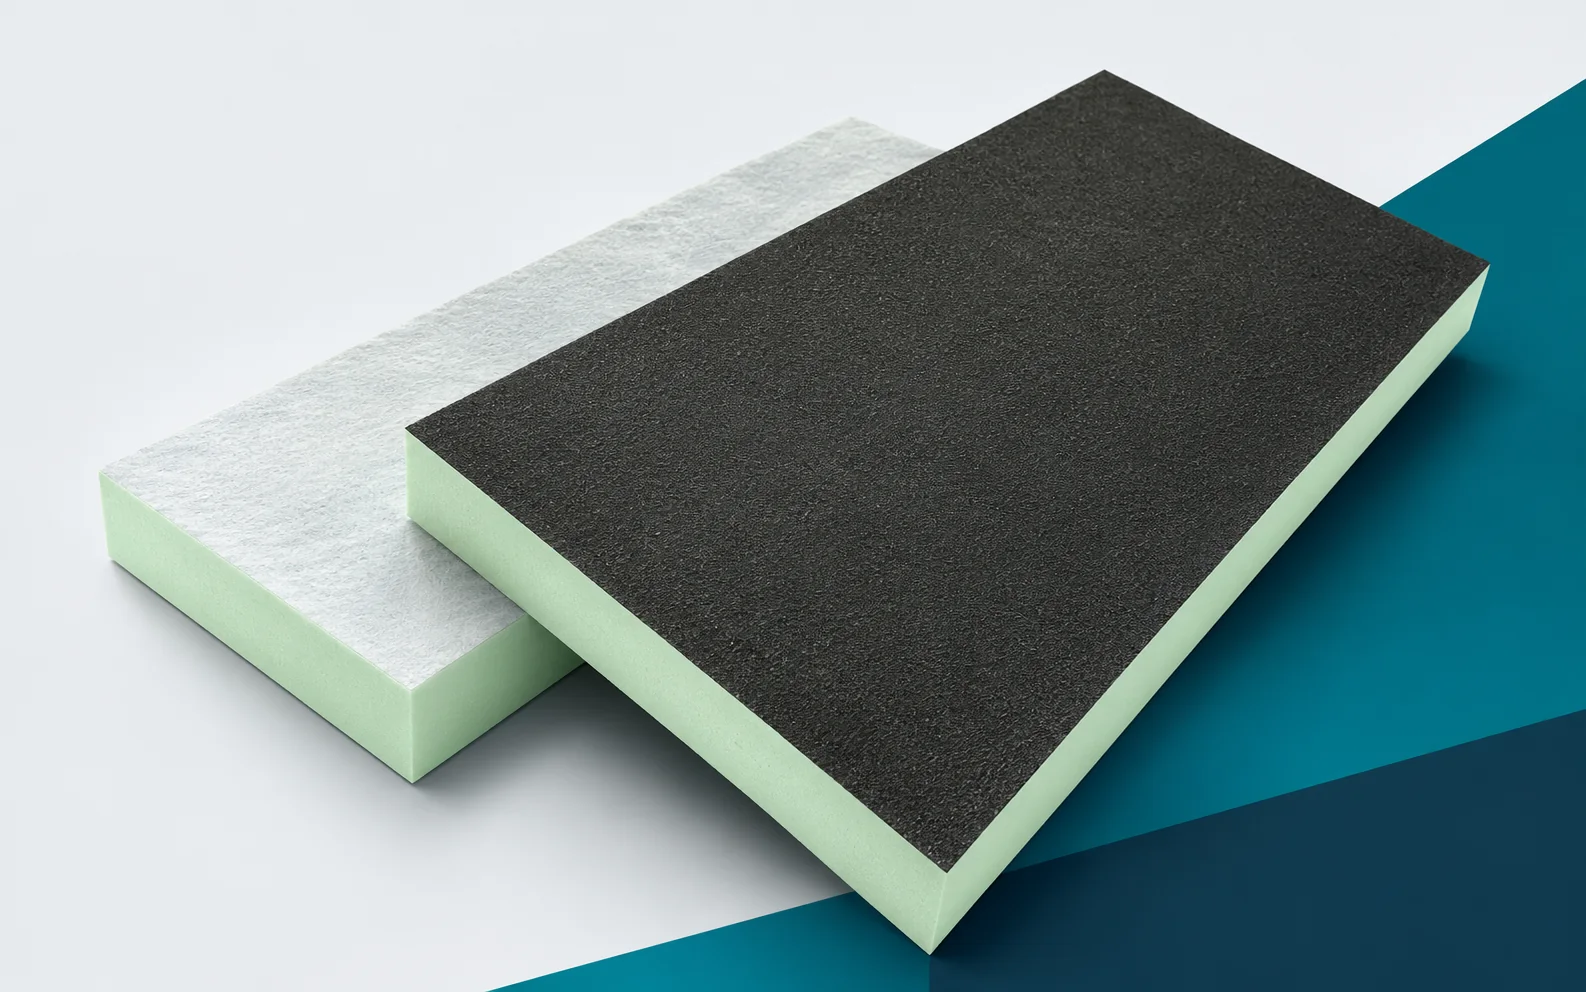
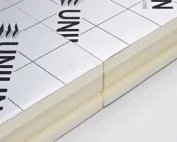
Roof BM PIR boards with two different facings
The vapour-permeable fleece should not be equated with aluminium laminate, so the delivery of the PIR boards alone does not complete the preparations. Before separating the material, check the description of the facings and establish the technology of connection with the covering with the person in charge of the works. Agreeing the first stage allows the correct contact of each side of the board with the adjacent layer to be assigned.
Roof BM lambda dependent on thickness
The Roof BM technical data sheet gives a lambda dependent on thickness: 0.027 W/(m·K) for 30–70 mm, 0.026 for 80 and 100 mm and 0.024 for 120–150 mm. On the delivery and the drawing, therefore, the change from 0.026 at 100 mm to 0.024 W/(m·K) at 120 mm must be identified, instead of treating the entire thickness family as a single value.
The parameters of each thickness variant of Roof BM under consideration are read separately before the first batch is used. The quotient d/λ must not use the lambda of another thickness range of this board, and a visual assessment will not replace this. Checking before use allows the thermal variants to be compared without transferring the best result to the entire family. In the record, note the declared R_D of 3.80 for 100 mm and 5.00 m²K/W for 120 mm, so that the installed elements can be linked to the documents.
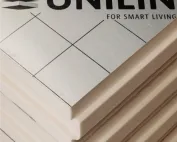
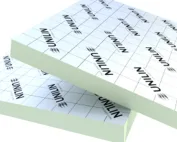
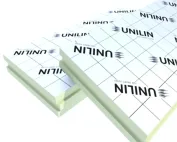
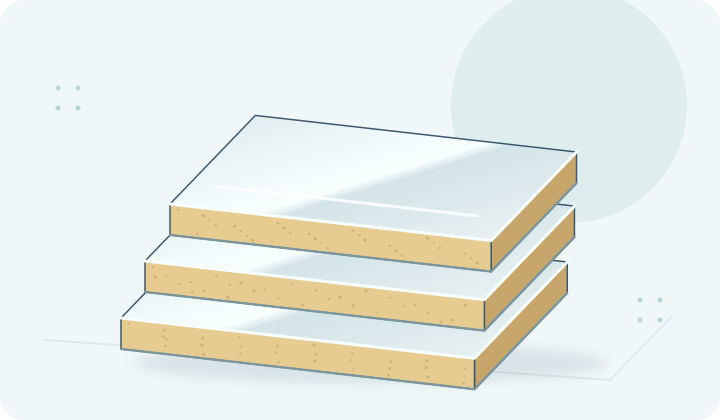
Polyurethane insulation with square edges
The 1200 × 600 mm format and straight edges determine how the layer is laid: before the first installation, establish which side of Roof BM faces the substrate and check whether the adopted arrangement meets the requirements of the waterproofing system. Only then plan the cutting layout and the sequence of rows.
In the starting section of Roof BM, plan the offsetting of joints and cut-outs at roof elements. Assess this layout before applying it in subsequent rows. The straight edges do not have a factory rebate, so continuous contact between the boards and the termination of the insulation at the perimeter require precise setting out and support for the edge elements. Record the position of the joints, the supports and the penetration details before laying the next layer.
Contact with the covering and the sequence of works
At the junction between the insulation and the covering, adhesion, cleanliness and dryness of the surface are decisive, and check the fixing separately for the central, edge and corner zones of the roof. When closing the stage, assess how the covering connects to the bituminised surface of Roof BM.
Before closing the stage, check the documentation for the first layer of covering over Roof BM. The presence of bitumen in the facing is not permission for arbitrary torch work, so do not leave the problem open. Preparing the next layer includes selecting compatible contact materials and the sequence of work for the actual roof; the polyurethane foam in the board still requires protection, so before resuming, assess the type of adhesive or fixing and the surface preparation conditions.
CS150 and class F within the relevant scope
Roof BM has a declared compressive stress of at least 150 kPa at 10% deformation and reaction-to-fire class F. These are two separate properties: the first describes the behaviour of the board under load, the second the product’s contribution to reaction to fire. When handing over the completed section to the next team, provide both parameters together with the layer build-up, because neither of them on its own describes the entire roof assembly.
The works schedule separates what can be checked on the Roof BM board from what depends on the complete roof covering. The compressive value and the reaction-to-fire class relate to different phenomena, so they do not replace the assessment of loads or the fire protection of the system. Before covering a section, confirm the product data together with the support, fixing and system classification solution; clarify discrepancies before the next trade takes over the works.
Insulation with polyurethane: selection and quotation for Roof BM
In the enquiry, state Roof BM with the full designation, thickness and selected waterproofing; the note ‘PIR board’ alone is too imprecise. When calculating the material, include the Roof BM offer covering the correct bonding side and thickness variant.
Before settling the delivery, it is worth linking the Roof BM delivery with the materials needed for compliant covering. A joint record of the scope is important because the same PIR name does not mean interchangeable facings or an identical lambda. Before the works pass to the next trade, it is worth comparing complete solutions once the required thermal insulation performance has been established. Keep the full board designation, the description of the contact layers and the scope of works at details, so that later inspection does not rely solely on the number of pallets.
A case worth considering
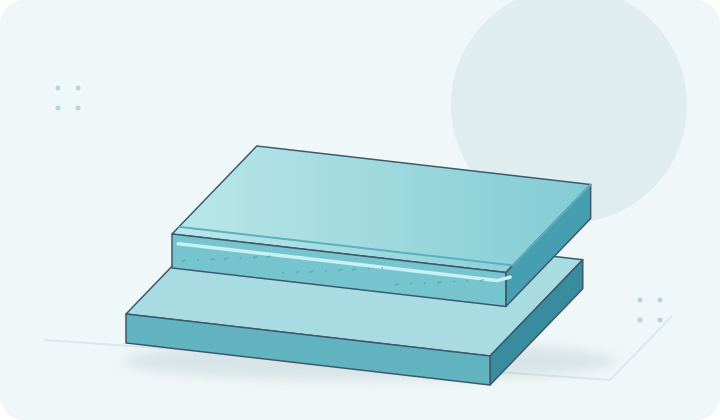
Roof BM has straight edges, so adjacent boards do not join with a rebate — the joint plan must be established before laying and consistently maintained. Before laying, check the cleanliness of the edges, and base the cut pieces at the perimeter on the substrate so that they are not left unsupported. Throughout the stage, also keep an eye on the orientation of the board surfaces. After the covering has been laid, some of these arrangements will only be readable in the execution documentation.
7 branches. Materials closer to your project.
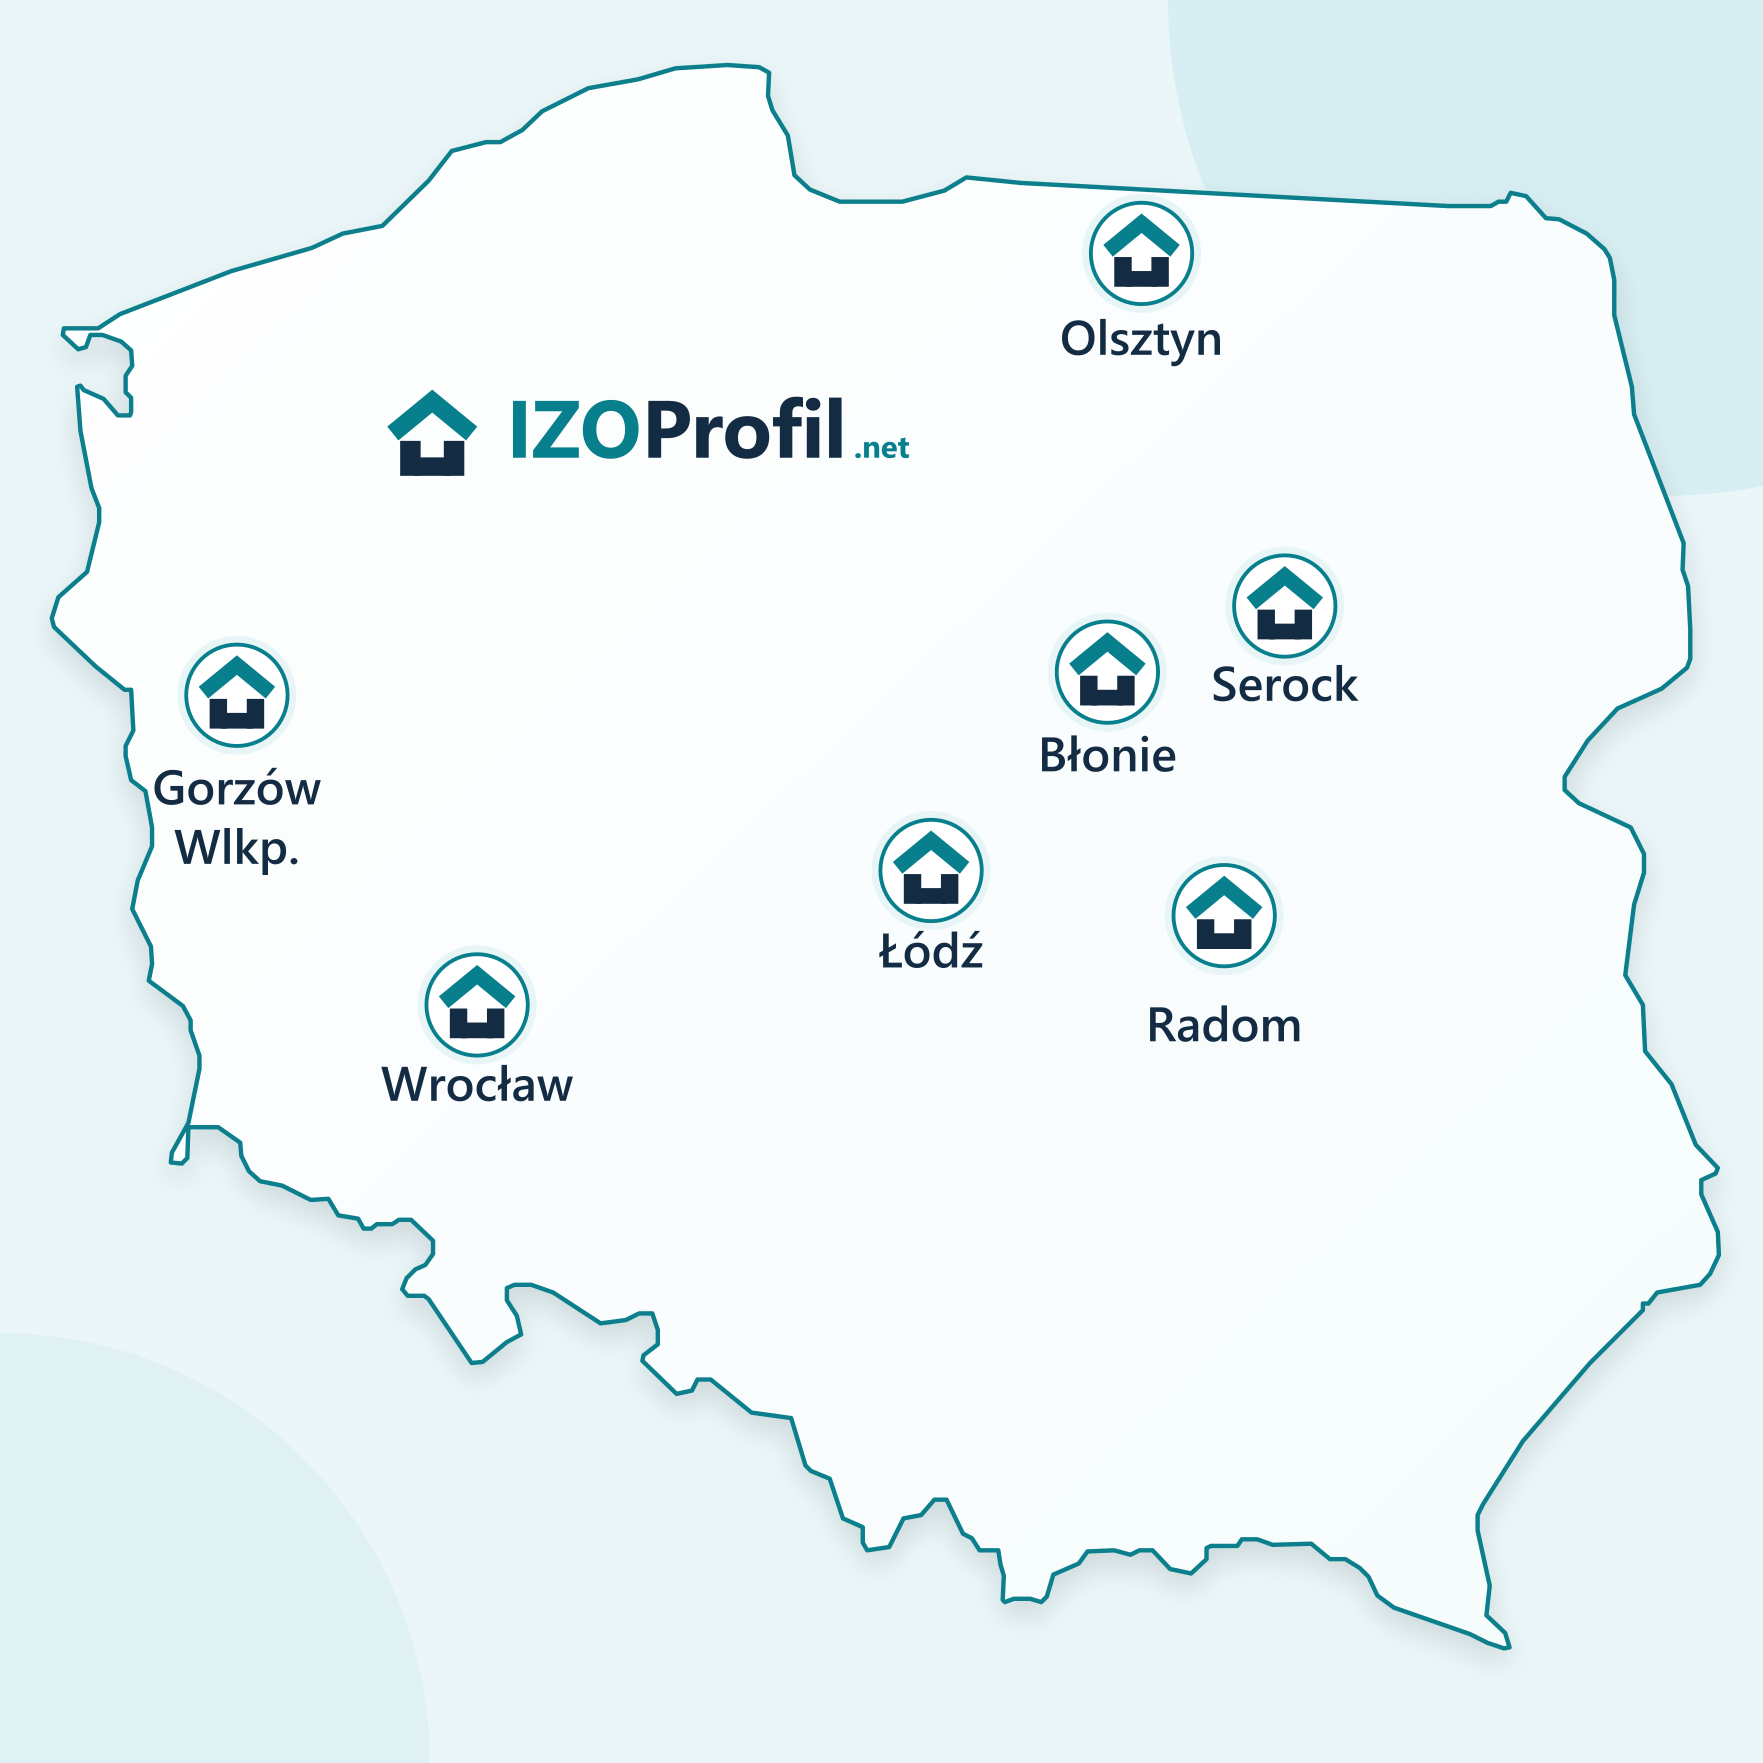
- SEROCK — Dzierżenin 34 E
- BŁONIE — ul. Sochaczewska 138A
- RADOM — ul. Grobickiego 8
- ŁÓDŹ — Natolin 8
- OLSZTYN — Barczewo, ul. Prosta 9
- WROCŁAW — ul. Jerzmanowska 10C
- GORZÓW WLKP. — ul. Zielona 33/34