

PIR insulation
Preserving the designed thermal resistance when installing PIR
At a glance
On site, the calculated thickness must match the actual dimensions. PIR boards with good parameters require accurate laying and correct joints. The installer does not have to recalculate the whole design, but should understand which changes affect the assumed thermal effect. The declared lambda, usually designated λD, serves to describe the product. Design calculations may require values that take the envisaged operating conditions into account. The appropriate conversion rules must be used. A fixed percentage should not be added on one’s own for summer or subtracted for winter. Before laying, check the marking of the boards delivered for the given section. A similar appearance does not confirm the same lambda.
What the lambda of a specific product says
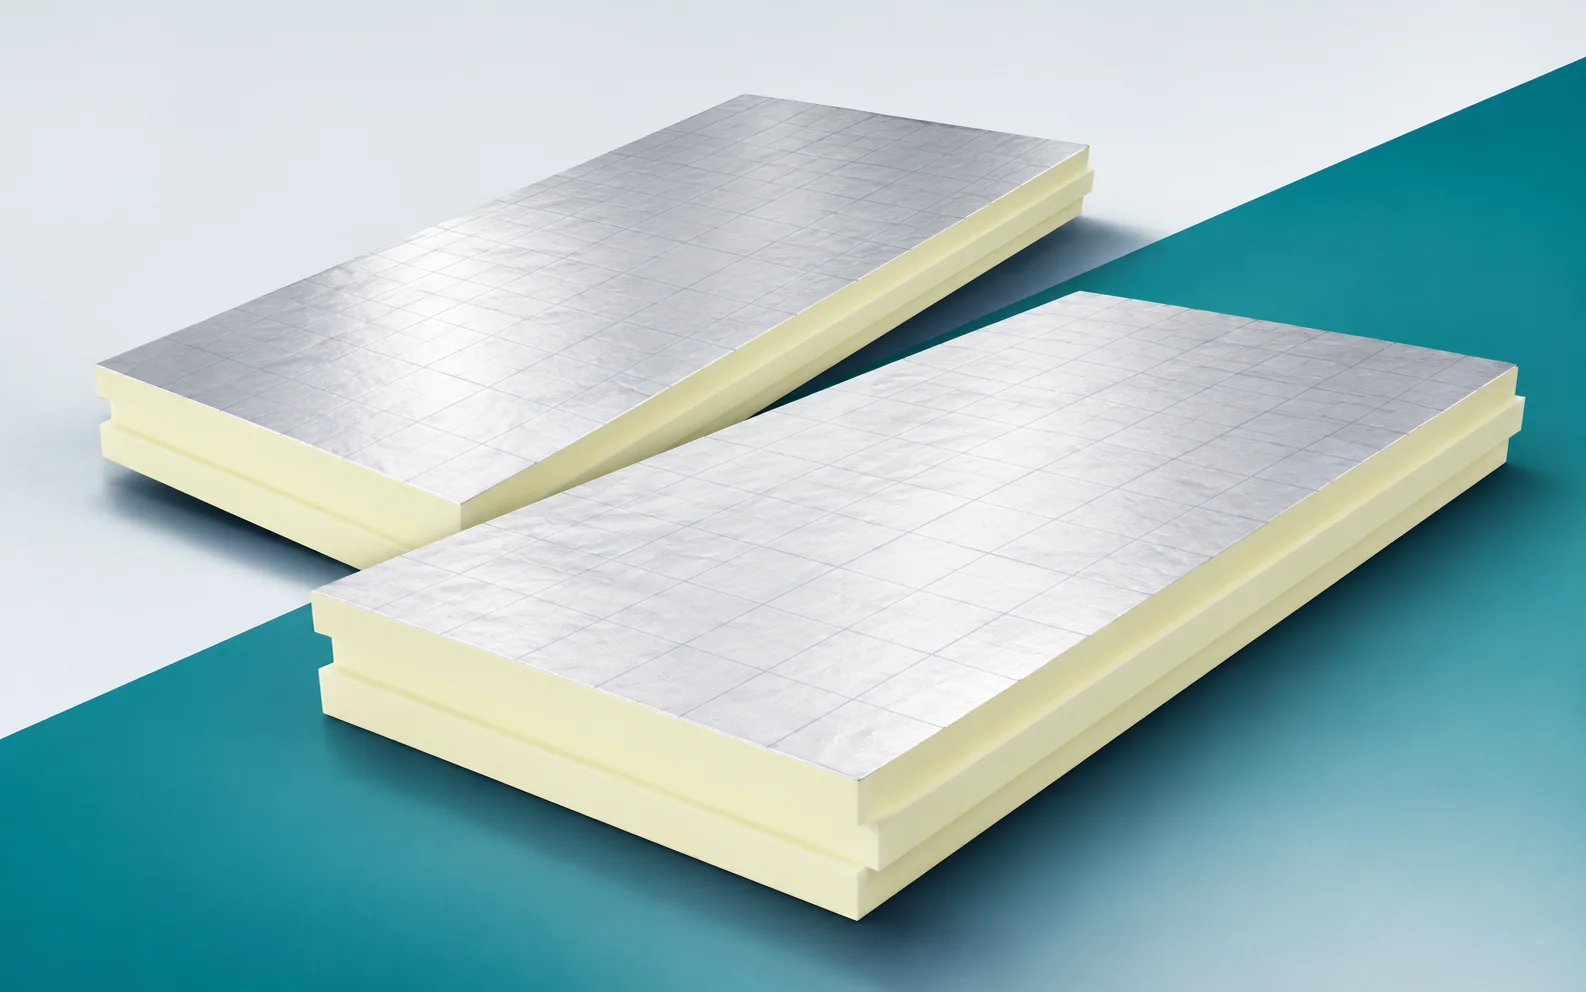
If a batch differs from the documentation, clarify this before unpacking a larger quantity. Polyurethane boards of identical thickness are not automatically interchangeable: a difference in facing or intended use can affect both the parameters and the next layer.
Thermal resistance of the selected layer
Thermal resistance increases with thickness. With a constant lambda of 0.022, a 150 mm layer gives approximately 6.82 m²K/W from simple division. Declared values may be stated according to the rounding rules applied. For the order documentation, copy the correct parameter from the document for the specific board.
The R value refers to a specific material thickness, so local sanding or cutting of the core changes this parameter. This is not a neutral way of adjusting the height: in the event of a clash, a solution must be agreed, because the polyurethane foam in the board does not retain the same resistance after any reduction in cross-section. A simple measurement before work begins limits later improvisation on site.
How to read the U-value of the whole building element
The calculations should correspond to what will arrive on site. Changing the board type, reducing the thickness or adding a structure requires the result to be checked. Also establish whether a given value comes from the calculation of the cross-section alone or includes the necessary corrections. Without this, the numbers may look better than the solution.
The design U-value results from a specific layer build-up and fixing arrangement, not from a set of similar-looking materials. Changing the fixing or the sequence of layers may require the calculation to be checked again. The polyurethane insulation must be installed in accordance with the adopted cross-section, and any doubts should be reported with a photograph and a dimension — this allows the actual clash to be resolved on site, instead of approving a general substitution without understanding the detail.
Thickness and space constraints
For a target R = 5 m²K/W, a material with a lambda of 0.022 requires 110 mm in a simple calculation. With a lambda of 0.035, 175 mm would be needed. The actual purchase must be matched to the thicknesses offered and the declared parameters. The theoretical difference does not always correspond exactly to the dimensions of the available boards.
Also check the delivery thickness when starting a new batch. On a larger project, similar packs may be intended for different zones. Labelling the storage location reduces the risk of confusion. It is also worth checking the final level before closing the entire field. A difference discovered at the last threshold is much harder to rectify. Good organisation helps preserve the dimension that was adopted for the thermal calculation.
Limits of the conclusions drawn from calculations
When increasing the thickness, what counts is the additional benefit. Further centimetres can reduce losses, but they require space and sometimes changes to details. The comparison should cover the thermal effect, the material cost and the accompanying works. The best variant depends on the project, not on one universal thickness.
Increasing the thickness at one point does not make up for missing insulation at another, because heat also flows through local weak points. That is why service penetrations and the perimeter require a separate solution, not just an even field of boards. Insulation with polyurethane forms a three-dimensional system in which a small detail may require its own method of execution; thickening the adjacent surface will not replace it.
From parameters to correct execution
Air flow through a leak is a different phenomenon from conduction through the material. You will not calculate it with the simple formula d/λ. An airtight layer requires continuous joints and the right details. In case of doubt, both the thermal insulation and the airtightness of the whole system must be assessed.
The acceptance check before covering should compare the completed layers with the drawing. Inspect the cut areas, the condition of the facings and the close fitting of the elements. The mere number of packs laid does not prove that the surface has been executed correctly. In the photographic documentation it is worth keeping a reference point so that the location can be identified later. Once the next layer has been installed, PIR boards become difficult to access. Checking at this stage allows an error to be corrected with a much smaller scope of work.
Checks before covering the layers
Boards of two thicknesses were left over on site. Laying the thinner ones in random places will change the designed cross-section. The material must be assigned to the appropriate areas. If a substitution is needed, its effect must be checked before installation, not only at the acceptance stage.
A practical acceptance check brings together three pieces of information: which product was laid, what thickness it has and whether the specified joints were maintained. Each answers a different question. A good lambda does not replace a missing piece, and a level top surface does not confirm the correct board variant. Record changes before they are made and keep the delivery markings. The design parameters can then be linked to the actual work, and later clarification of details does not rely solely on the crew’s memory.
7 branches. Materials closer to your project.
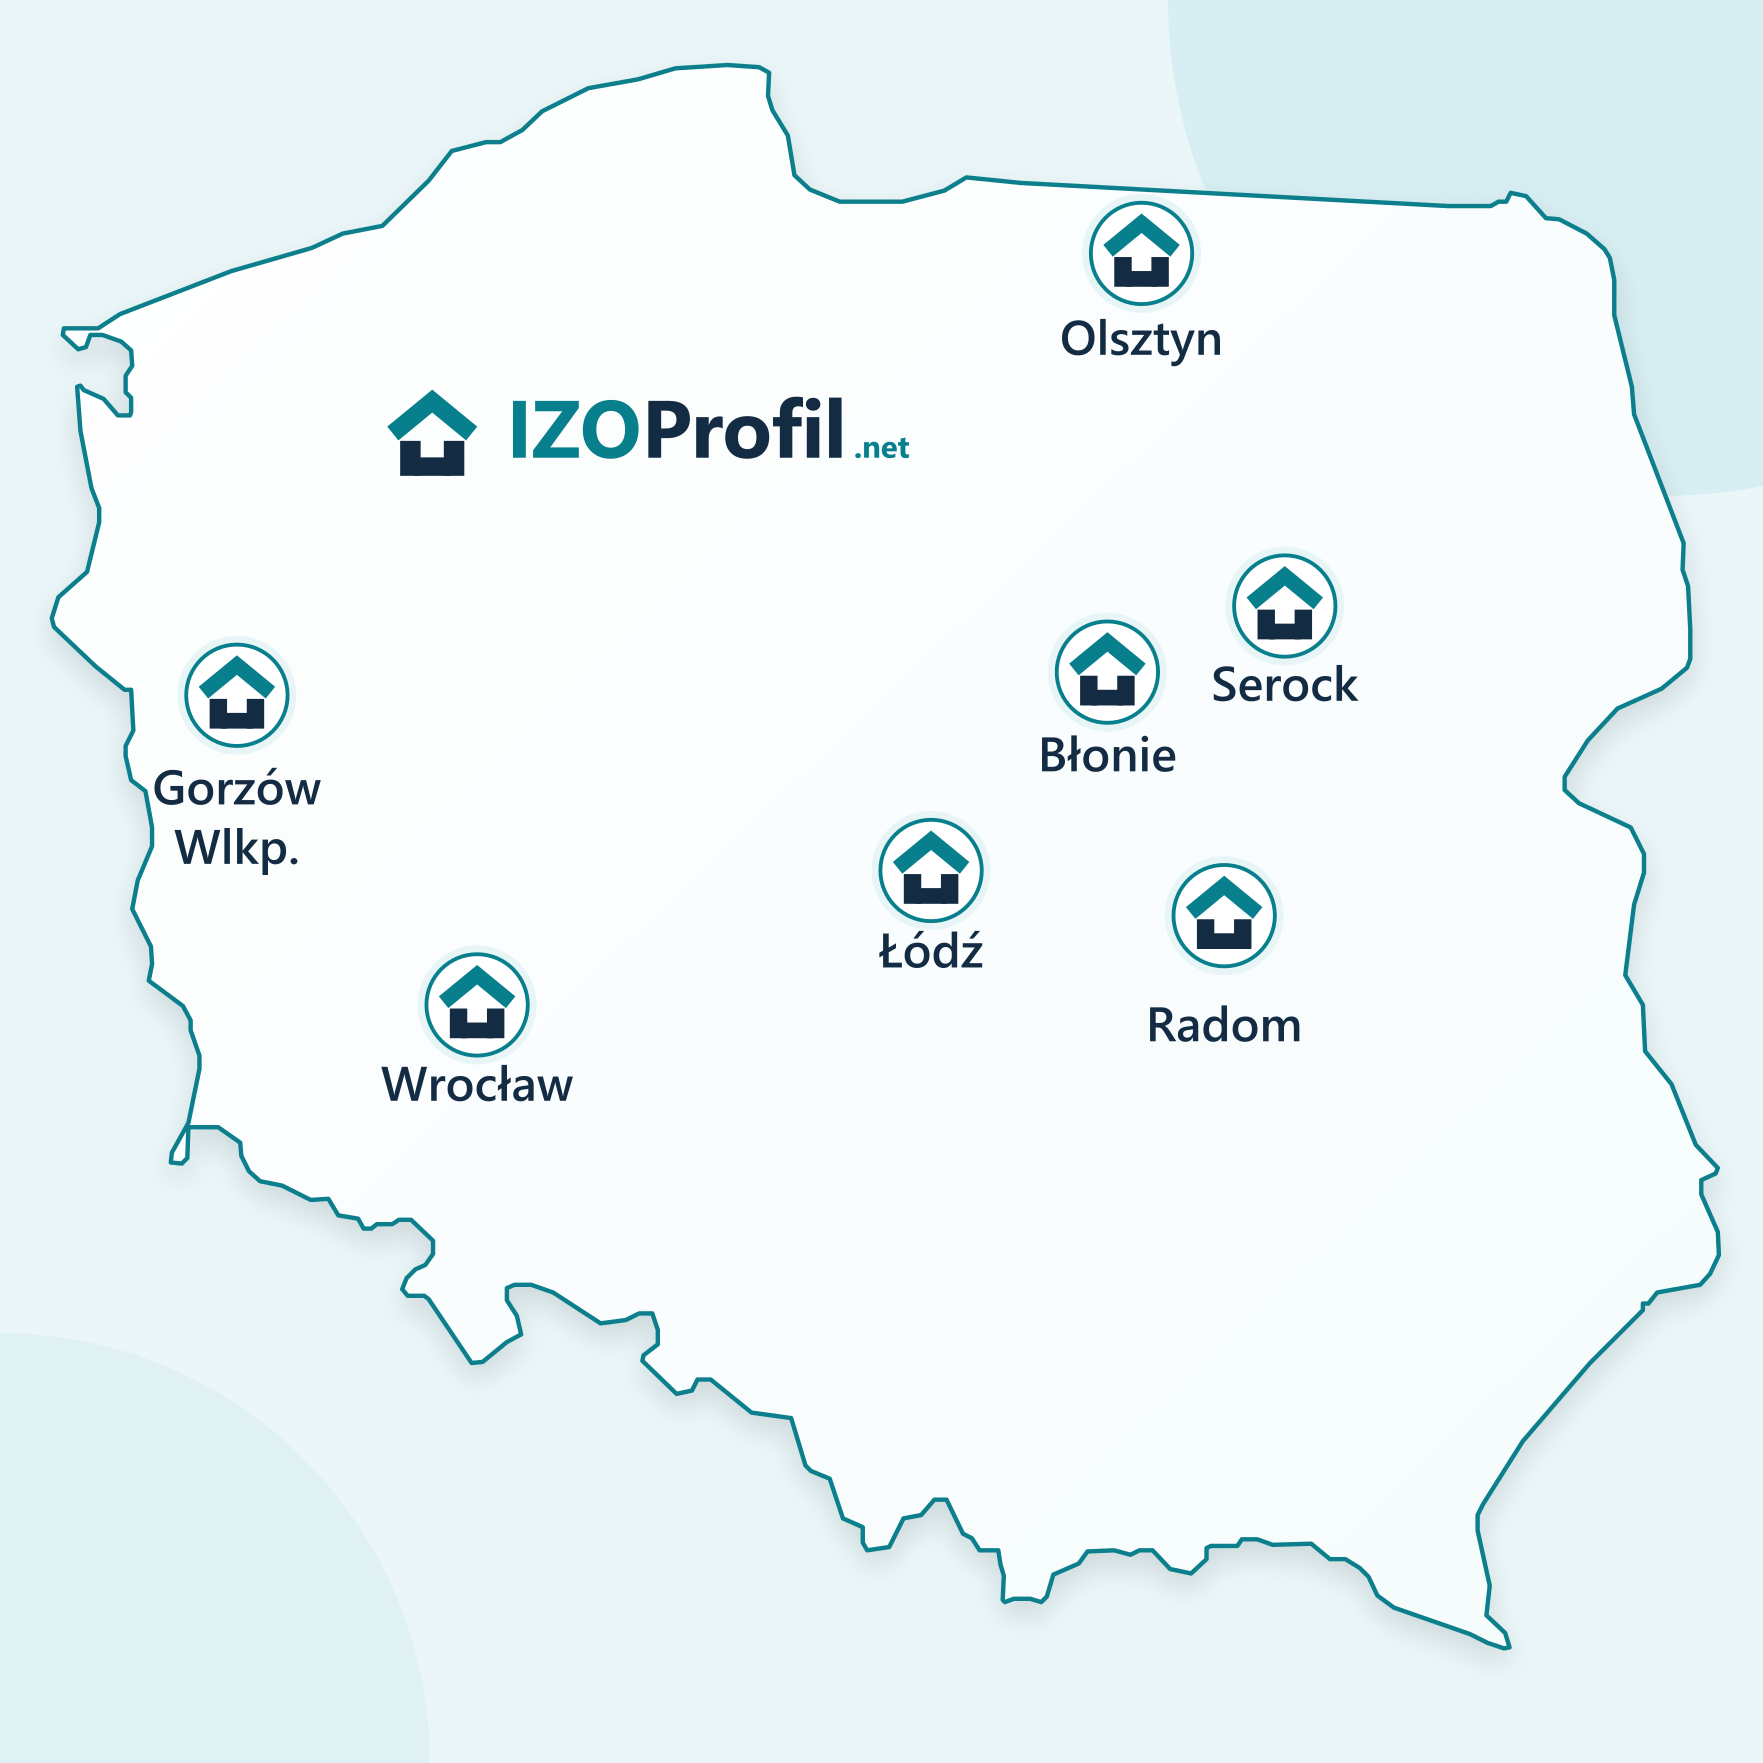
- SEROCK — Dzierżenin 34 E
- BŁONIE — ul. Sochaczewska 138A
- RADOM — ul. Grobickiego 8
- ŁÓDŹ — Natolin 8
- OLSZTYN — Barczewo, ul. Prosta 9
- WROCŁAW — ul. Jerzmanowska 10C
- GORZÓW WLKP. — ul. Zielona 33/34