

PIR insulation
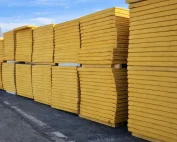
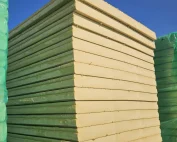
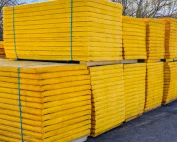
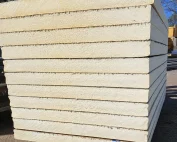
PIR boards on site: briefing the crew before opening the packs
At a glance
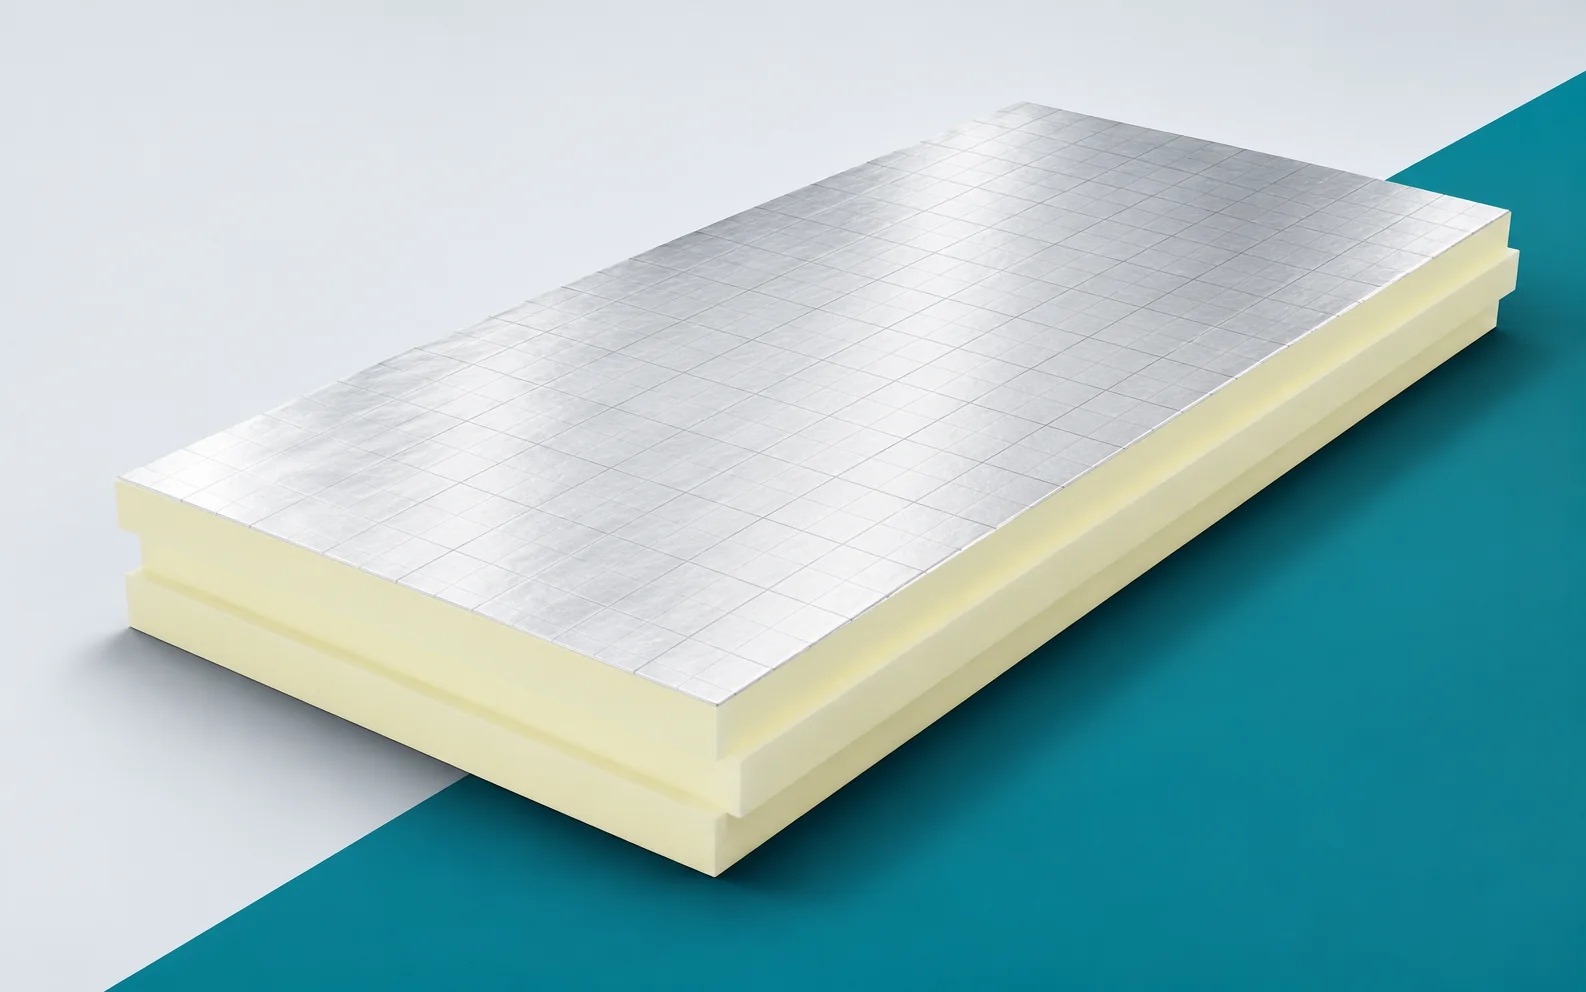
Good installation organisation begins before the first pack is cut open. PIR boards must be identified, stored properly and matched to the prepared substrate. A few simple arrangements limit later corrections. Particularly important are the places that the next layer will quickly cover. The name PIR refers to the chemical structure of the rigid core. In trade, such products also fall into the polyurethane board category. This is a useful group designation, but the exact type must be specified when ordering. A shared part of the name does not mean the same thermal and fire characteristics. The crew should receive information about the exact board variant, not just a general instruction to lay PIR.
The PIR core and the meaning of the name
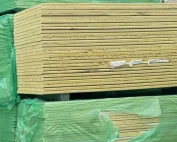
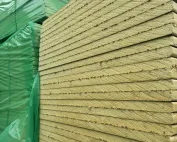
Before starting work, compare the delivery label with the documentation, because the polyurethane foam inside does not clarify the type of surface or the approved accessories. If different variants appear in the packs, separate them. A mistake is easy to spot at the beginning and much harder once several dozen elements have been covered.
The facing changes how the product is used
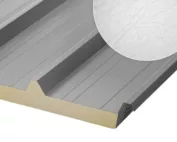
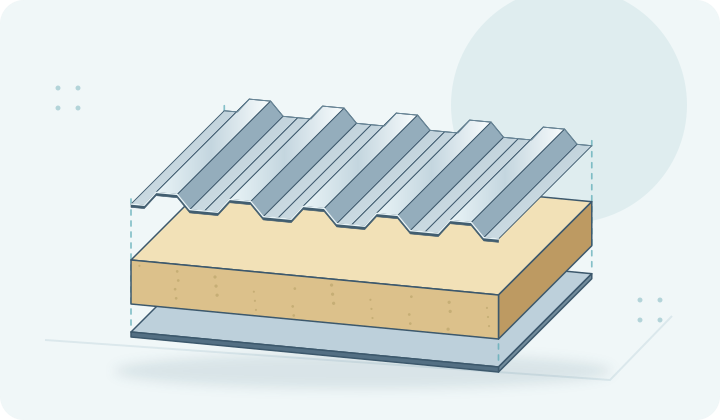
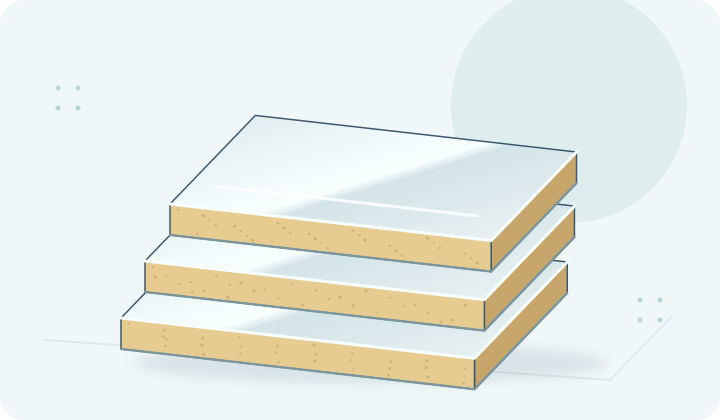
Two boards with a similar cream-coloured core can have completely different surfaces. One has a thin aluminium laminate, the other a mineralised veil. The facings can change the diffusion resistance and compatibility with subsequent layers. That is why, when purchasing, you have to read the name of the entire product, not just the word PIR.
If the boards have different installation sides, lay a trial section and establish which surface goes against the substrate. Do not remove the facing just because it gets in the way of an accidentally chosen adhesive — that is a signal to check the technology. The material set is meant to allow the joint to be made without arbitrarily changing the board’s construction, and the polyurethane insulation then retains the product form envisaged for it.
Why a smaller thickness may be sufficient
A lower lambda does not remove the significance of gaps and thermal bridges. Poorly fitted thin insulation can perform worse than a carefully executed variant envisaged in the design. It is worth checking the entire cross-section and then the joint detail. The material parameter describes only part of the final result.
Before cutting, check the actual height of all layers at the boundary point. A clash noticed too late often leads to the insulation being cut away or to an improvised change of finish. Such action can change the intended thermal effect. It is better to mark the levels and resolve the problem before starting the field. A thin board offers the possibility of a good detail, but it is not a reason to skip ordinary measurements on site.
The application depends on the specific product
Rigid insulation is convenient when creating a continuous layer on a suitably prepared surface. It can run outside the structure and reduce its thermal bridges. On a complicated substrate it requires precise cutting. This is a different way of working than filling spaces with a flexible or blown-in material.
The substrate should be ready to receive the specific system. It is not enough that a board can be laid on it. The condition of the surface and the required support must be assessed. Where there are unevennesses, a rigid element may bear only at isolated points. The method of repair should not be chosen on the basis of how convenient it is to press down. First the substrate problem is solved, and only then is the insulation laid together with the specified load-bearing layers.
The edge helps, but does not replace care
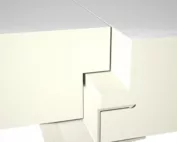
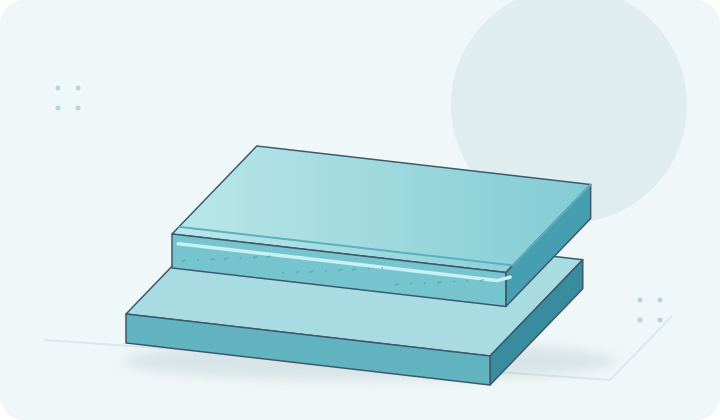
Profiled edges make it easier to align adjacent elements with one another. This does not mean that the boards can be laid carelessly. Dirt or damage to the profile can make it difficult to push them together. At acceptance, the actual joint must be checked, not merely whether the name of the edge profile on the label matches.
Plan the first row with the final section in mind. A very narrow cut piece at the perimeter can be difficult to fix or join correctly. It is worth checking the layout dry in an unusual location. Set aside useful offcuts by dimension instead of throwing them onto a common pile. This makes sensible use of the material easier and reduces the search for a piece that only seemingly fits the gap left.
Parameters worth checking alongside lambda
On site it is worth keeping the labels and delivery documents. They make it easier to attribute the parameters to the material actually used. When a substitution occurs, the conditions of use must be checked again. A similar core colour and the same thickness do not prove that two batches are technically equivalent.
The inspection before covering should include not only the evenness of the top surface. Look at surface damage, the close fit of the edges and the connections at penetrations. Mark doubtful places and clarify them immediately. A photograph taken from a recognisable point helps later to link the detail to a specific part of the building. It does not replace the repair, but it creates a useful record. Once the next layer is laid, PIR boards are no longer easily accessible.
Inspection before covering the layers
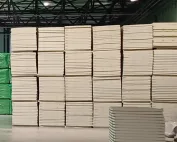
The crew receives several pallets of different thicknesses. It is worth separating them immediately by installation zone and keeping the labels. A mistake in the first row may only become apparent at the detail. Early inspection saves dismantling correctly executed sections.
To close out the stage, secure the opened material: PIR boards must not wait for the next shift in a random place or under a cover assumed to be tight without checking. Record the completed sections and the details left outstanding. A simple handover protocol between crews is more useful than a general statement that the insulation has been laid and work can move on.
7 branches. Materials closer to your project.
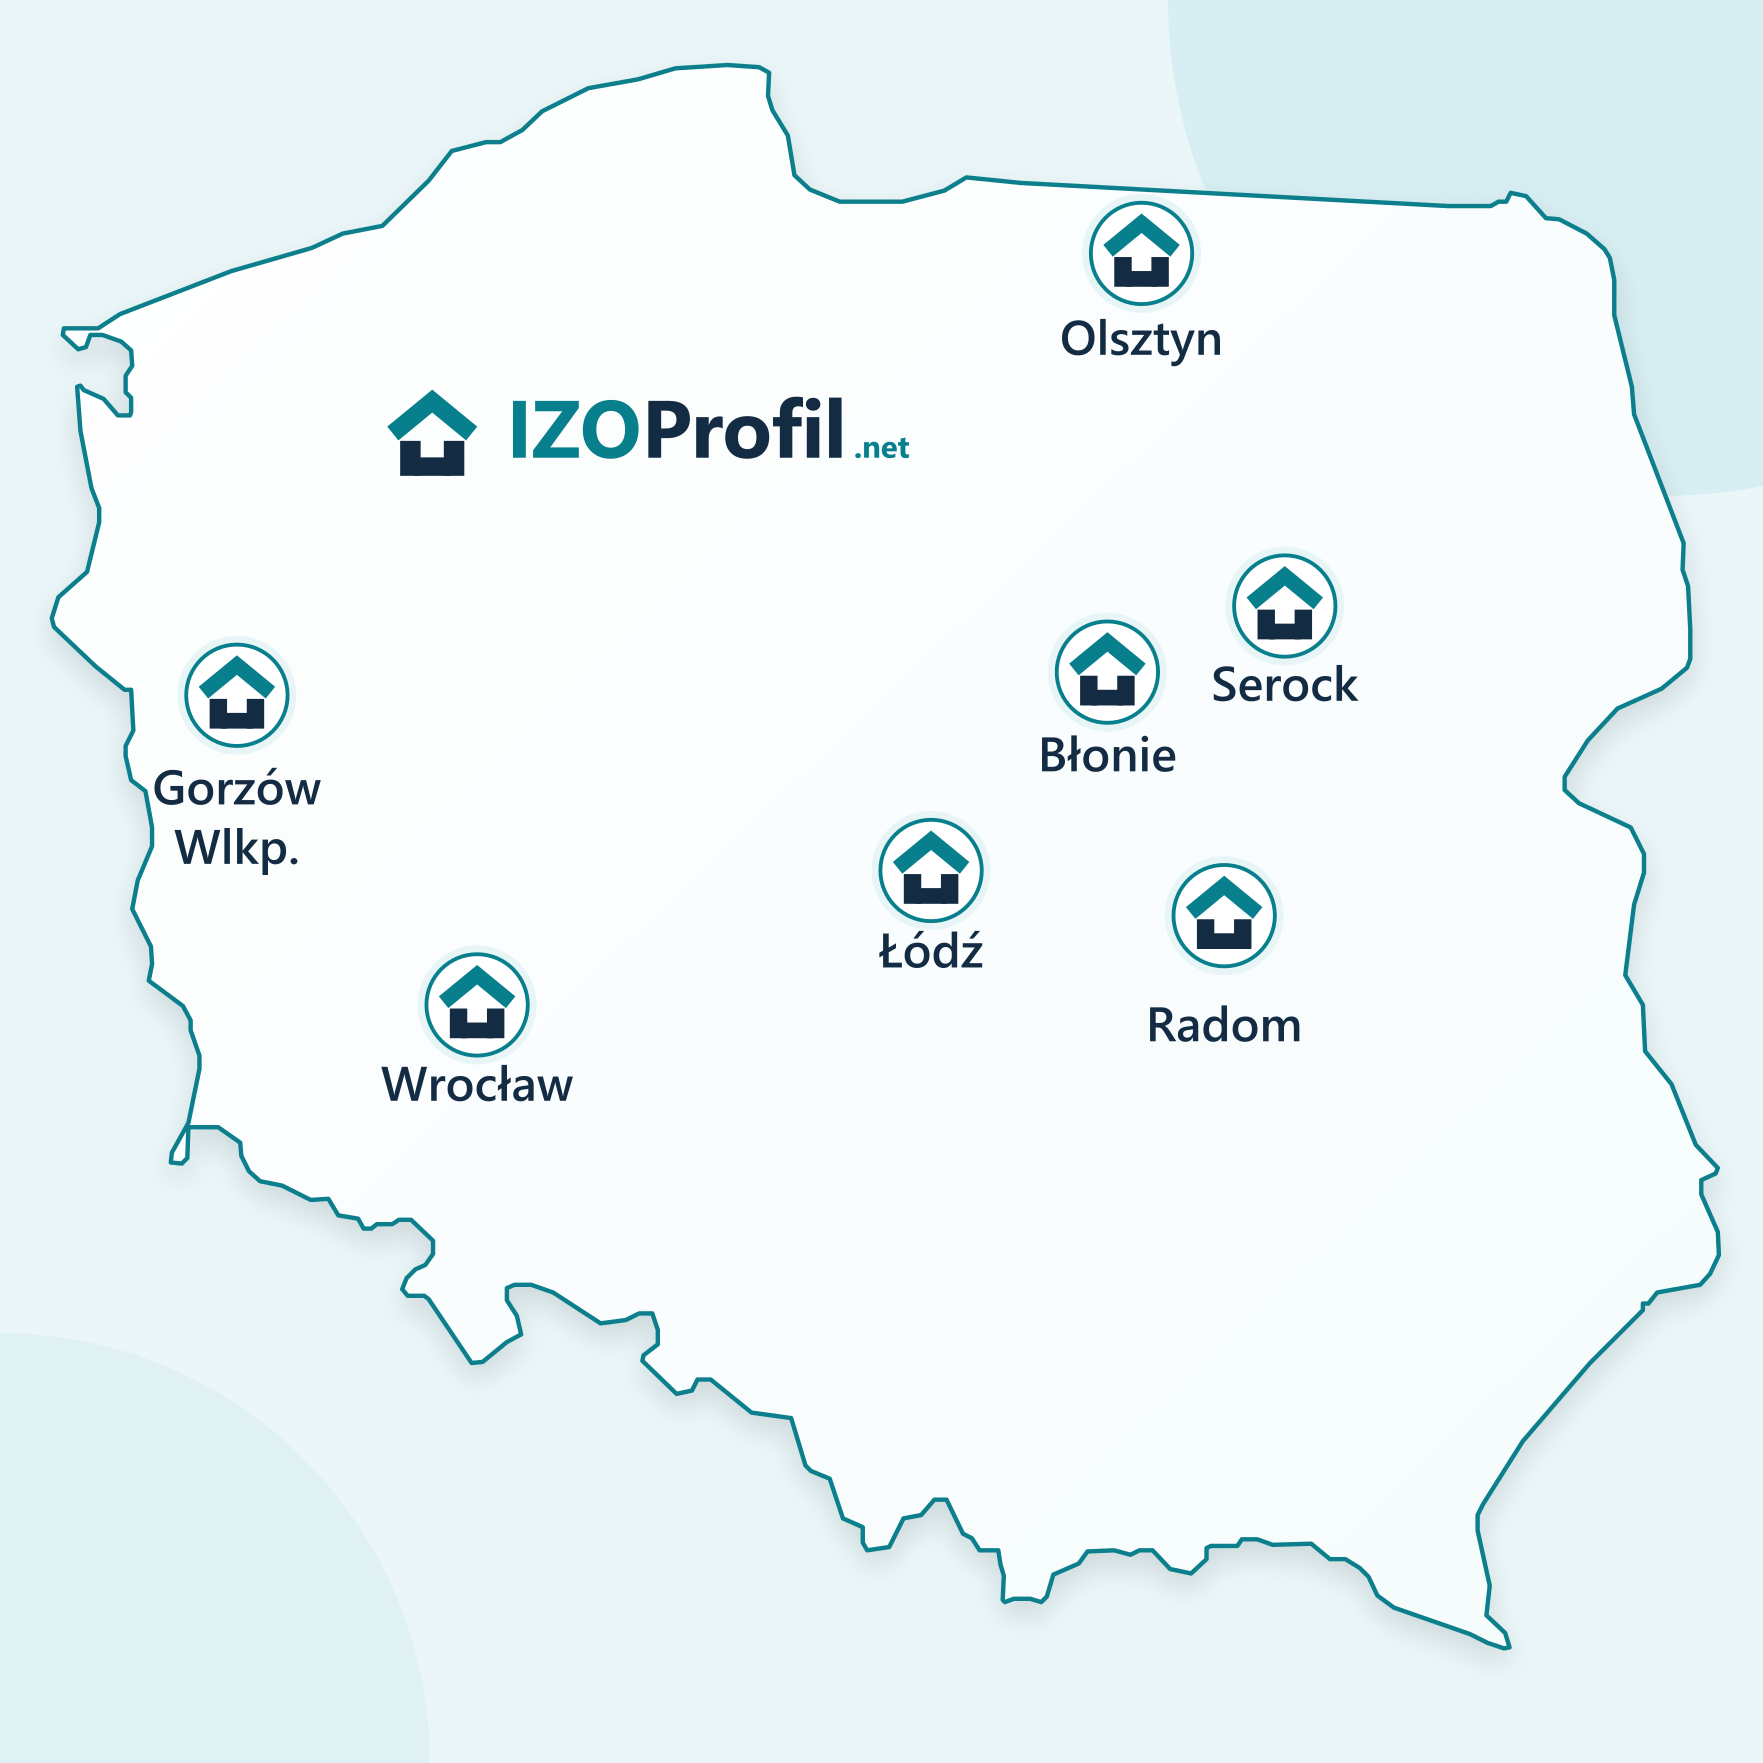
- SEROCK — Dzierżenin 34 E
- BŁONIE — ul. Sochaczewska 138A
- RADOM — ul. Grobickiego 8
- ŁÓDŹ — Natolin 8
- OLSZTYN — Barczewo, ul. Prosta 9
- WROCŁAW — ul. Jerzmanowska 10C
- GORZÓW WLKP. — ul. Zielona 33/34