Installation and details
Five common roofing mistakes and how to avoid them
In brief
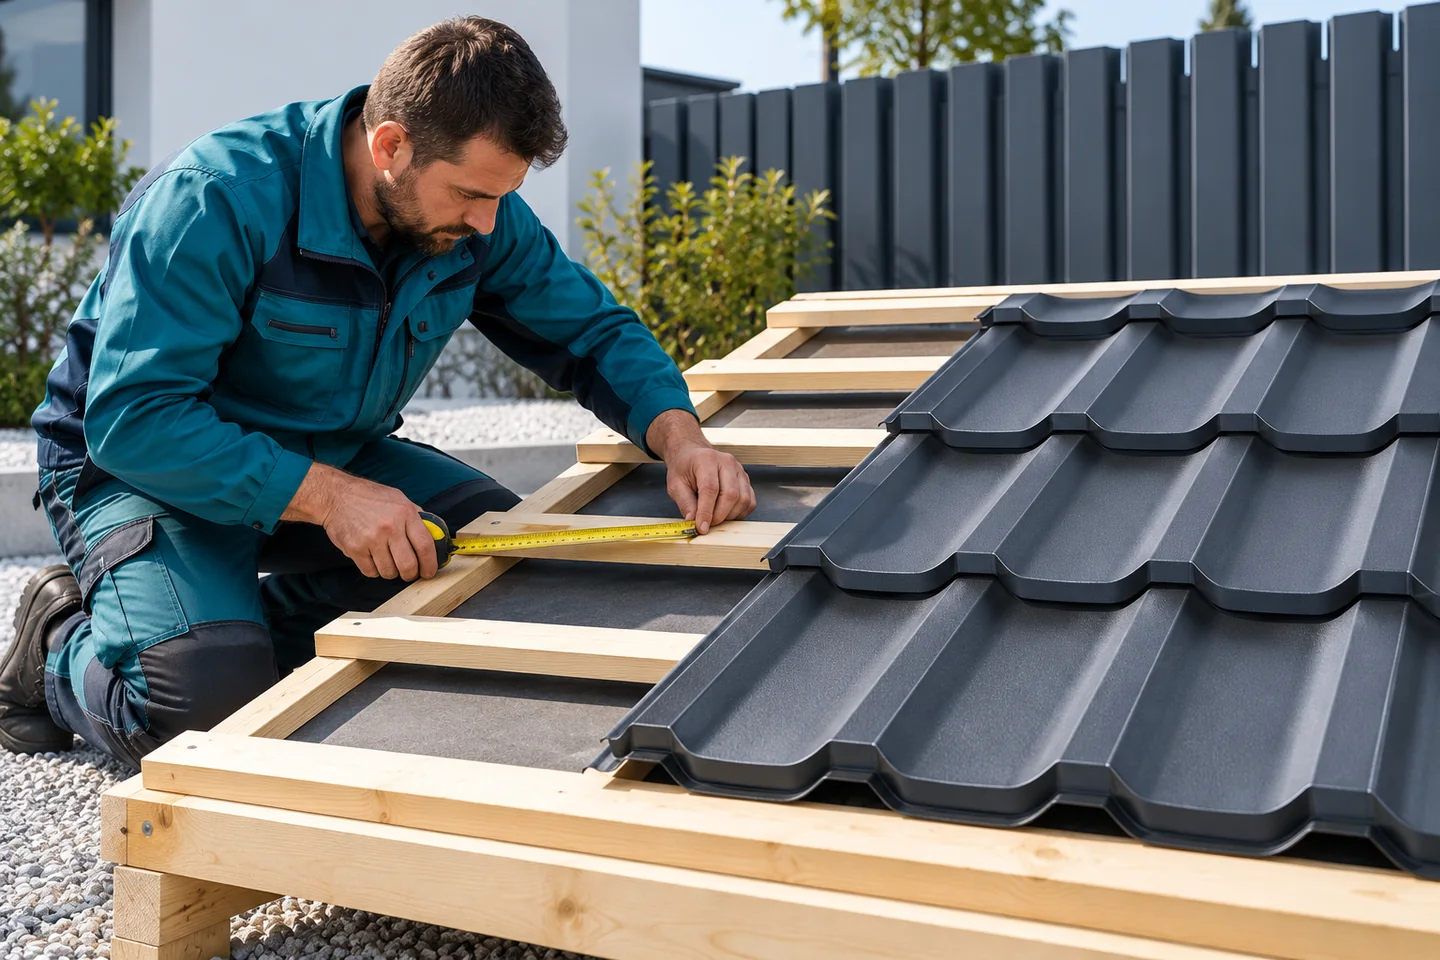
Before the crew starts laying the covering, it is worth checking the structure and the batten layout. Crooked roof edges, badly placed supports and uneven battens stop the metal from sitting properly, and attempts to even things out in the covering itself lead to stress and raised seams. Batten spacing is set for the particular metal roof tile, not for a profile that merely looks similar. The geometry and condition of the load-bearing elements should be assessed before installation.
Mistake one: installation on an unchecked structure
Uneven battens, incorrect support spacing and crooked roof slope edges make it difficult to lay the steel sheet accurately. The crew may try to compensate for the differences in the covering itself. The result is stress, protruding seams or an unsightly line of sheets. Before installation, the geometry and condition of the structural elements must be checked.
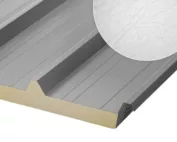
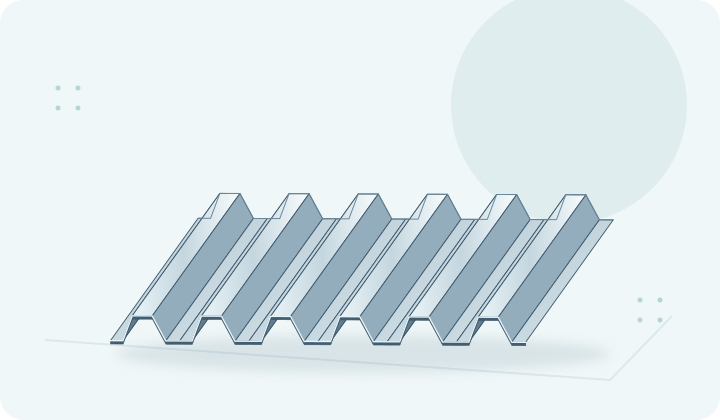
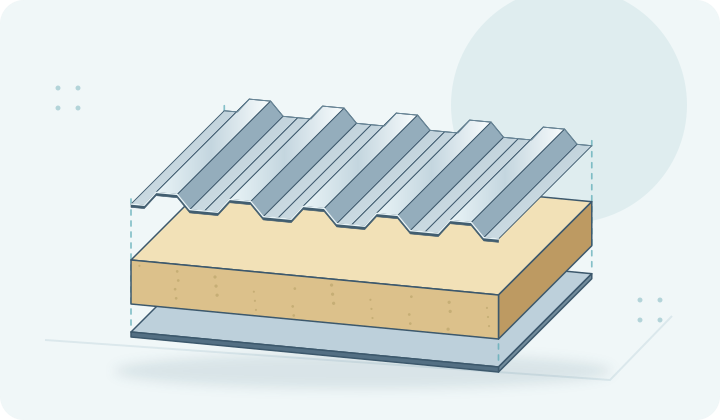
Batten spacing is selected for the specific metal roof tile, not for a similar-looking profile. For trapezoidal steel sheet and sandwich panels, data on loads and supports are required. If the design or instructions are unclear, the right moment to clarify is before covering. Later correction may require dismantling a significant part of the roof.
Mistake two: interrupting the ventilation and drainage path
The membrane is to protect the layers beneath the covering and drain off incidental water. If it ends in the pocket at the eaves or is poorly connected at the chimney, moisture can remain in the roof. Improper laps and unprotected cuts at penetrations further increase the risk. The entire run of the layer must be inspected, not just its middle.
In a ventilated roof, an unobstructed space from inlet to outlet is required. Insulation, foam and flashings must not accidentally close it. The high vapour permeability of the membrane does not replace the ventilation designed above it. Before laying the covering, it is worth checking the inlet at the eaves and how the upper part of the roof slope is resolved.
Mistake three: incorrect cutting and left-over swarf
A tool generating high temperature can damage the protective coating and the edge of the steel sheet. Hot particles can fuse into the paint even away from the cutting point. Tools approved for the specific covering must be used for the sheets. This applies to metal roof tiles as well as trapezoidal steel sheet and steel facings of sandwich panels.
After drilling and cutting, swarf must be collected. Left on a damp surface, it corrodes and creates marks that can look like a defect in the steel sheet itself. The roof should also be cleaned at roof valleys, behind flashings and in gutters. Quick cleaning is easier than later removal of permanent discolouration from the finished covering.

Mistake four: accidental selection and tightening of screws
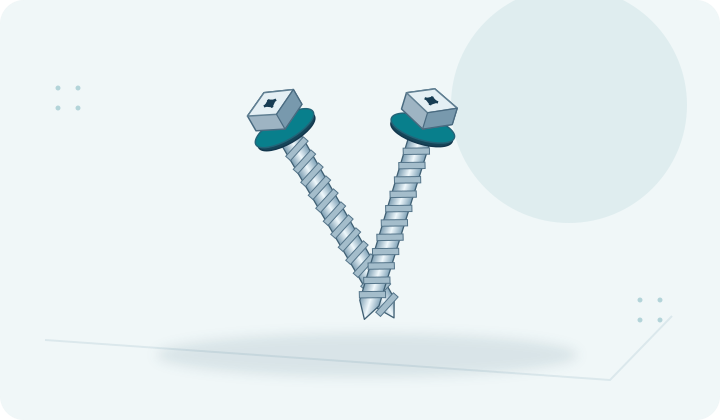
The fastener must match the substrate, the thickness of the components and the loads. A screw intended for wood is not a substitute for a solution for steel. The fixing position specified in the instructions is also important. A pattern from another profile must not be transferred simply because both sheets have a similar width.
Over-tightening can deform the sheet and damage the seal. Too little leaves it loose. The number of fixings should follow the design and system requirements, with particular attention to edge zones. Checks should also cover the fixing of the substructure. A well-fixed sheet will not help if the battens have a weak connection to the rafters.
Mistake five: treating flashings as cosmetic
The roof valley, chimney, ridge and eaves are not merely decorative roof terminations. Each of these locations conveys water and connects layers with different functions. Lack of support, incorrect overlap or a blocked outflow can cause a leak. Simply increasing the amount of sealant usually does not correct faulty geometry.
The details should be agreed before ordering material. This also applies to later photovoltaics, roof hatches and roof access. Drilling at random through the finished covering for an additional installation can impair tightness and warranty conditions. It is worth knowing who is responsible for such connections and which system components will be used.
How to carry out an acceptance inspection that actually checks something?
Ask for photos of the layers before they are covered and documentation of the materials used. Inspect the geometry, flashings, fixings, gutters and penetration points. Establish whether the surface has been cleaned and the transport film removed within the required period. The inspection is carried out from a safe position, with the involvement of a person experienced in the given system.
Record the defects noted and the deadline for their rectification. Acceptance should not be limited to stating that the roof looks even from the street. Some defects only become apparent during wind, thaw or prolonged rain. The better documented the workmanship, the easier it is later to distinguish an installation defect from damage arising during use.
7 branches. Materials closer to your project.

- SEROCK — Dzierżenin 34 E
- BŁONIE — ul. Sochaczewska 138A
- RADOM — ul. Grobickiego 8
- ŁÓDŹ — Natolin 8
- OLSZTYN — Barczewo, ul. Prosta 9
- WROCŁAW — ul. Jerzmanowska 10C
- GORZÓW WLKP. — ul. Zielona 33/34