Sandwich panels
Planning the installation sequence for insulated roof panels
In brief
Before the panels arrive, check the supports, roof pitch and laying direction. Compare the delivery with the design: core, facings, coating and lengths. Decide the installation side and the cuts at the eaves and longitudinal joints. Similar-looking panels may not be compatible, so mixing them risks leaks. The structure needs suitable support spacing and width. Set out fixings and seals for your chosen system and design, and plan the handover in advance.
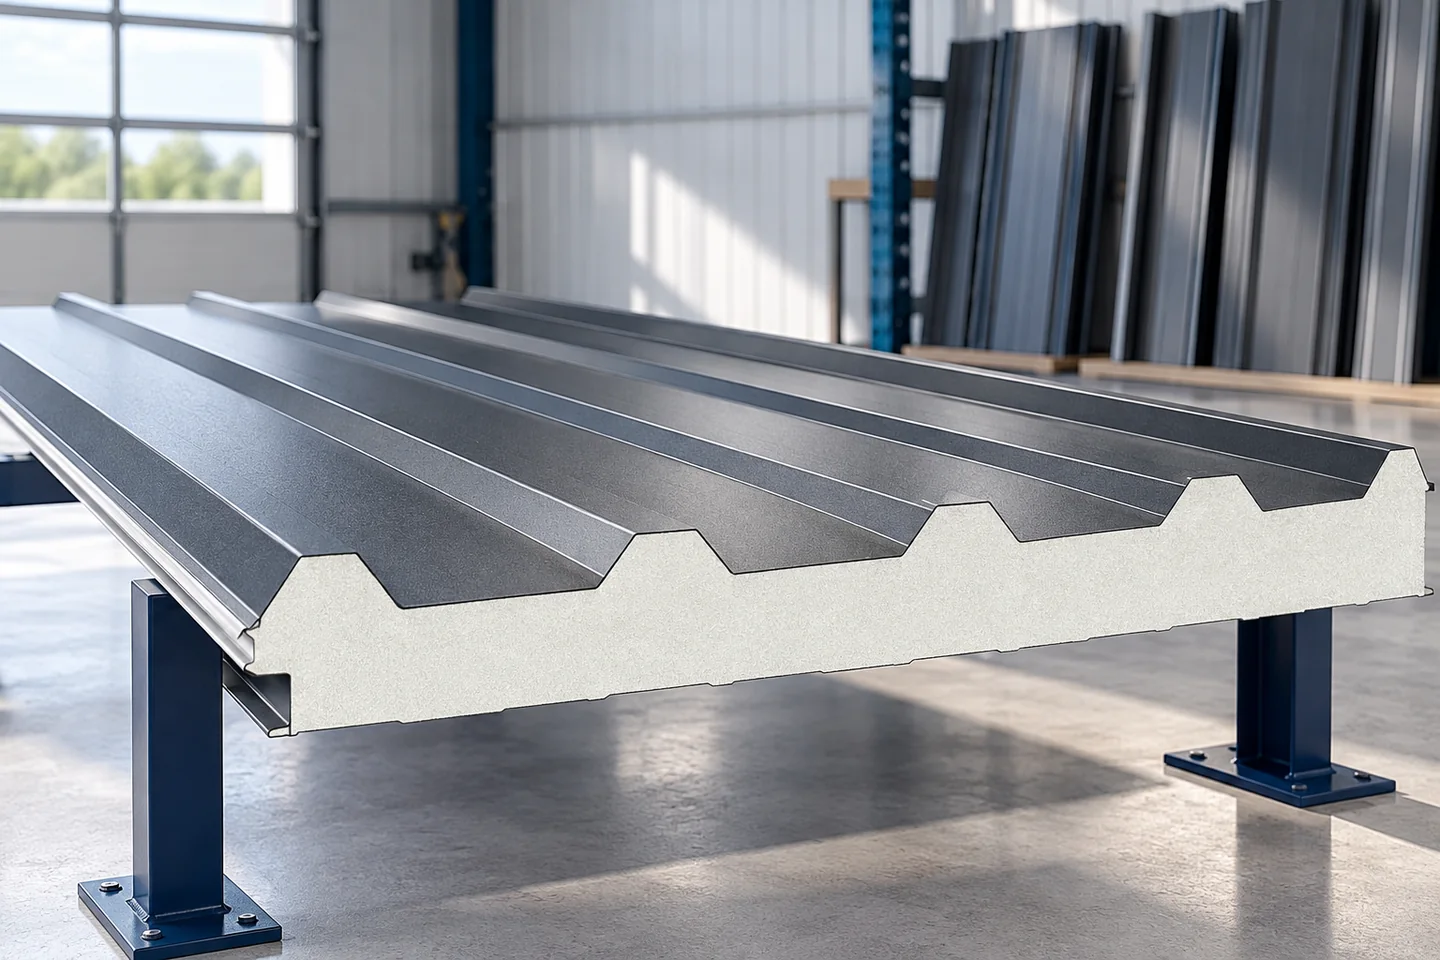
What to check before the panels arrive
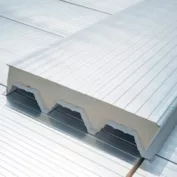
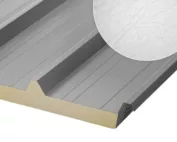
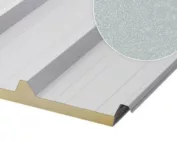
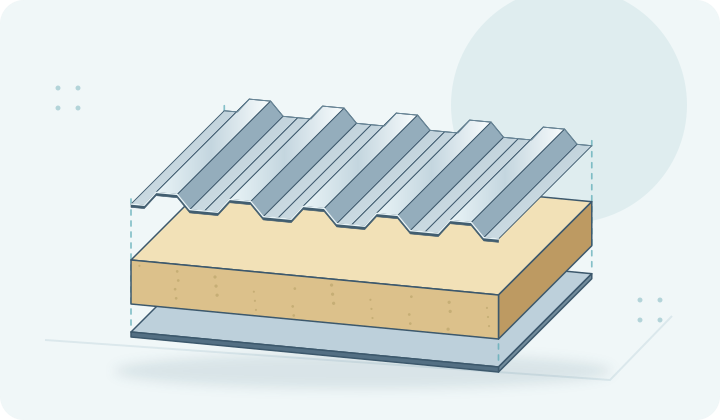
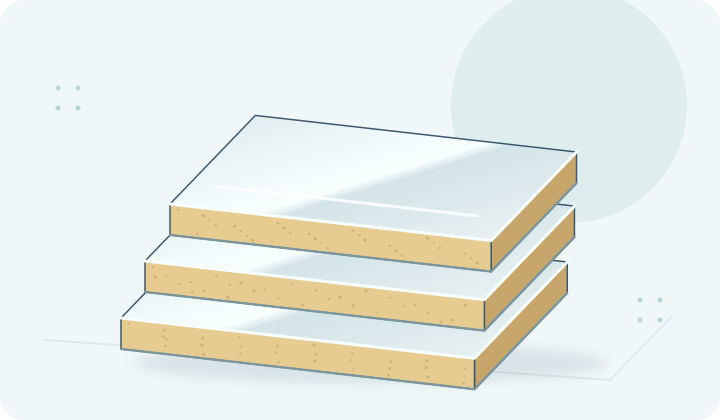
Compare the order with the design. The core thickness, facing thicknesses, coating and component lengths are important. Determine the installation direction and the undercuts at the eaves or at longitudinal joints. Panels that look similar may have different interlocking joints. Mixing them on site can prevent a tight connection.
The structure must have the correct spacing and width of supports. The bearing surfaces should lie in one plane. The actual roof pitch should also be checked. The minimum slope differs between systems, and transverse joints and skylights may increase the requirement. Percentages of slope must not be equated with degrees of angle.
How to organise unloading and lifting?
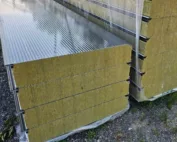
The place for setting down the packs should be prepared before delivery. Supports and covering are to protect the panels from damage and standing water. A long component can be deformed if it is supported only at random points. The lifting method and the spacing of the lifting slings must be matched to the length, weight and product instructions.
Suitable spreader beams, straps or vacuum lifting devices are used. Do not grip the protruding lock sheet or drag the panel over the adjacent facing. Work is interrupted in conditions that prevent control over the component. The large surface area of the panel means that wind gusts matter even when its weight does not seem great.
How to position the first panel and subsequent locks?
The first panel determines the geometry of the subsequent installation. Its position relative to the eaves, the roof edge and the support axes must be checked. An alignment error will grow in subsequent rows. Trying to compensate for it by spreading the interlocking joints can leave leaky connections. It is better to correct the alignment immediately.
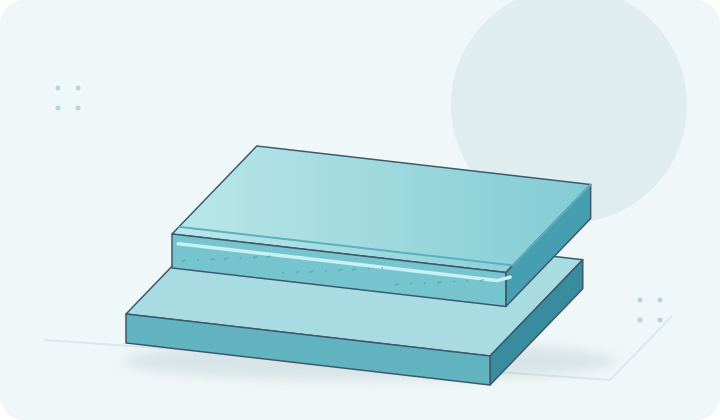
Subsequent panels are pushed together in the direction specified by the manufacturer. Before closing, swarf must be removed and the seals checked. Additional tape or sealant is used where the particular detail requires it. Excess random sealant can hinder correct seating of the interlocking joint and does not replace its fit.

How to fix the plasterboard correctly?
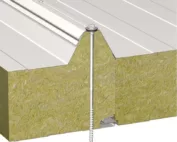
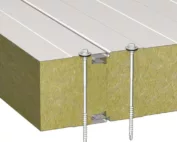
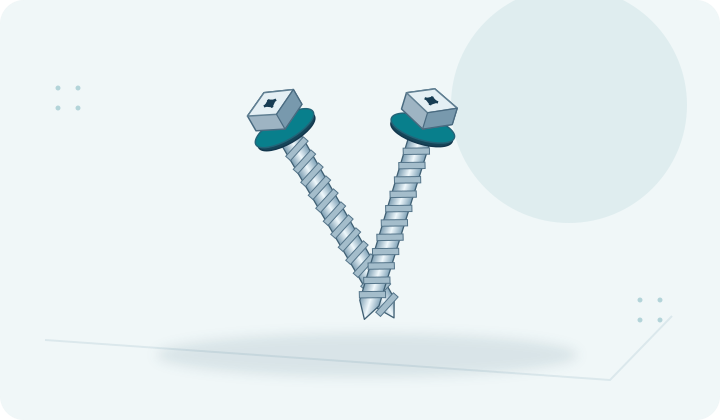
Fasteners are selected according to the panel thickness and the support material. A screw intended for thin-walled profiles does not necessarily work correctly in a thick steel component. The design specifies the number and arrangement of fixings, taking wind suction into account. Corners and roof edges require particular attention.
Sealing washers should be tightened in accordance with the instructions, without crushing or leaving a gap. Where specified, load-distributing caps are used. Side-lap joints of the sheets are made with separate fasteners in accordance with the system. Do not copy the pattern from another profile, even when the panel widths are similar.
How to execute the eaves, ridge and penetrations?
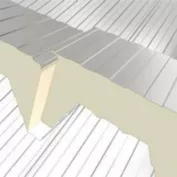
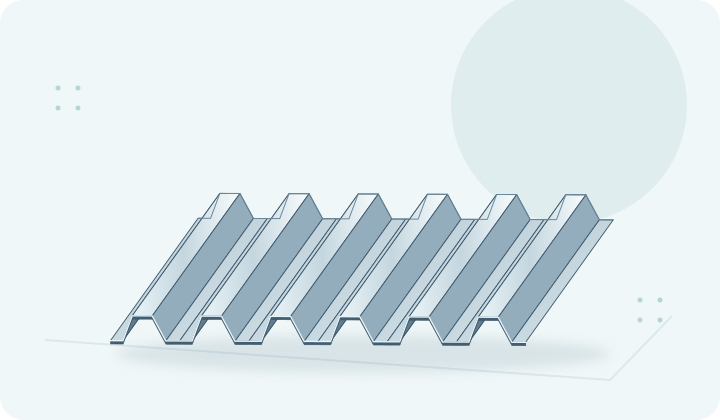
At the eaves, water must be able to flow freely into the gutter, and the exposed core must receive proper protection. The ridge requires flashings and closures matched to the cross-section. A roof panel has a different geometry from a wall panel, so using seals interchangeably may leave gaps. It is worth preparing the details before installation begins.
Skylights, chimneys and large openings require agreed support. Cutting through the ribs without checking changes the panel’s behaviour. Cutting is carried out with a suitable tool, without overheating the coatings. Swarf must be removed from the surface and the interlocking joints. Every penetration should be inspected both from the covering side and from inside the building.
What should the roof acceptance cover?
Check that the lengths match, that the interlocking joints are correctly closed, that the seals are continuous and that the fixings are in good condition. Inspect the lower ends of the panels and the free flow of drainage. The transport film should be removed within the period stated in the instructions. If left in the sun, it may stick to the surface and make later cleaning more difficult.
It is worth keeping photographs of the supports and connections before they are covered. Add the product data sheets and a list of the fasteners used to the documentation. Establish rules for later movement on the roof and for mounting additional equipment. Correct installation ends with handing over the complete system for use, not merely with screwing down the last panel.
7 branches. Materials closer to your project.

- SEROCK — Dzierżenin 34 E
- BŁONIE — ul. Sochaczewska 138A
- RADOM — ul. Grobickiego 8
- ŁÓDŹ — Natolin 8
- OLSZTYN — Barczewo, ul. Prosta 9
- WROCŁAW — ul. Jerzmanowska 10C
- GORZÓW WLKP. — ul. Zielona 33/34