

Insulation and ventilation
Roof insulation: details that matter during installation
In brief
Roof insulation performs effectively only when the insulation is continuous, moisture is controlled and the junctions are airtight. Before installation, it is worth checking the entire layer build-up, the fixings and the details at the eaves and chimney, because good board parameters alone will not repair gaps. On a pitched roof, insulation can sit between the rafters, below them or above them; the above-rafter option makes a continuous layer easier but requires external access and checking of the eaves, wall and window details. Leave the choice of system to the designer.
First choose the insulation location
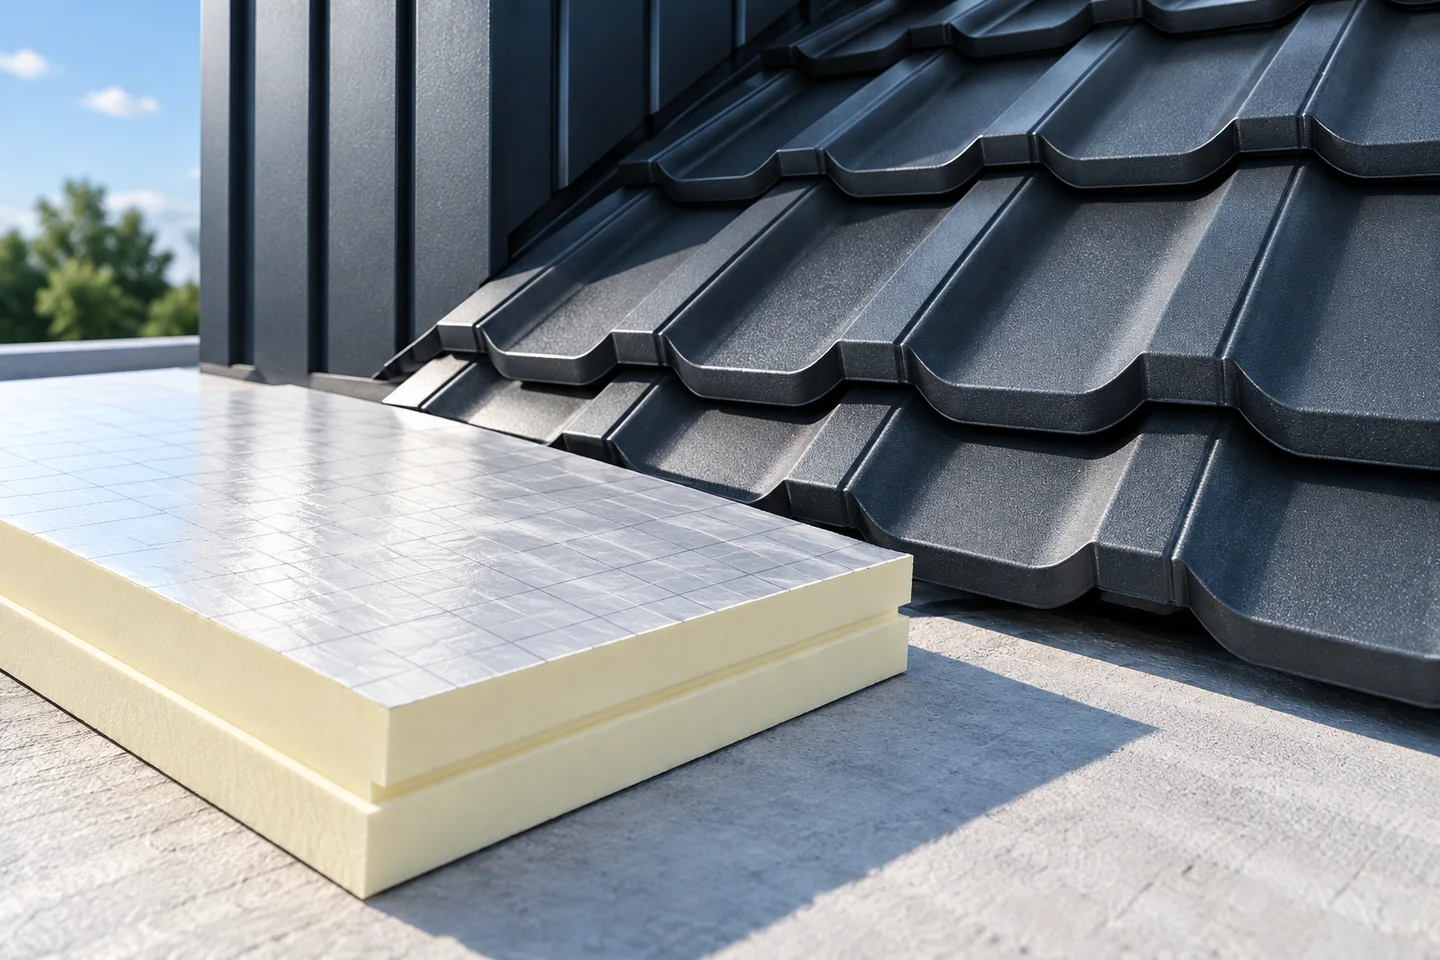
On a pitched roof, the insulation can be placed between the rafters, below them or above them. An above-rafter solution makes it easier to create a continuous layer covering the timber. It can reduce thermal bridges at the rafters and preserve more space inside. However, it requires access from outside and checking the details at the eaves, walls and windows.
For a renovation without removing the covering, an interior variant is often analysed. Such an arrangement changes the temperature and drying conditions of the existing layers. Sealed boards should not be added without checking what lies above. An assessment of the timber moisture, the condition of the membrane and the ventilation path is needed. The building envelope is designed first, and only then is the insulation thickness selected.
How to compare PIR with other materials?
The lambda value describes heat conduction through a material. A lower value allows the same thermal resistance to be achieved with a smaller thickness. For example, a layer with a lambda of 0.022 W/(m·K) theoretically needs 110 mm to achieve a resistance of 5 m²K/W. For a lambda of 0.035 it would be 175 mm. This compares the layer alone, not the finished roof.
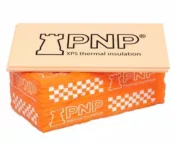
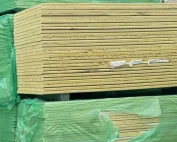
PIR can therefore be advantageous where space is limited. Mineral wool, on the other hand, has significant fire-related advantages and can help in acoustic solutions. EPS and XPS have variants intended for different loads and humidity conditions. No single material is best in every application. Check the specific product data sheet, because not all PIR boards have the same lambda.
How to determine the required thickness?
The required result concerns the entire building envelope and its thermal transmittance. It includes the layers and the influence of thermal bridges, fixings and geometry. A board’s resistance table alone does not yet describe a roof with rafters, gaps and joints. The thickness should be selected in calculations, taking into account the intended comfort and the requirements for the specific project.
Also check whether the insulation is to carry pressure from the layers and mounting elements. The compression value at ten percent deformation is not a permissible long-term service load. On a flat roof, point loads, equipment and service routes are important. On a pitched roof, the transfer of forces through the fixings and counter-battens is important.

How to ensure continuity and tightness?
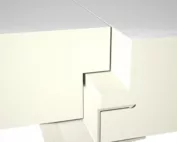
Lay the boards according to the system, offsetting the joints where the instructions specify. Fit the edges and limit gaps. A milling tool helps to join the boards, but does not by itself solve all leaks. Particular attention is required at the wall plate, the gable wall and penetrations. There, the continuity of even thick insulation is easily interrupted.
The layer limiting vapour and air movement must have sealed laps and service penetrations. The type of this layer depends on the overall assembly. Do not assume that every aluminium facing automatically forms a tight barrier once the boards are laid side by side. Tapes, wall junctions and the execution of openings also determine the outcome.
What protects the insulation from water?
A PIR board is not a standalone rainproof covering. Its facings, joints and cut edges must be protected in accordance with the product’s intended use. On a pitched roof, the assembly works together with an underlay and the external covering. On a flat roof, a suitable waterproofing layer and falls directing water to outlets are required.
Plan protection during installation. Do not leave open joints and the substrate exposed during periods of rainfall without proper covering. Adhesive, screws and membrane must be compatible with the board. Not every laminated surface is suitable for bonding any material. An unsuitable bond may lose adhesion or damage the protective layers.
How can you check the result before closing the roof?
Accept the insulation before it is covered. Check continuity, junctions with walls and fixing points. Take photographs of details at the chimney, windows and eaves. If the project includes a building airtightness test, it is worth using the stage at which access to the junctions is still possible. Corrections after the finishes are completed are considerably more difficult.
Keep the product data sheets and the layer build-up drawing. In future, these will make it easier to install services without accidentally piercing the sealed layer. The insulation should work together with interior ventilation and protection against overheating. Only the combination of these solutions provides comfort in the attic. Simply switching to a board with a better lambda value will not solve all roof problems.
7 branches. Materials closer to your project.
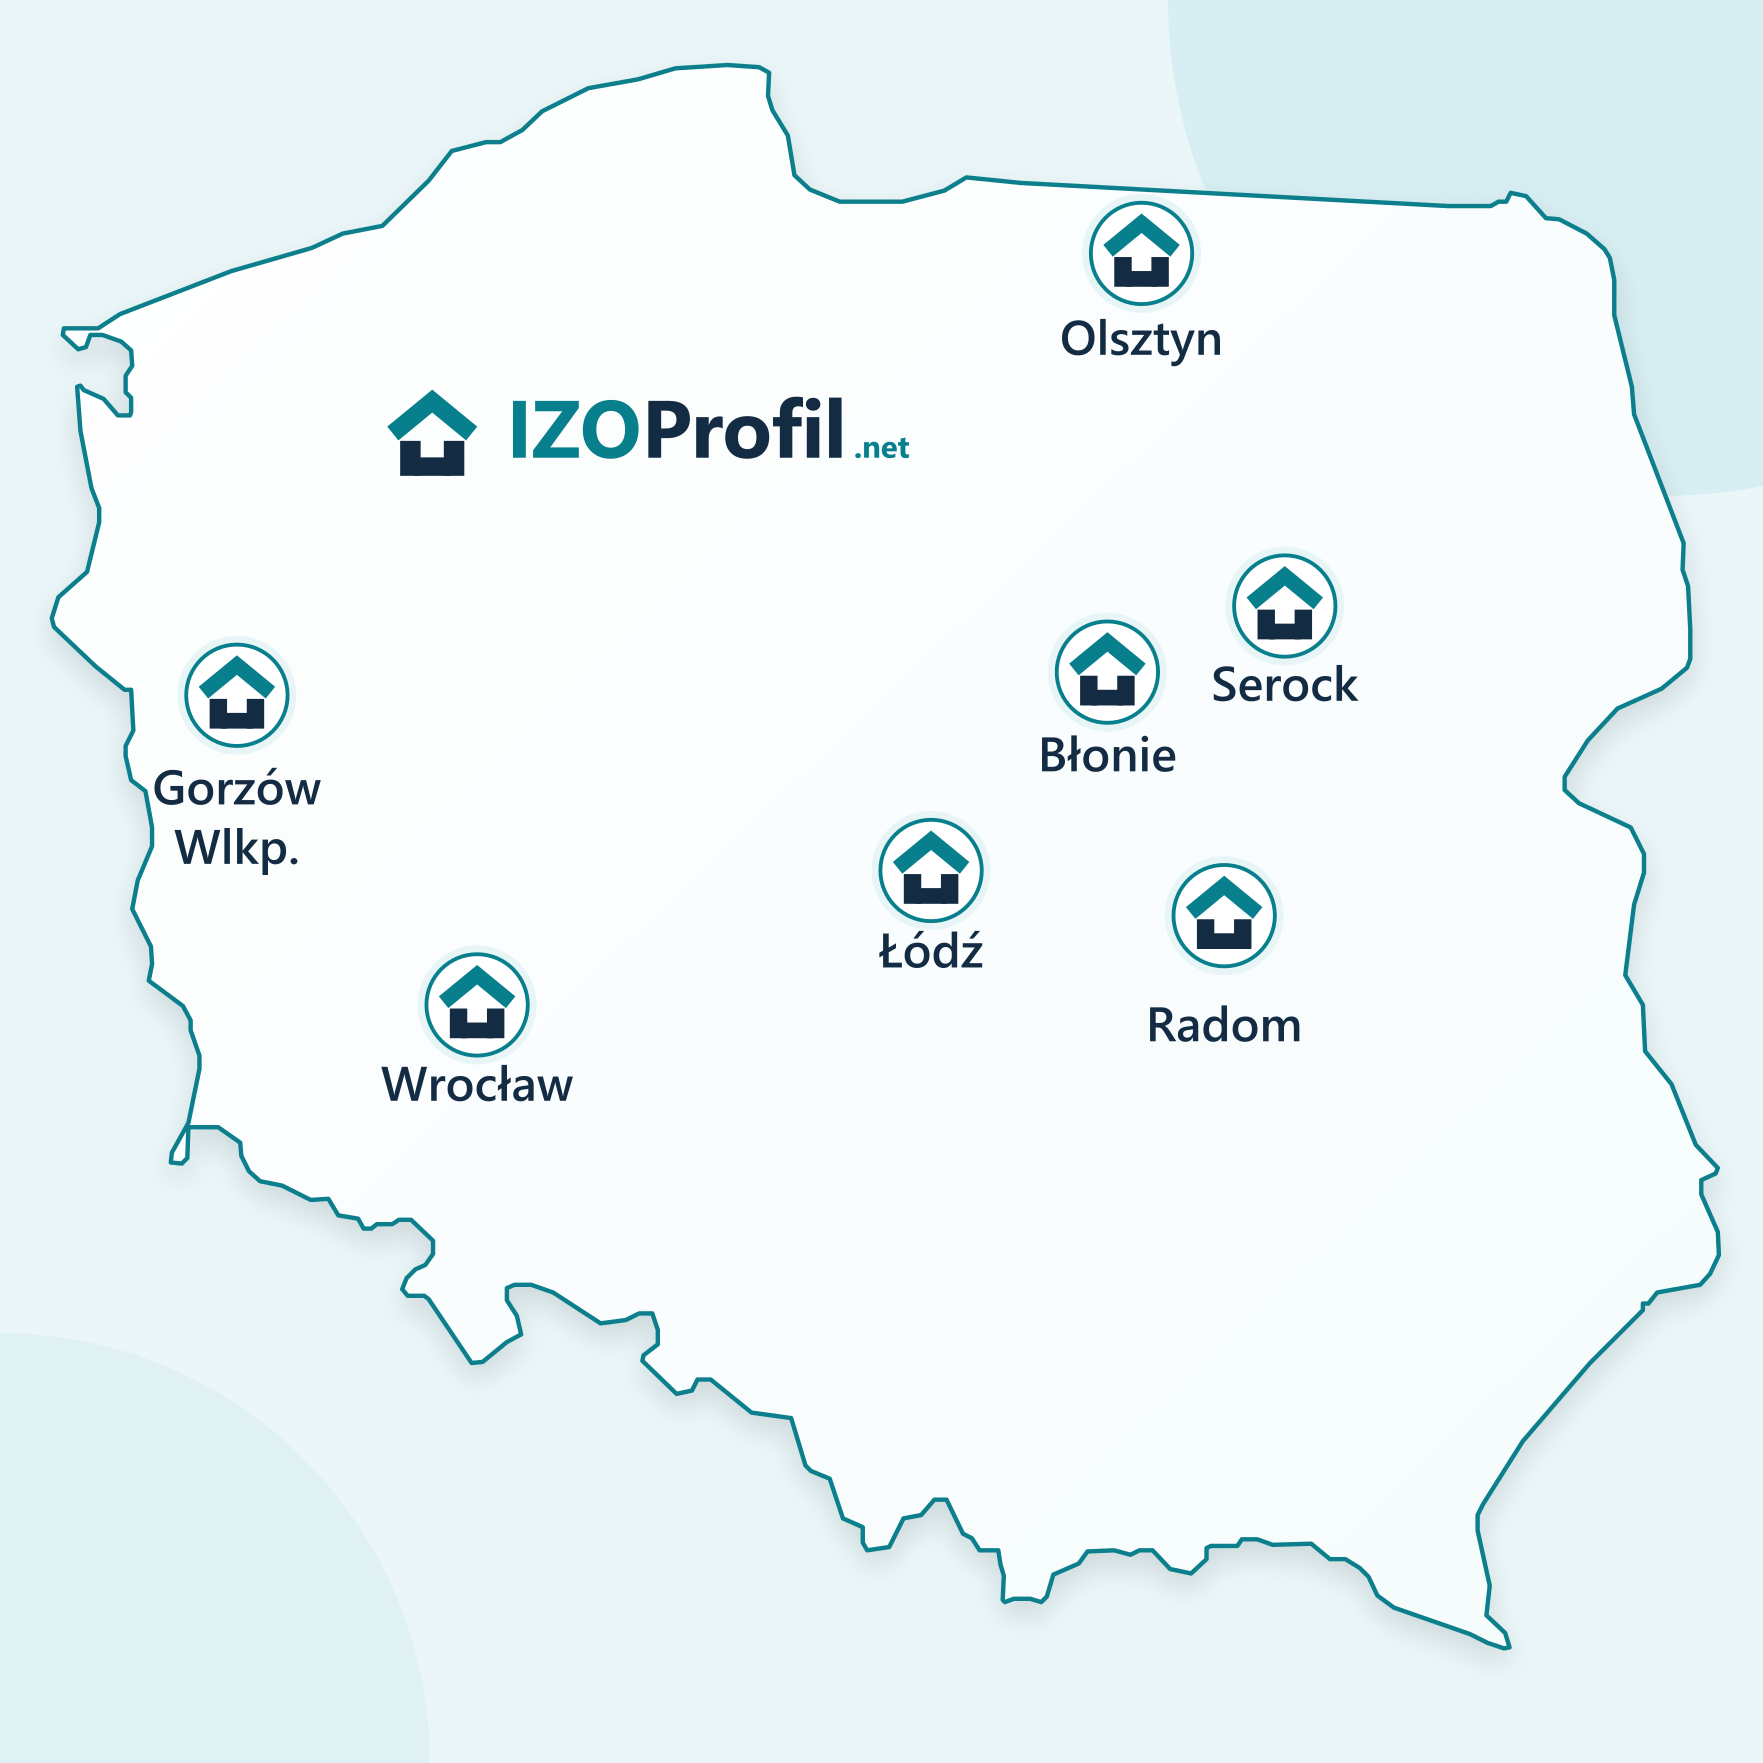
- SEROCK — Dzierżenin 34 E
- BŁONIE — ul. Sochaczewska 138A
- RADOM — ul. Grobickiego 8
- ŁÓDŹ — Natolin 8
- OLSZTYN — Barczewo, ul. Prosta 9
- WROCŁAW — ul. Jerzmanowska 10C
- GORZÓW WLKP. — ul. Zielona 33/34