



Roof details
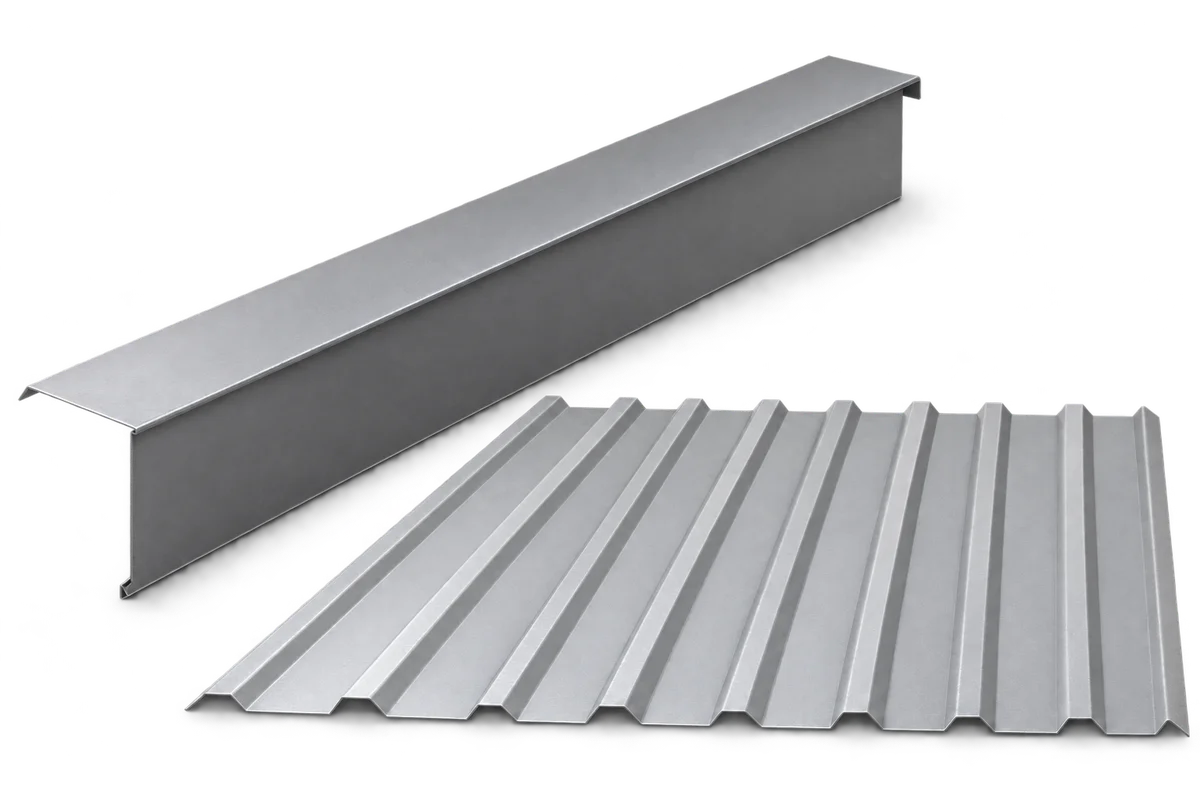
Verge flashings on site: how to organise the pieces before installation?
At a glance
A delivery of roof flashings may contain profiles that look alike but belong in different places. Organising verge flashings before installation helps avoid mixing up sides, lengths and section versions. Start by comparing references with the current schedule, then agree storage and issue arrangements with the team for successive parts of the roof. Colour alone should not identify a flashing’s intended position. This guide covers site material organisation: delivery areas, labels, setting damaged pieces aside and checking completeness. Check packaging, support, protective-film and storage-duration requirements for the product delivered. The contractor organises handling and lifting to roof level; orderly packs do not replace a safe working method.
Prepare the area before the vehicle arrives
Choose a position where packs will not obstruct access or require repeated relocation. Agree support and protection according to supplier guidance. Placing materials under a roof alone does not establish suitable storage conditions for the particular coating and packaging.
Link each label to its intended location
Do not plan to unpack the entire delivery simply to see every profile at once. Opening and inspection should allow the material to be protected again as instructed. If work is delayed, check permitted storage conditions rather than assuming it can wait indefinitely.
Use the installer’s schedule references: edge identifier, section number and quantity. A pack label should locate the correct item without measuring every flashing again. When splitting a pack, retain its identification in a way that will not damage the surface.
Flashings of the same colour can differ in bend geometry, coated face or length. Do not automatically combine them into one stack. If the design changes, identify which pieces belong to the current solution and which require a decision before use.
Separate pieces requiring clarification
Set aside a piece with an unreadable label for clarification rather than assigning it by resemblance. Compare dimensions and section with the delivery record. Checking at a prepared station is more orderly than searching for a missing flashing while closing the gable edge.
Transport deformation, coating damage and dirt call for different decisions. Document the condition before attempting to correct the piece. Agree usability or repair with the supplier and installer, taking material requirements into account. Do not treat every defect as a minor cosmetic mark.
Issue a complete set for one section
Prepare flashings for a roof section together with specified end pieces and suitable fasteners. Before work starts, the team should know whether the set is complete. Do not replace a missing part with a similar profile without checking its role in the detail.
Agree the issue sequence with the person leading installation. Pieces needed last should not block access to the current set. Storage and protection must still meet product requirements; a convenient work sequence does not justify unsuitable storage.
Manage offcuts and opened packs
After cutting, distinguish potentially reusable material from waste. A short piece is not automatically suitable for the next joint. Required shape, length and connection determine whether it can be used. Keep sharp offcuts in a designated place away from access routes.
Check opened packs according to material guidance, particularly after site conditions change. Track protective-film instructions: removal timing and method come from the product guidance. Do not borrow rules from another coating or leave responsibility for removal unassigned.
Close the material record after the work
At the end of a stage, count remaining pieces and mark completed sections. Resolve discrepancies before the next delivery. They may reflect a changed detail, additional cuts or a piece set aside for a claim; the number of leftovers alone does not explain what happened during installation.
Label reserve material with coating designation, colour and section reference. Give the owner the requirements for continued storage. Such a reserve can help future matching, but it does not guarantee that every piece will remain usable years later without reassessment.
7 branches. Materials closer to your project.

- SEROCK — Dzierżenin 34 E
- BŁONIE — ul. Sochaczewska 138A
- RADOM — ul. Grobickiego 8
- ŁÓDŹ — Natolin 8
- OLSZTYN — Barczewo, ul. Prosta 9
- WROCŁAW — ul. Jerzmanowska 10C
- GORZÓW WLKP. — ul. Zielona 33/34