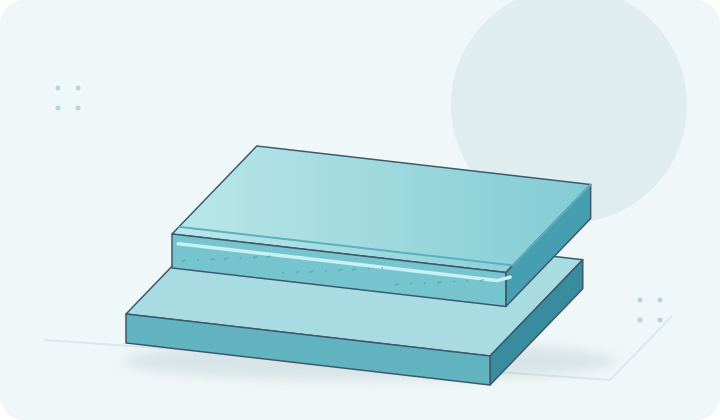


PIR insulation
Installing termPIR AL GK: substrate, services and finishing order
At a glance
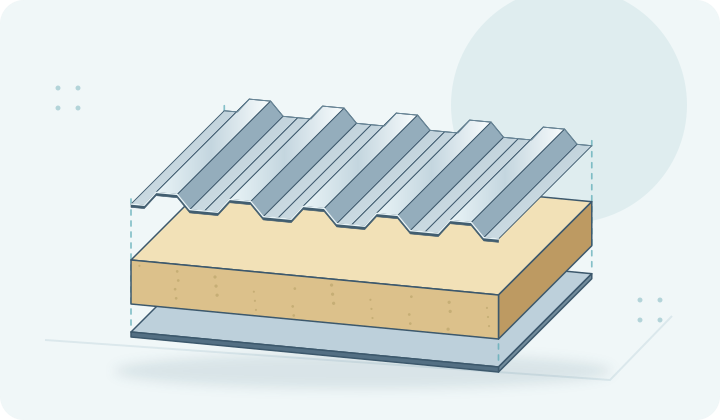
termPIR AL GK combines insulation and a substrate for the finish in a single element, so installation must be planned as a sequence of preparation, cutting and fitting rather than as adding layers to an already finished wall. The composite consists of an insulation core of PIR foam with gas-tight facings on both sides and a 12.5 mm plasterboard on the interior side. The entire composite simultaneously serves as insulation and as the substrate for the finish, which is why the routing of cables, the fixing points for fittings and the condition of the masonry that will be covered are established before installation. The work front is therefore prepared for the specific wall layout in order to avoid later cutting into the finished insulation.
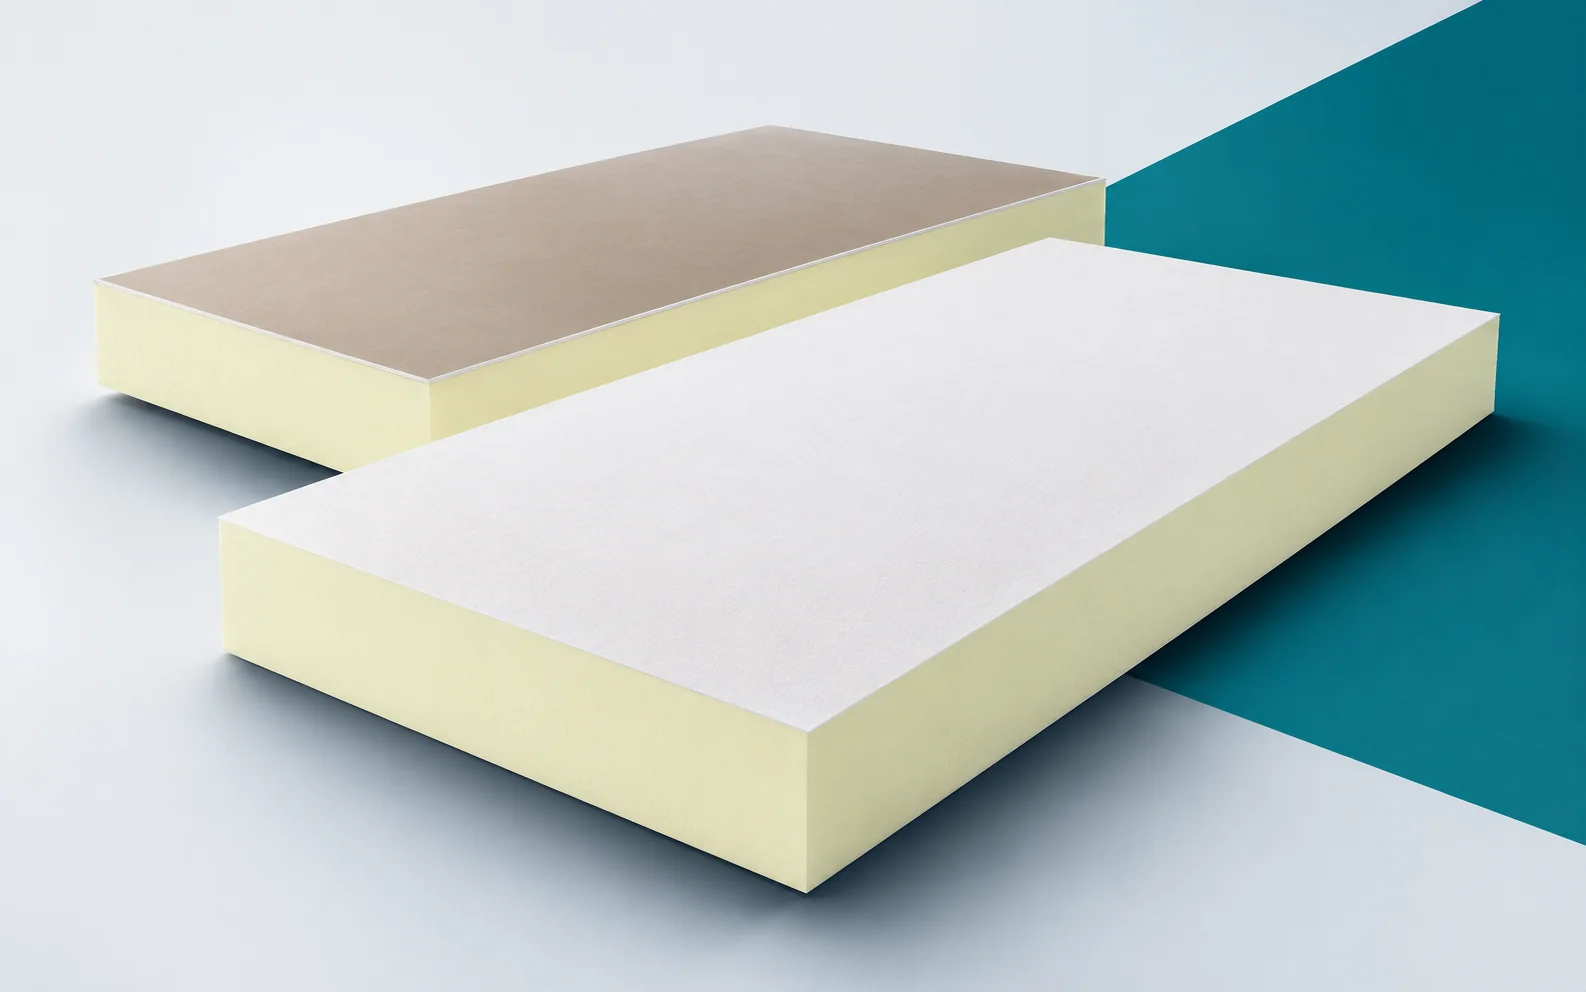
Preparing the delivery for work
Packaging protects the material in transit, but does not replace checking the building element that will end up beneath the composite. Before separating the PIR boards into working positions, assess the type of masonry, the available space and the conditions of use of the room after renovation together with the person in charge of the works. On this basis, the scope of thermal insulation for the room and the manner in which the works are to be carried out are determined before the plasterboard surface conceals the substrate.
Layout, cutting and joints
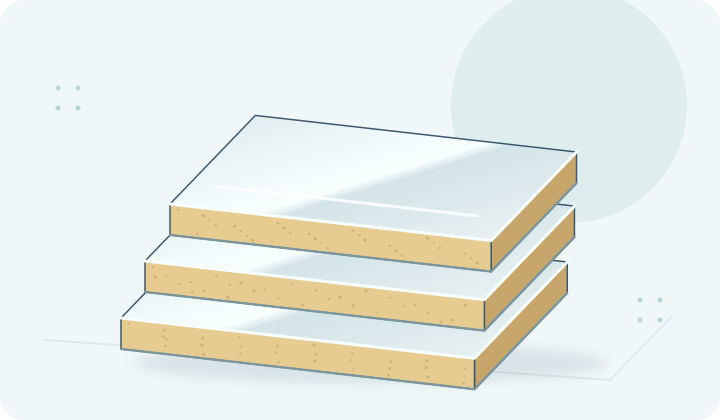
The format of termPIR AL GK is 2600 × 1200 mm. The large board makes it easier to limit the number of joints over the wall height, but it requires space for bringing it in and positioning it.
The first section installed shows whether the 2600 × 1200 mm element passes through the door and the bend in the corridor. The board layout is agreed with the wall dimensions, openings and conditions for bringing the boards in, and the proven working method is repeated in subsequent rows. A format that is convenient on a full wall may require prior cutting when access is tight; after assessing the first section, the number of joints is limited within the bounds of realistic transport inside the building. The dimensions of the passages, the room height and the position of the installation openings in the structure are recorded in the works documentation before the insulation is covered.
A large element requires space to be set down and turned even before it is brought in. The transport route is determined taking into account corners and doors, not just the width of the corridor. The cutting layout is marked in advance on the wall plan, because installation openings cut after the panels have been positioned increase the number of corrections. The joints and the perimeter are inspected before the final finishing of the surface.
Protecting the material before it is covered
Insulation from the inside with termPIR AL GK restricts the flow of heat into the existing wall. This affects its temperature and its ability to dry out.
Once the panels have been installed on the external wall, it must be anticipated that the insulated wall will be at a lower temperature than before. Before the termPIR AL GK layer is handed over to the finishing team, establish whether the wall is dry and whether it will be able to dry out once covered. A damp substrate enclosed by the board will make later observation more difficult, so the wall should be assessed before the cladding is laid. Rigid PIR boards also require protection: when work resumes, check the source of moisture and the thermal and moisture conditions at the junction between the wall and the ceiling.
Checking the assumptions before cutting
The lambda value of 0.022 W/(m·K) stated for termPIR AL GK refers to the PIR thermal insulation component. The total thickness of the composite must not be substituted into the formula using the lambda of the foam alone.
Before the first cut, check in the documentation what the thickness of the PIR component is and what the total thickness of the termPIR AL GK panel is. In the thermal calculation, consider the PIR thickness and the plasterboard facing separately, because adding 12.5 mm of plaster to the PIR thickness would artificially overstate the thermal resistance. A check before installation should make it possible to compare panels by actual thermal resistance and actual space occupied. On acceptance of a delivery described as polyurethane boards, record the core thickness, the facing thickness and the R value for the entire selected variant.
How to limit damage during the works
For termPIR AL GK, B-s1,d0 applies to the stated end-use configuration. It must not be read as a claim that the PIR core itself is non-combustible.
The location for the cabinet or bracket requires the load to be transferred into the depth of the wall, irrespective of the fact that the plasterboard surface and the PIR layer have already been laid. Fix heavy equipment to the substrate via a designed installation layout; class B-s1,d0 relates to reaction to fire and does not define load-bearing capacity. Before closing the section, prepare the support and confirm in the record the type of fixing, the routing of services and the fire classification conditions of the selected application; report any discrepancies before continuing the task.
Acceptance before covering
The quotation for termPIR AL GK should distinguish between the insulation thickness and the total thickness of the composite. Fixing materials and the solution for joints and the perimeter of the installation are also needed.
When accepting works described as “polyurethane insulation”, check the scope of work between gluing the panels and achieving a wall ready for painting. In the pricing of the finished wall, include the joints and the entire perimeter of the panels at adjacent partitions, both for the material settlement and for handing the section over to the next trade. A joint agreement on the scope is needed because a quotation for the composite alone does not automatically cover the solution for all gaps and sockets. Before handing the front over to the next trade, compare the cost of the finished wall with the cost of the variant executed from separate layers. In the as-built documentation, keep the jointing materials, the method of fixing, the number of cut pieces and the scope of preparation of the existing masonry, so that acceptance is not based solely on the number of packages used.
7 branches. Materials closer to your project.
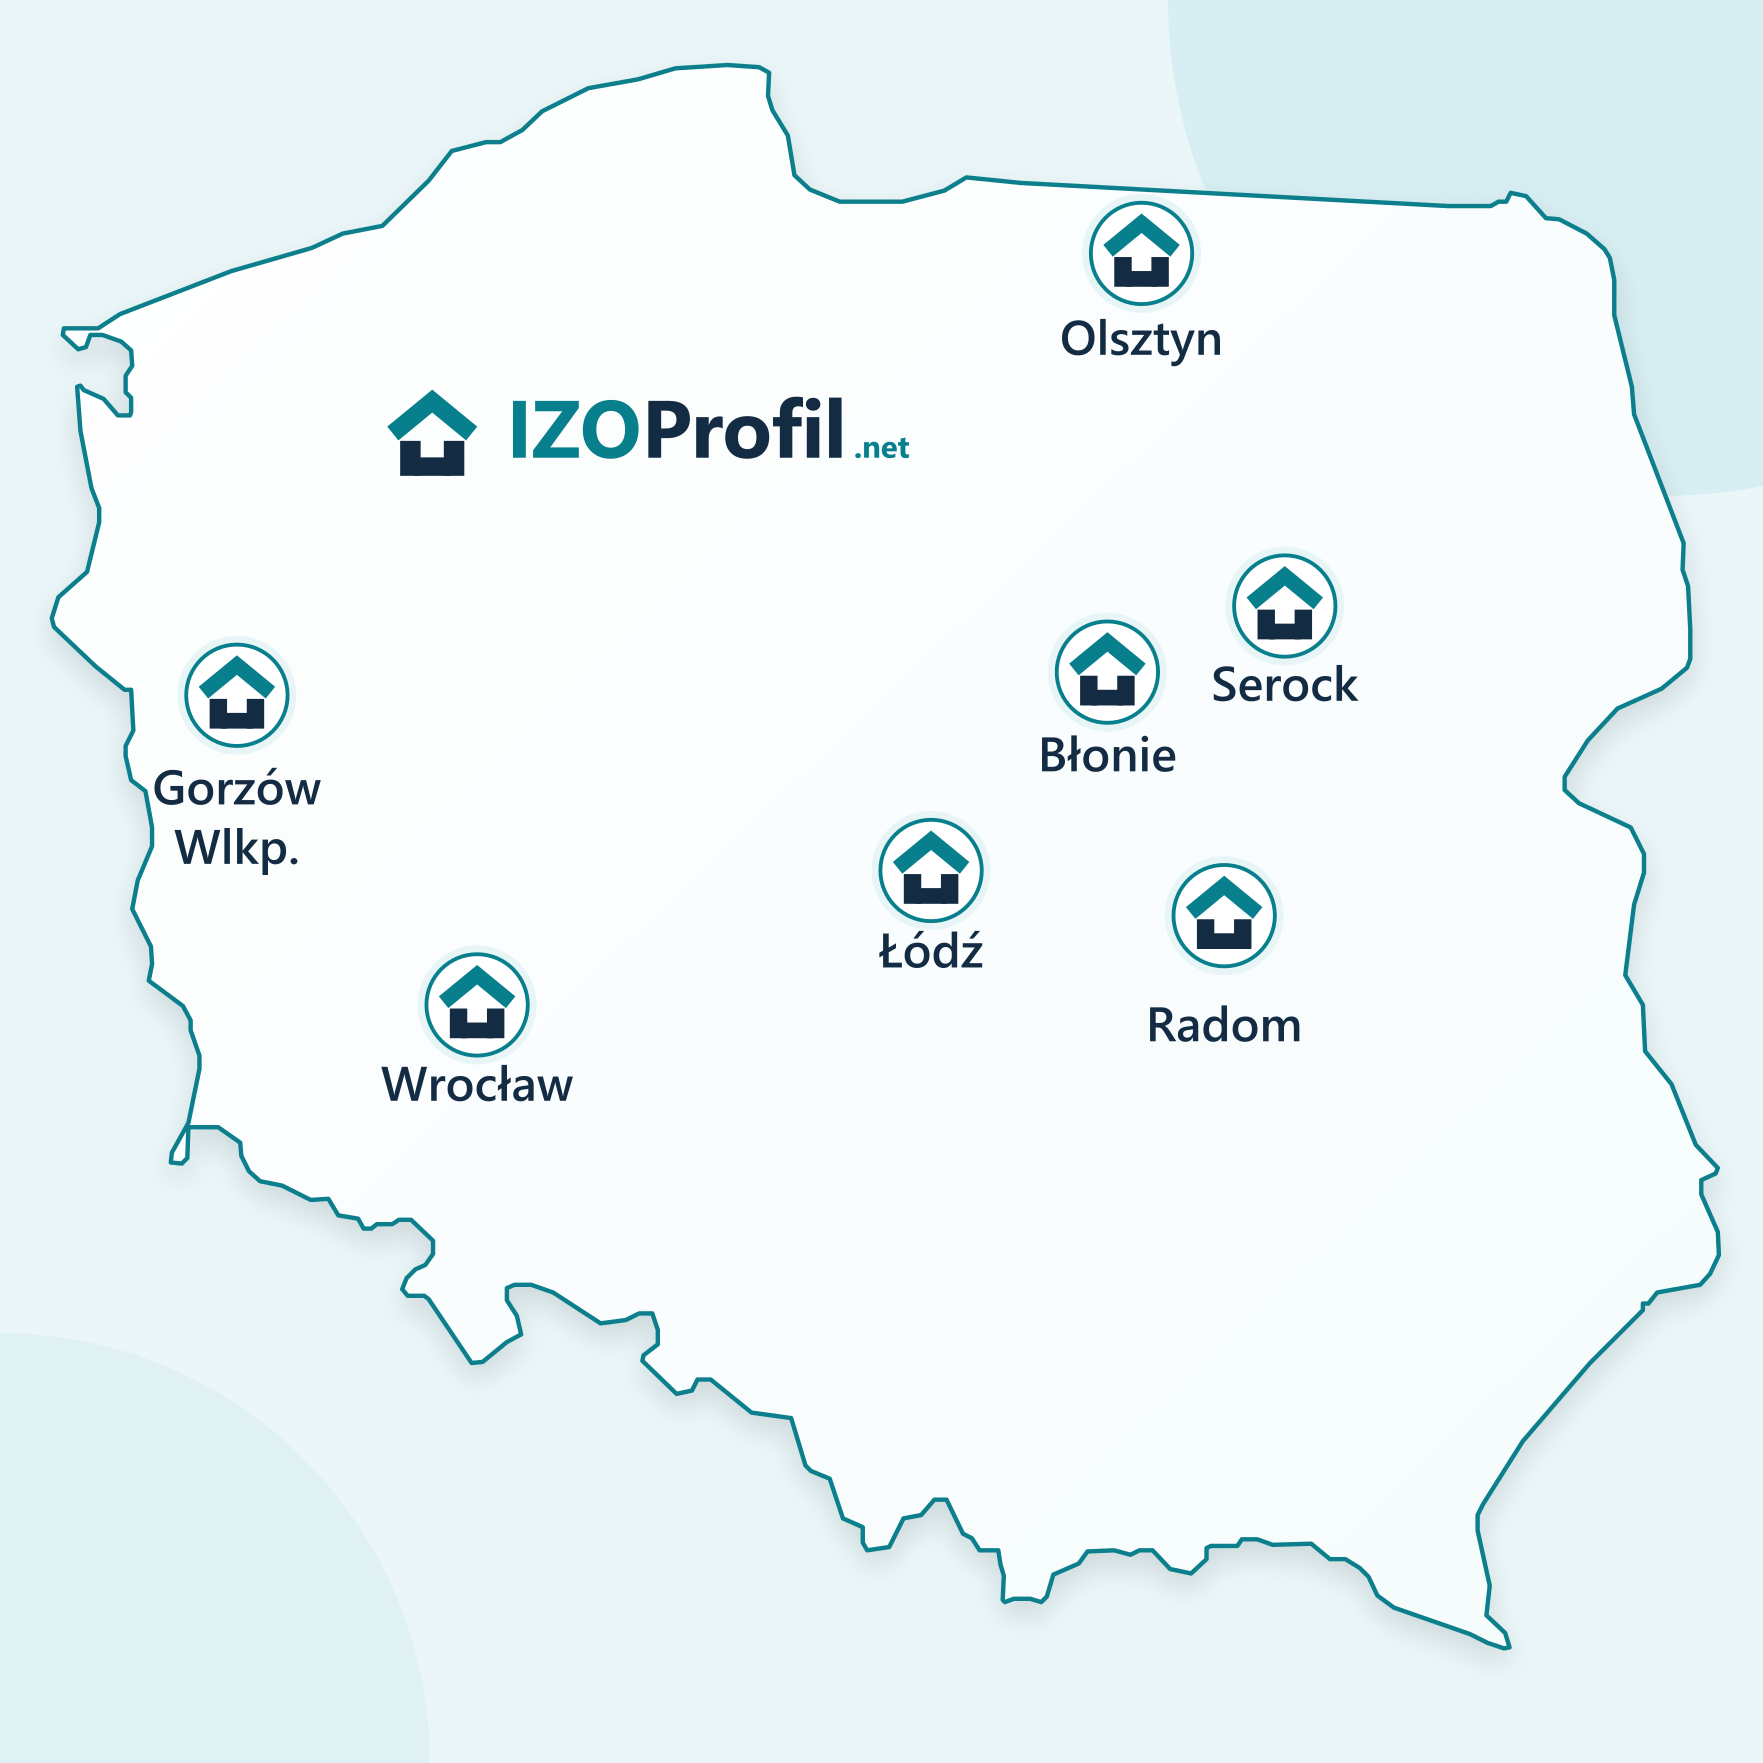
- SEROCK — Dzierżenin 34 E
- BŁONIE — ul. Sochaczewska 138A
- RADOM — ul. Grobickiego 8
- ŁÓDŹ — Natolin 8
- OLSZTYN — Barczewo, ul. Prosta 9
- WROCŁAW — ul. Jerzmanowska 10C
- GORZÓW WLKP. — ul. Zielona 33/34